STATISTICAL PROCESS CONTROL (SPC) SOFTWARE FOR DATA ACQUISITION​

Blog Archives


STATISTICAL PROCESS CONTROL (SPC) SOFTWARE FOR DATA ACQUISITION​

Statistical Process Control (SPC) Software for Data Acquisition

Using Industry standard database platforms, SPCXplorer is suitable for single station application, through to full factory database-centric network installations.Statistical Process Control (SPC) software is essential for manufacturing wide quality monitoring. 

Upgrade Existing SPC Software Systems

With our database migration tools and backward compatibility architecture, users of the previous generation Repro2000 statistical process control software can upgrade with minimal disruption to their daily operation.

Designed with the needs of shop-floor data collection in mind, SPCXplorer can be interfaced to a large variety of manual instrumentation via RS232 connectivity, or for more complex gauging systems, can process bespoke ASCII data files via Ethernet.

The Reporting module ensures the data is displayed in the right format for your quality reviews, and with its simple and powerful administration functions, access to the management and configuration areas of the software is password protected for assured security.

Reliable & Professional SPC Software for Industry – SPCXplorer

Statistical Process Control software helps prevent business relative issues before they occur, via the use of data driven quality analysis. This enables you to monitor your production process by utilising visual diagrams such as Control Charts, customers have the ability to create specific control boundaries for all of their process monitoring needs. SPCXplorer detects manufacturing issues before they occur.

Using statistical process control software and knowing how efficient your processes are running, helps give the operators valuable information on whether to instigate or adjust their manufacturing processes or whether to carry on with the current process.

Want to know more about our SPC software? Contact us today.

Torus Recommends

Our Divisions

Through our three key divisions we deliver a range of measurement and inspection systems, metrology services and machine enclosure solutions, as well as our online store for aluminium profile components and workspace solutions.

How can we help you?

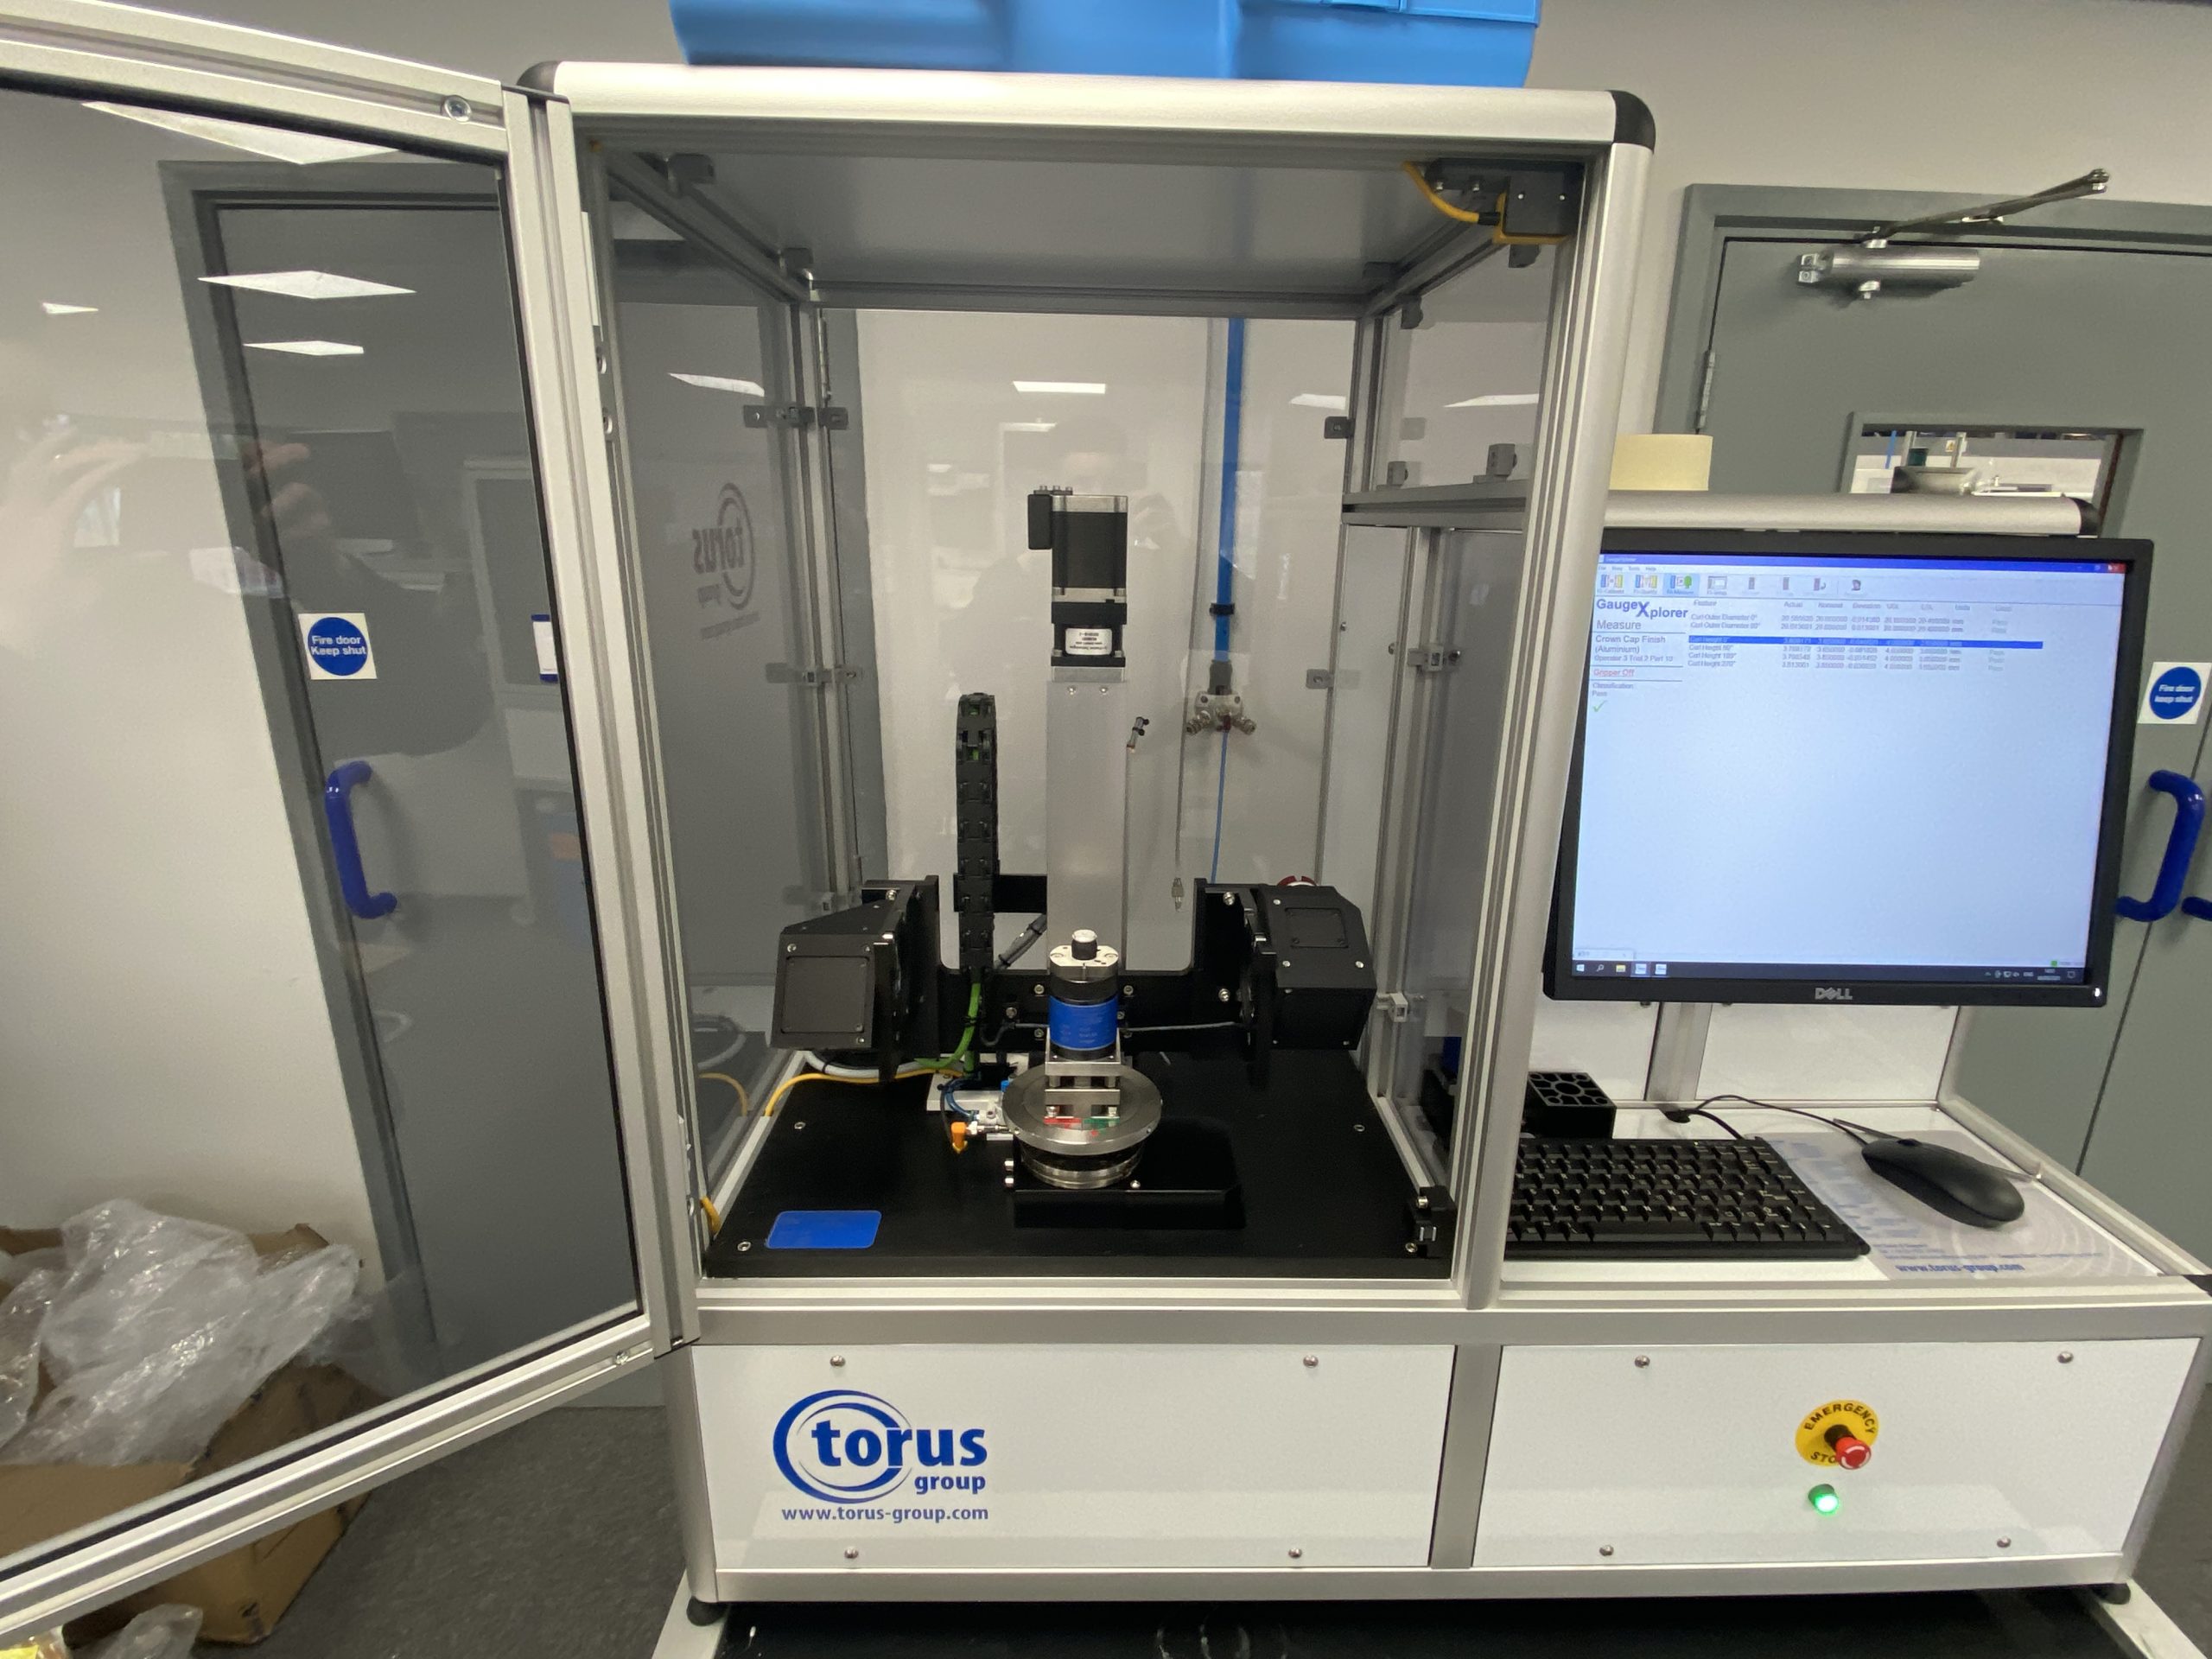
    GAUGEXPLORER SOFTWARE

    GaugeXplorer Software

    GXP software is fundamental to all Torus Measurement Systems gauges, providing smooth reliable gauge operation, including state of the art intuative diagnostic tools, allowing the operators and our TMS support team easy access to the gauge where ever in the world you are.

    GXP software has a range of features for your specific industry requirements to help improve productivity & meet quality requirements.

    • Helping improve productivity, industry specific processes, quality assurance, operator confidence
    • Advanced customer support (on-line) via our help desk
    • Continuous optimisation, ensuring we exceed customer expectations with state of the art GXP
    • Software reliability (customer confidence)
     

    Torus Recommends

    Our Divisions

    Through our three key divisions we deliver a range of measurement and inspection systems, metrology services and machine enclosure solutions, as well as our online store for aluminium profile components and workspace solutions.

    How can we help you?

      B300 SEMI-AUTOMATIC WALL THICKNESS GAUGE

      B300 SEMI-AUTOMATIC WALL THICKNESS GAUGE

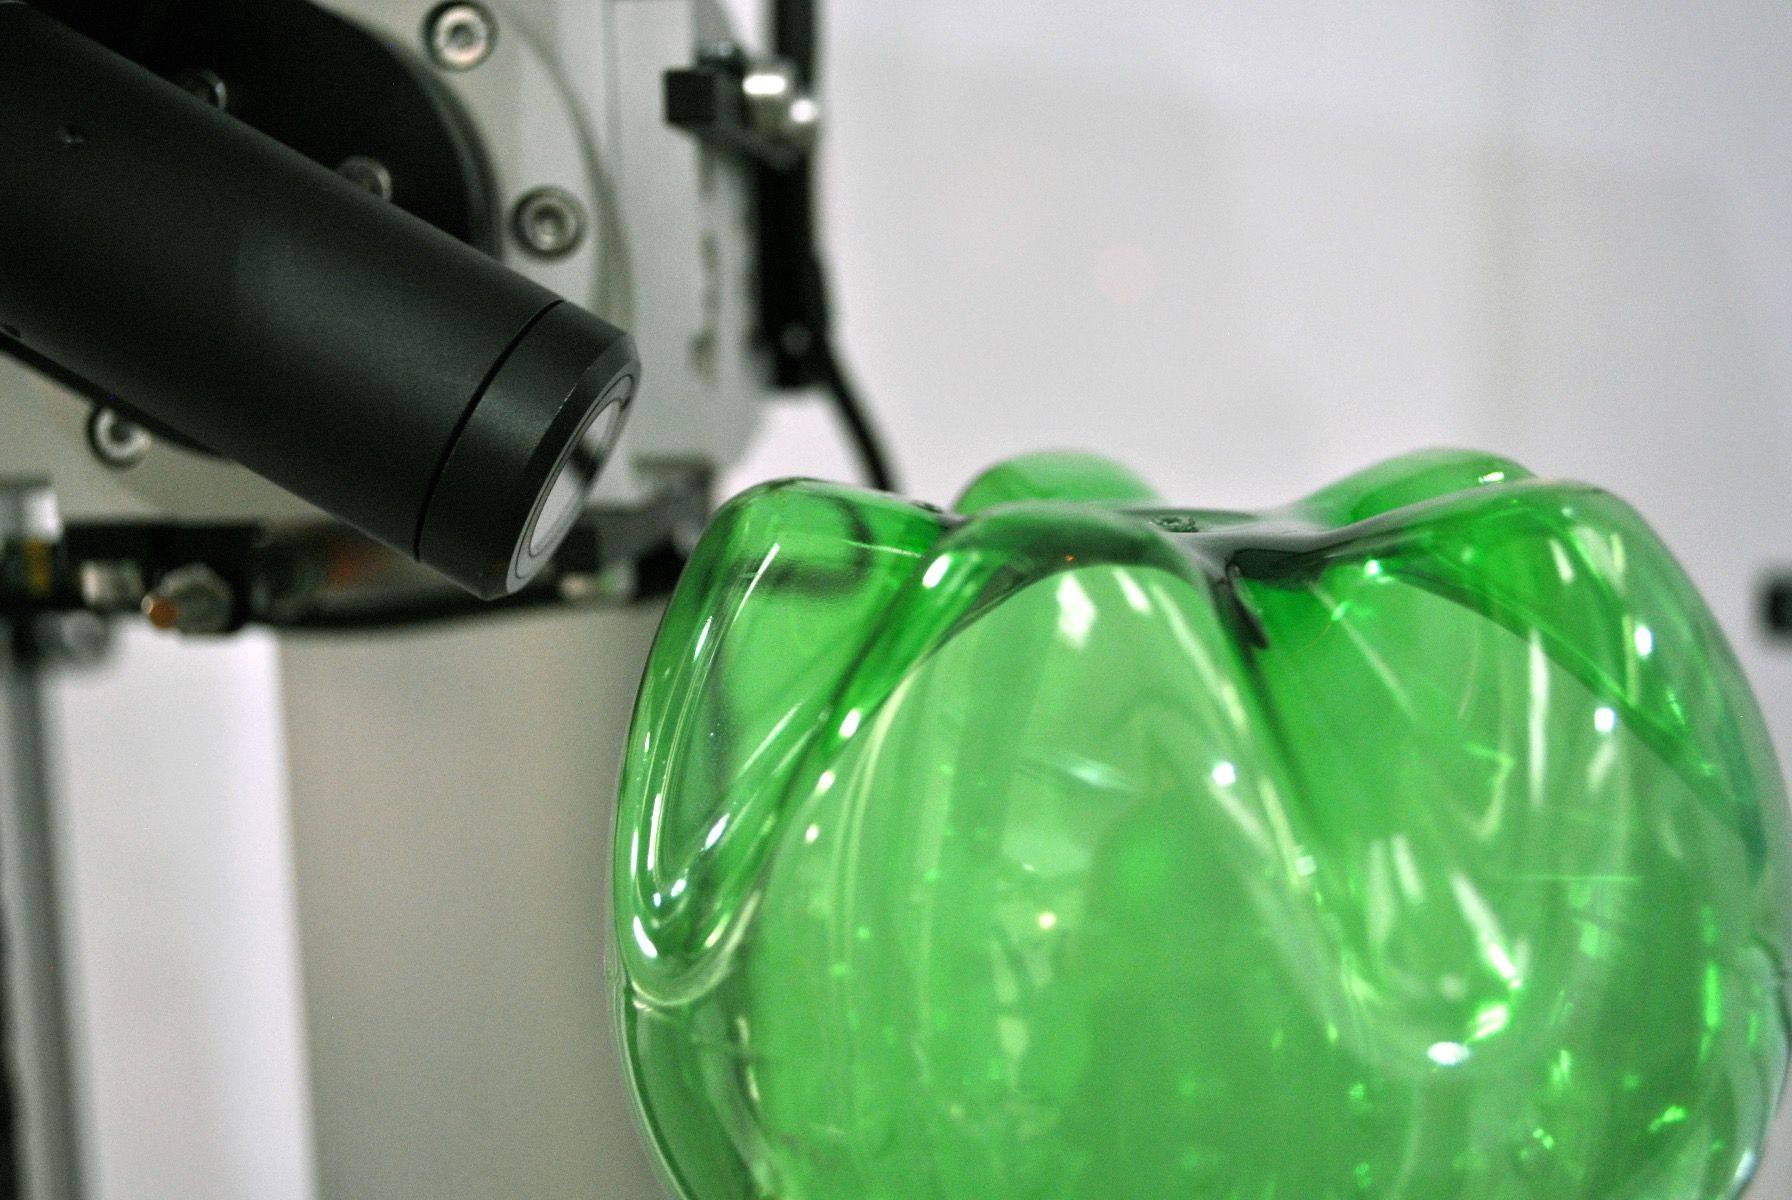
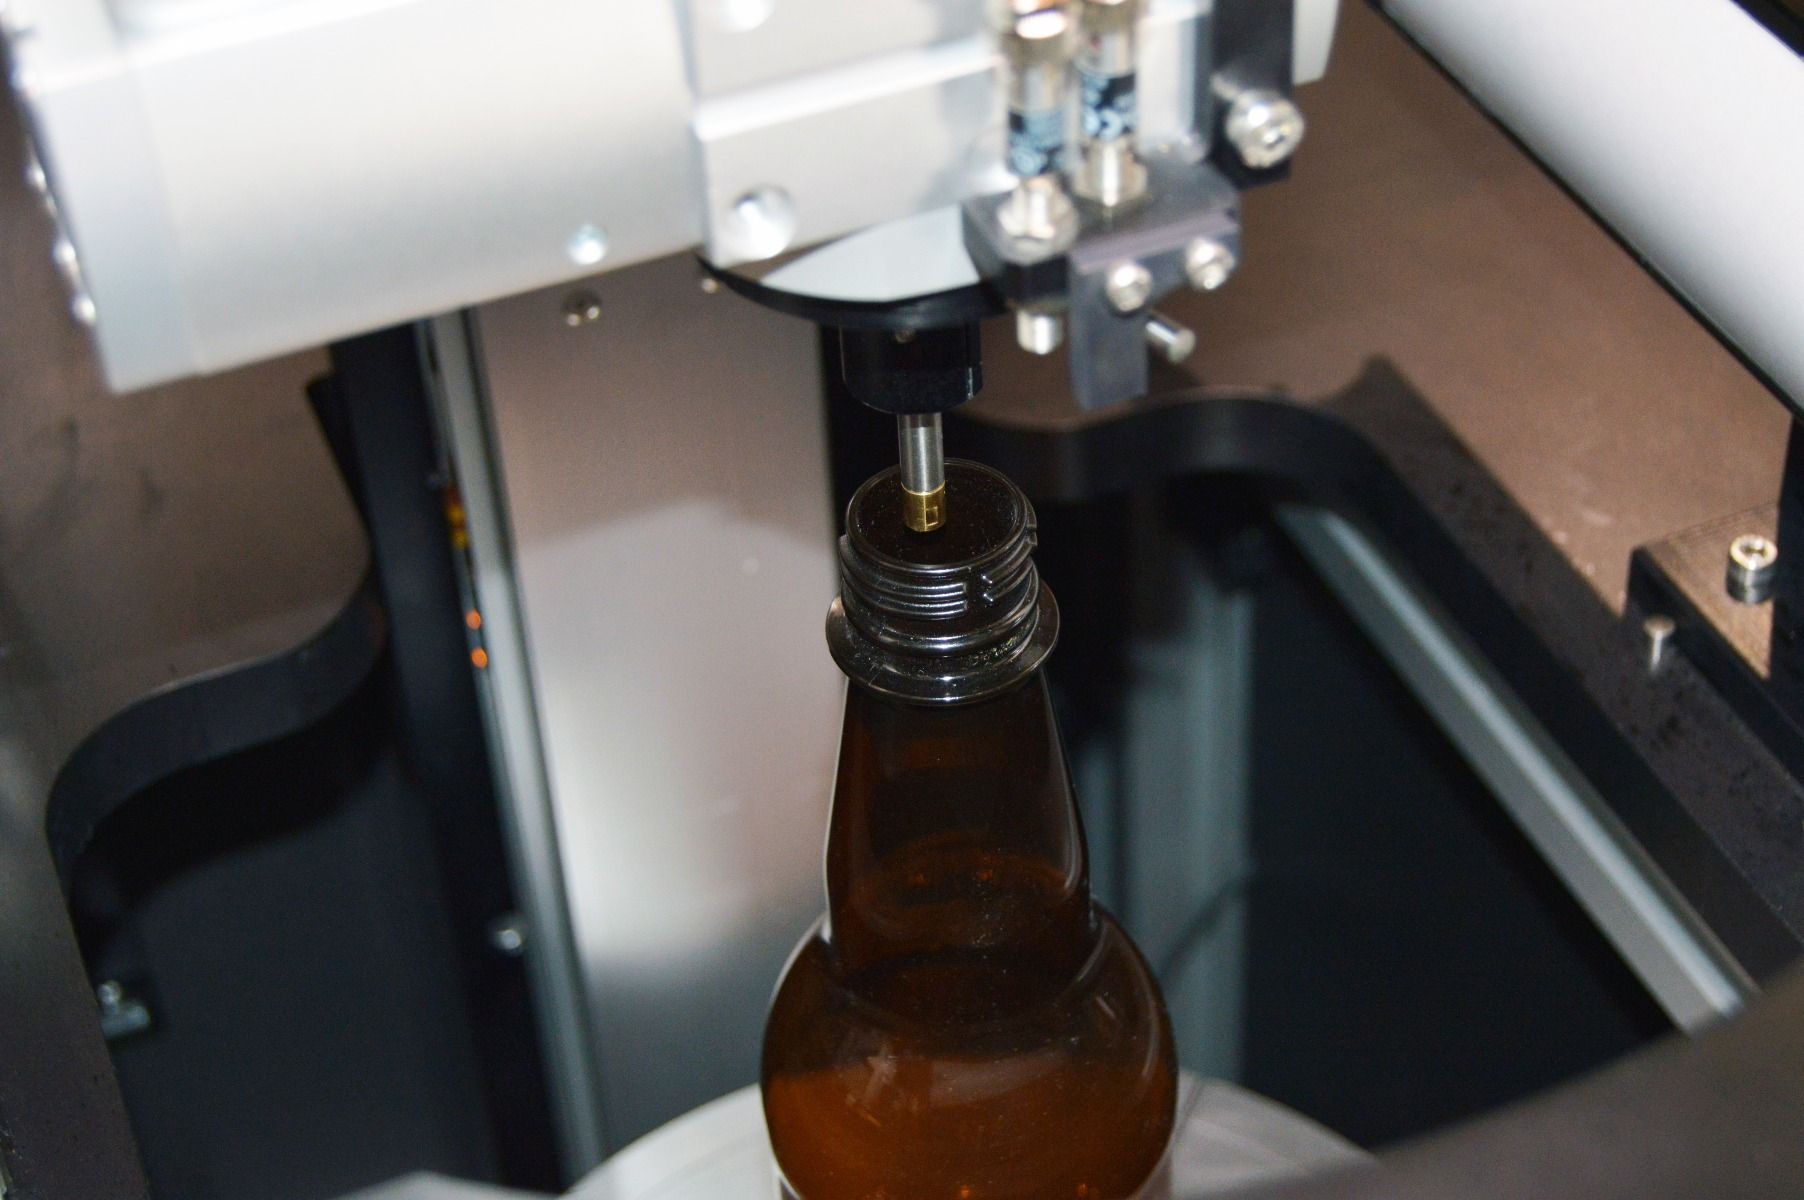
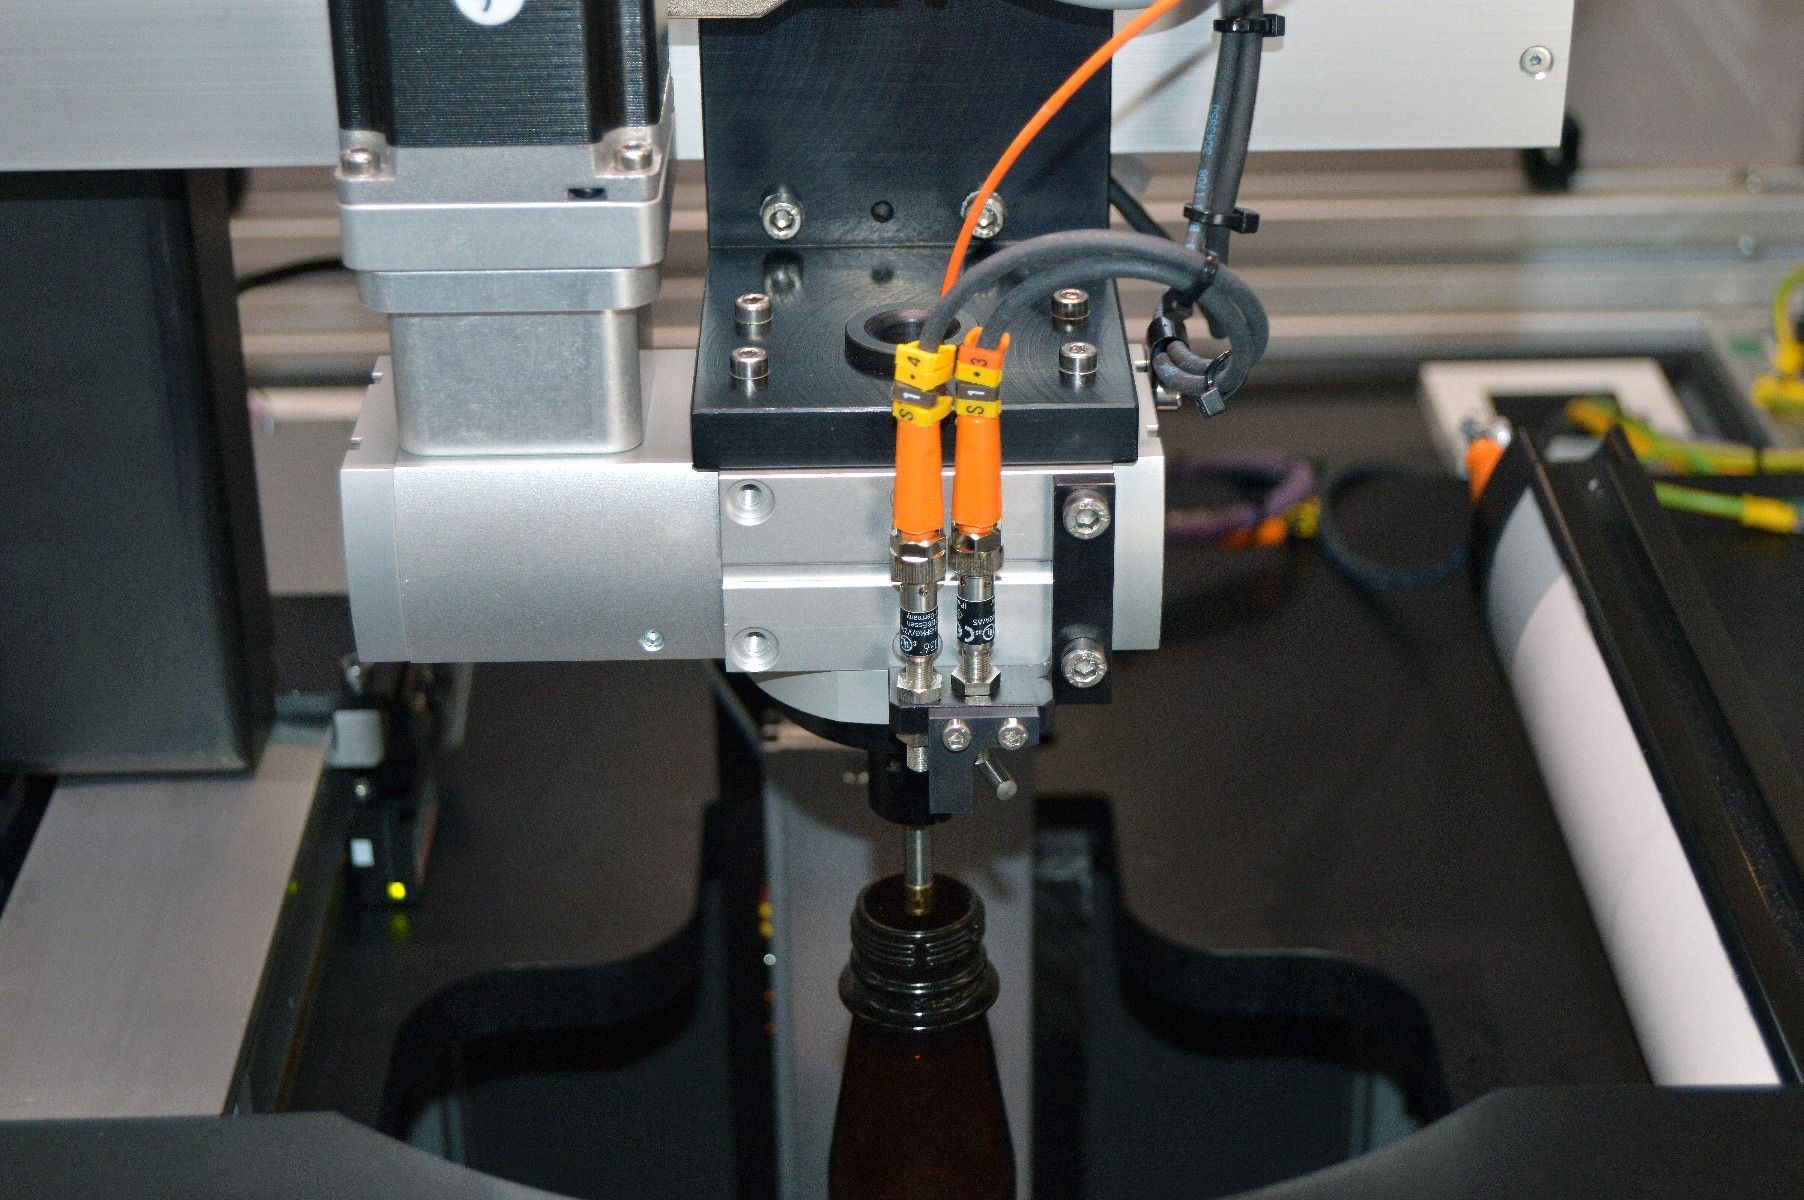
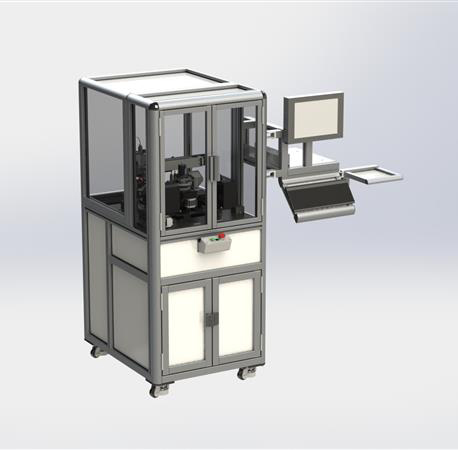
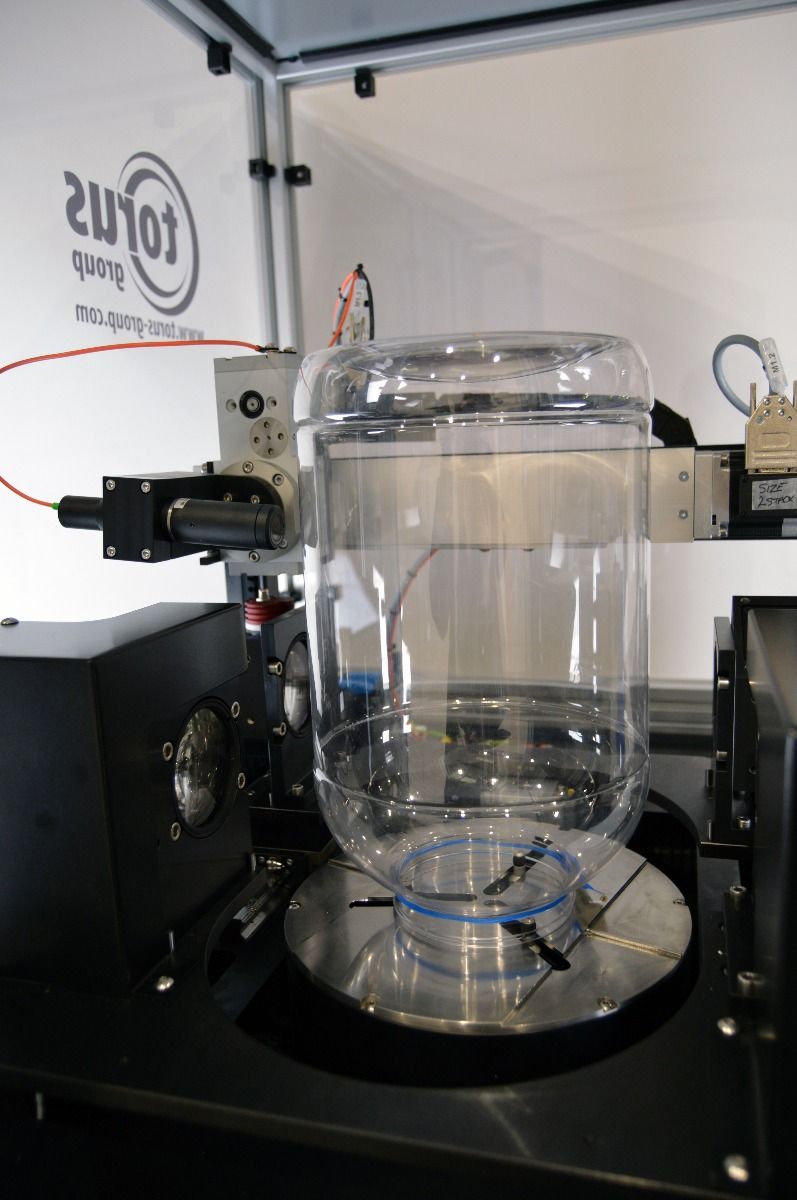
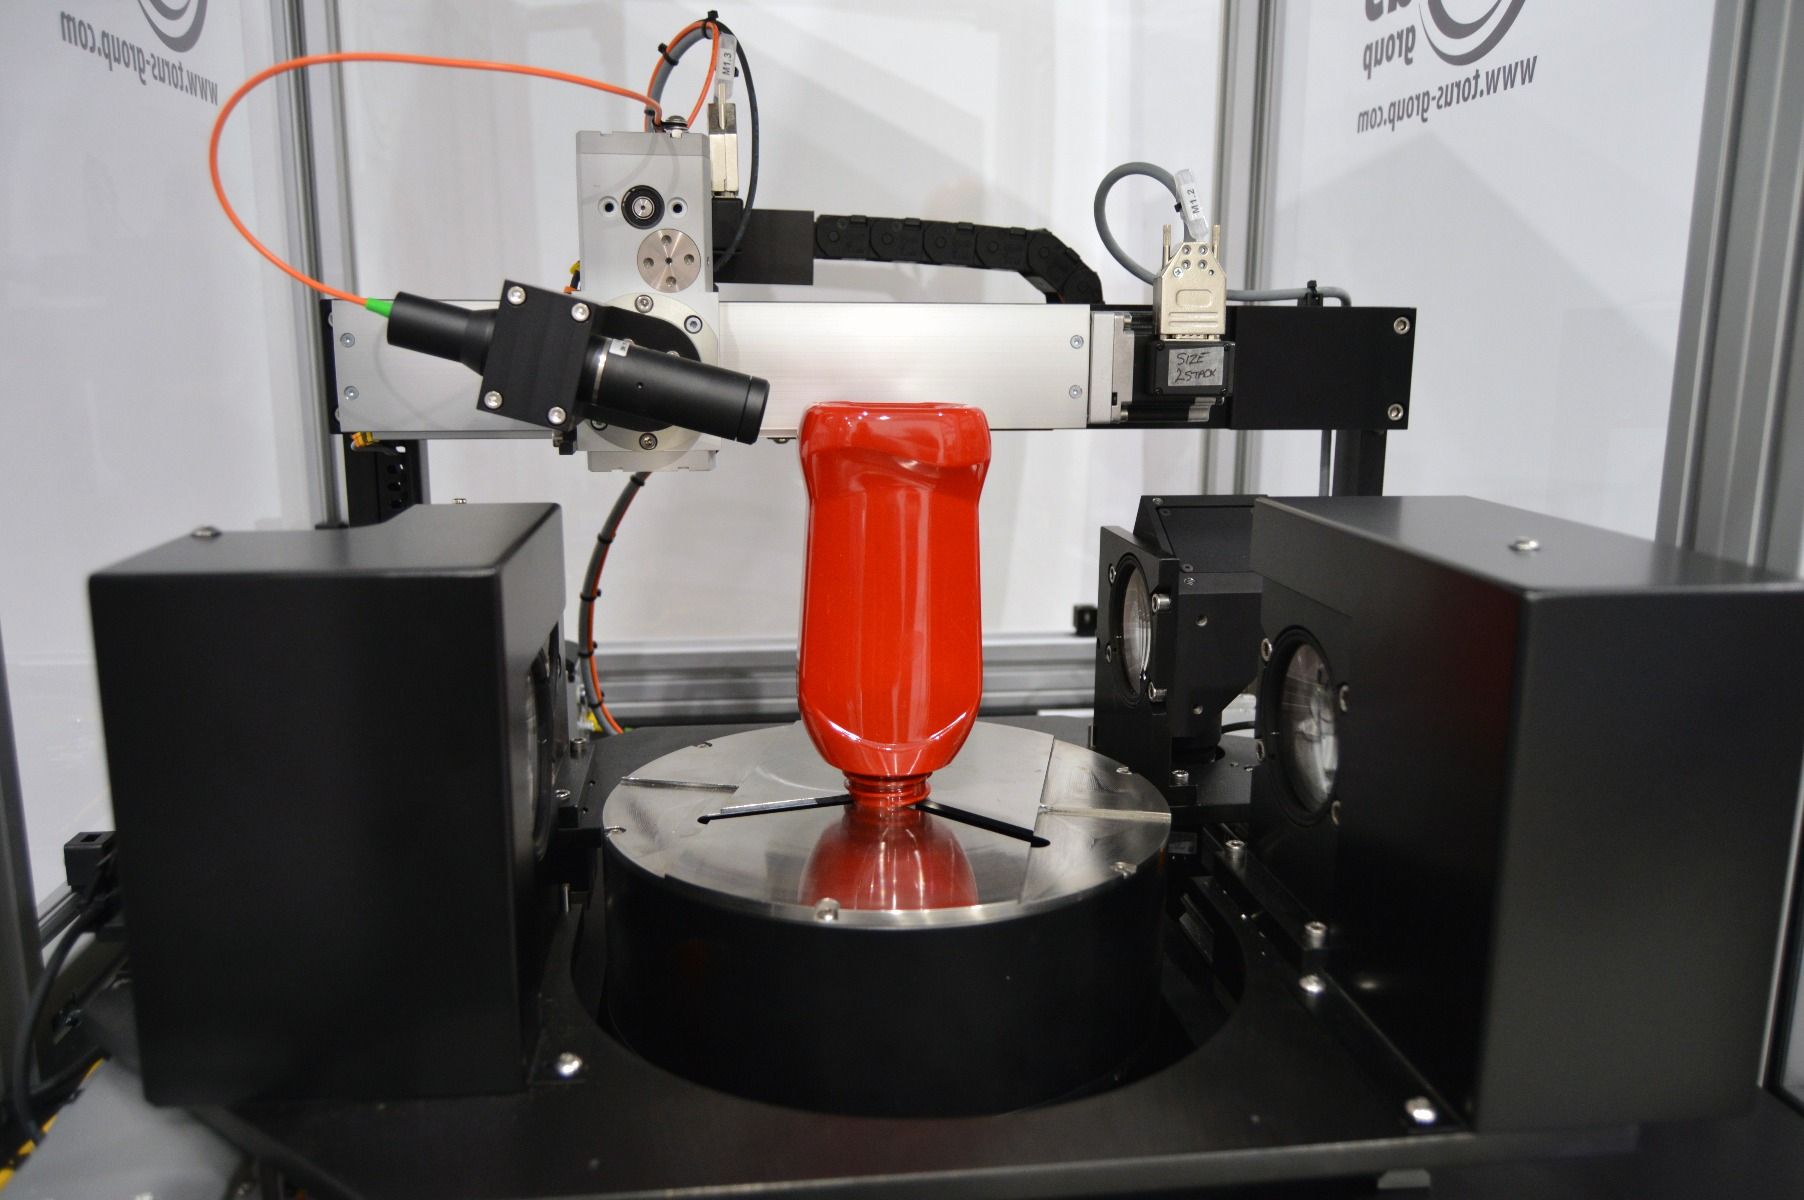
      The B300 Bottle Wall Thickness Gauge provides a factory calibrated solution to material thickness distribution, bottle height and base clearance measurements with unrivalled position, accuracy and repeatability. By turning the bottle upside down the confocal white light sensor can access the bottle base, eradicating historic and potentially dangerous sections weight checks. As the industry evolves a new level of quality control is becoming expected. Fast, accurate and reliable data can be generated and sent to the network without any operator intervention.

      Specifications

      Torus’ Semi-Automatic Thickness Inspection Gauge has been developed to provide a traceable measurement solution for material thickness distribution, bottle height and base clearance measurement. Using state-of-the-art white light technology for rapid non-contact reliable inspection, the system takes advantage of a self-teach profile scan function, for quick part program creation.


      Quick change location tooling provides the capability for the system to measure a full range of components, from small vials to large containers, future production proofing the machine as customer requirements and bottle portfolios develop. Bottles are held neck down, allowing the measurement sensor to access the bottle base, eradicating historic and potentially dangerous section weight checks.


      Automatic body routines within the inspection module remove the requirement for precise orientation loading into the system, with the measurement sensor completing alignment using part features such a petals or major axis edges.

      Torus


      Quick intuitive measurement position programming, powered through Torus’ GaugeXplorer software, enables the user to quickly add multiple measurement points with complete flexibility or at fixed height positions from base or sealing surface.

      Measurement Features

      • Wall Thickness | Up to 3,000 measurements | Accuracy: +/- 0.020 mm
      • Base Thickness | Up to 3,000 measurements | Accuracy: +/- 0.050 mm
      • Standing Thickness | Petaloid Bottle Stand Point | Accuracy: +/- 0.050 mm
      • Bottle Height | Individual / Average | Accuracy: +/- 0.100 mm
      • Bottle Clearance | Individual | Accuracy: +/- 0.100 mm


      Technical Specification

      • Material Types | PET, PP, TRITAN, PEF
      • Component Neck Types | All round necks
      • Component Shapes | Round, Oval, Square, Non-Symmetrical, Off centre neck
      • Component Internal Neck Diameter | Ø 8.00 – Ø 70.00 mm
      • Component Height Range | ≤ 460 mm
      • Component Body Diameter | ≤ 200 mm
      • Self-teach profile scan function
      • Automatic body alignment routines
      • Base and standing thickness as standard
      • Ability to measure small vials to wide mouth, large containers
      • Offering an alternative option to industry standard thickness inspection equipment, Magna Mike
      • Single side measurement
      • Thickness measurement sensor can be configured for 0.04 mm – 8.00 mm measurement range
      • Up to 6000 measurement data points per bottle
      • Radar and profile distribution display screens

      Torus Recommends

      Our Divisions

      Through our three key divisions we deliver a range of measurement and inspection systems, metrology services and machine enclosure solutions, as well as our online store for aluminium profile components and workspace solutions.

      How can we help you?

        AUTOMATIC TQ LAB

        AUTOMATIC TQ LAB

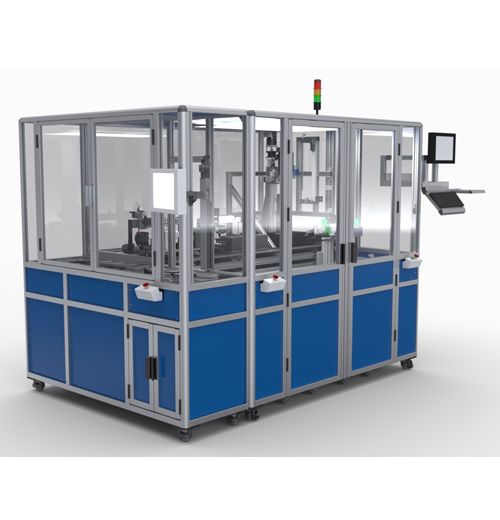
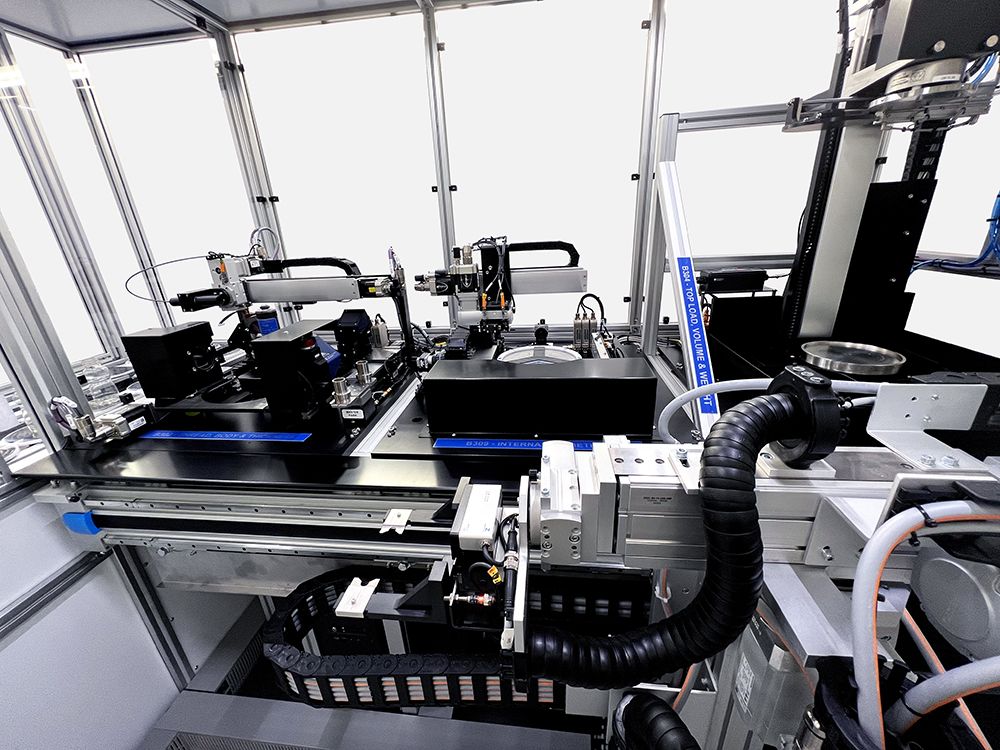
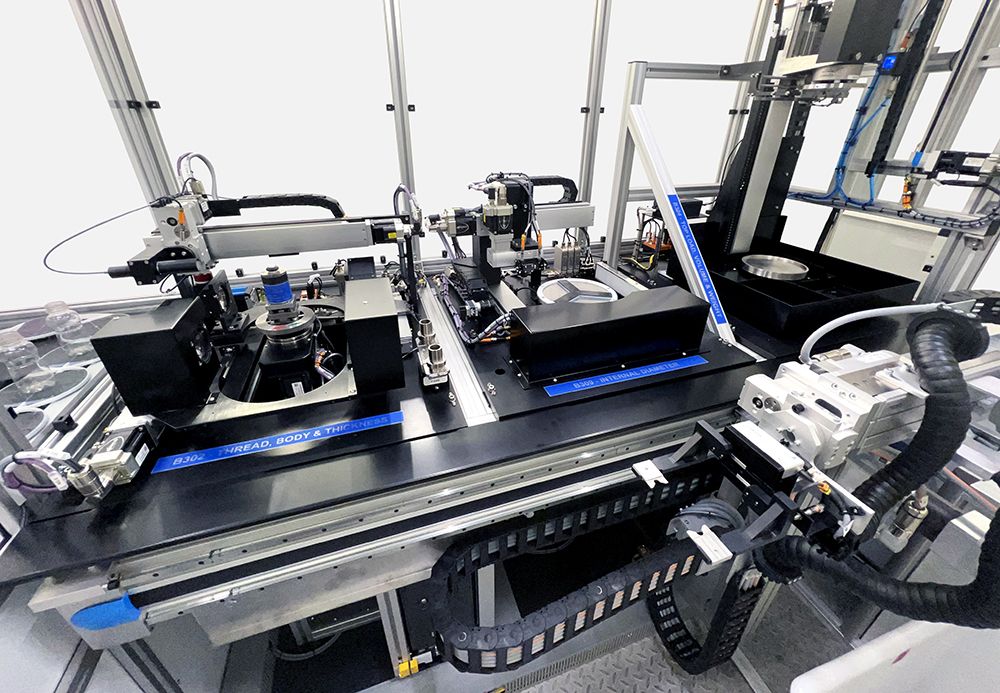
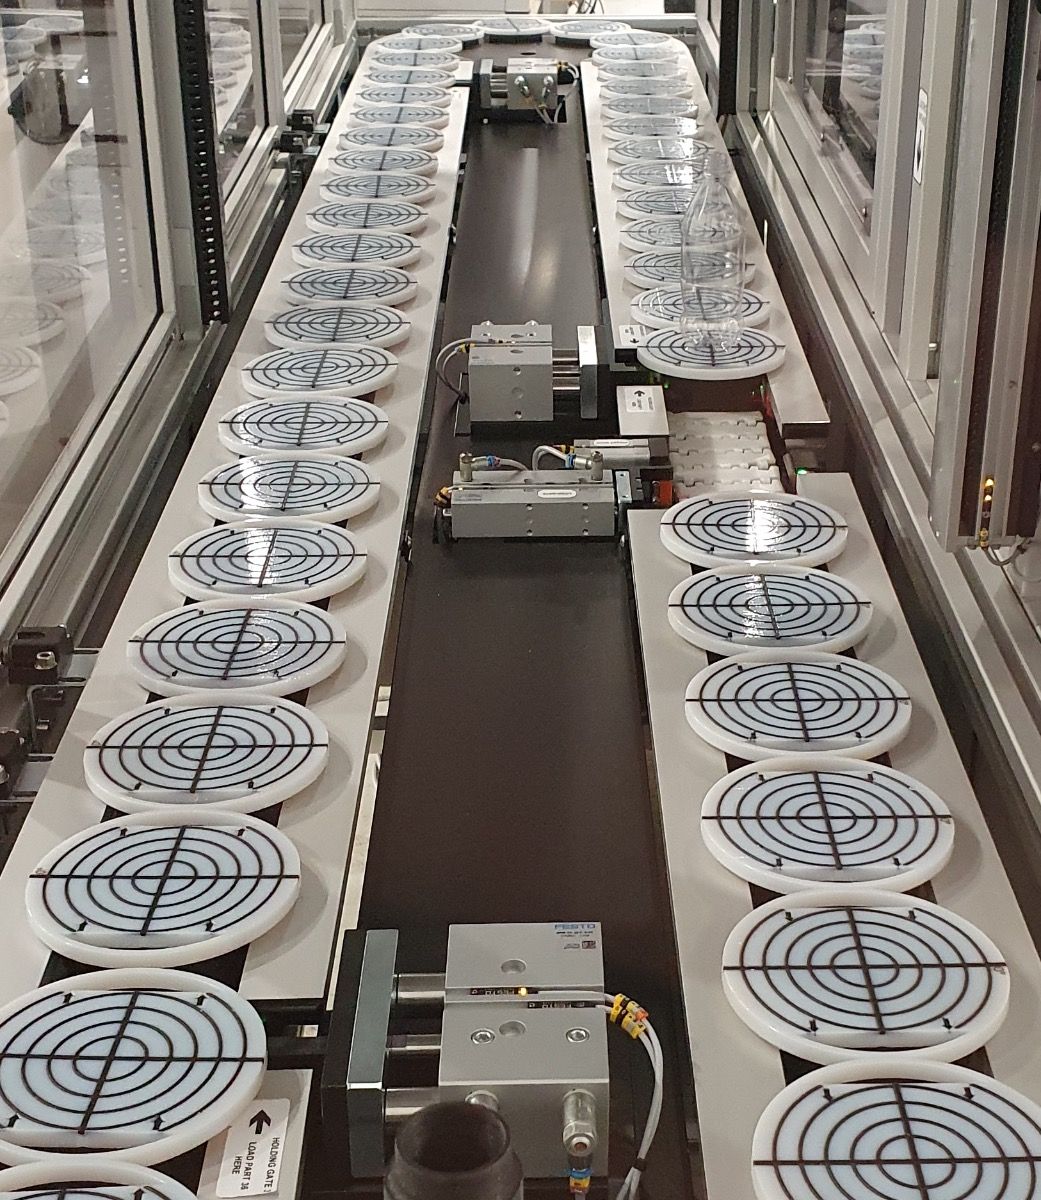
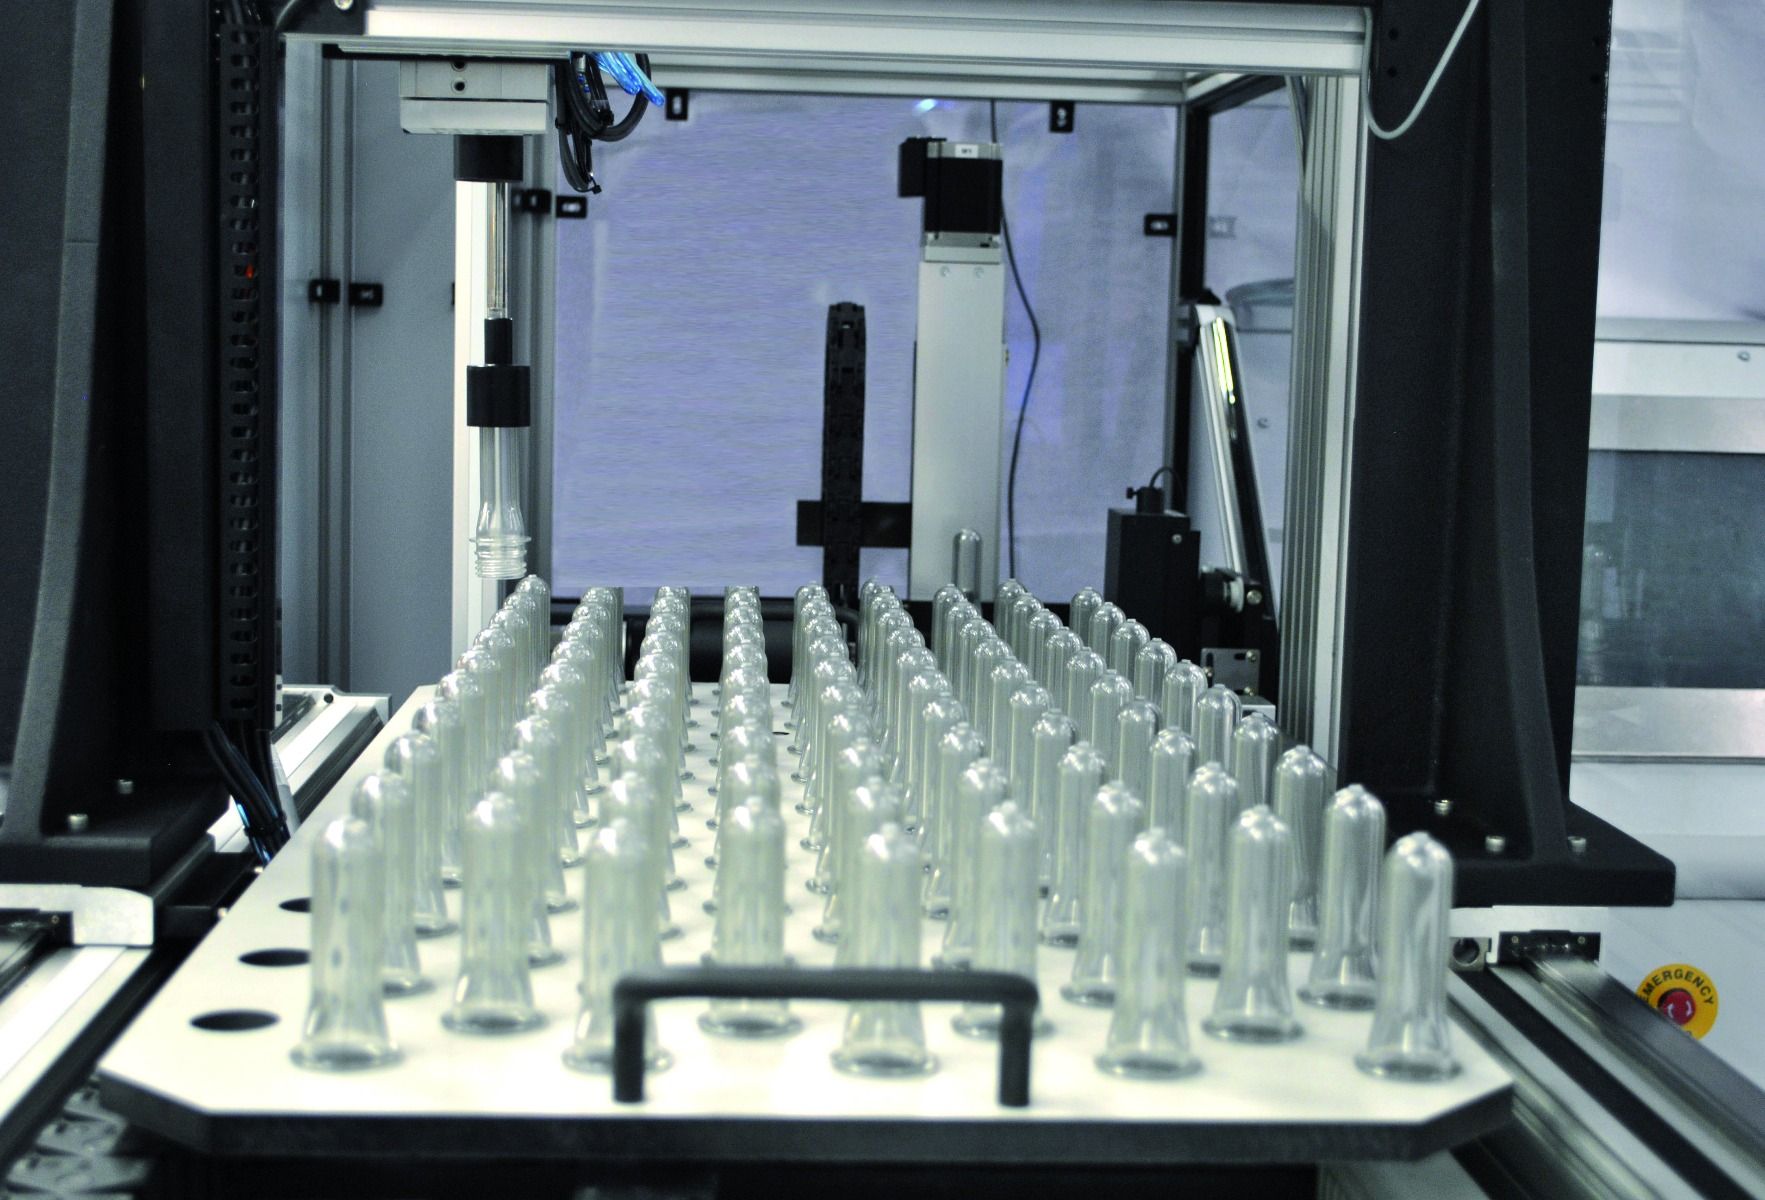
        Torus’ TQ-Lab is a unique, total quality testing station for plastic packaging such as plastic bottles and jars, typically used for soft drinks, health supplements, cosmetics, and domestic cleaning products. Plastics packaging requires precision measurement of aspects such as material thickness, outer body and neck physical dimensions, neck diameter and volume as well as load testing for crushing and pressure. The TQ-Lab can undertake all the necessary tests on both empty and filled plastic containers or preforms in a single system. The multi-module concept improves accuracy and repeatability, reduces time and labour costs and saves on floor space in production environments. Once batches of plastic containers are placed onto the turnaround conveyor, the operator simply selects the relevant program and walks away.


        Specifications

        The proven contact measurement technology ensures accurate, reliable and traceable measurement 24/7.

        Technical Specification

        • Component MaterialsPET, PP, TRITAN, PEF, HDPE
        • Component Neck FinishThread, Continuous thread, split thread, PCO, SP, ROPP, Snap, Clinch
        • Component ShapesRound, Round with petals, Oval, Square, Non-Symmetrical, Off-centre neck
        • Component Height Range80 – 400 mm
        • Component Gripper Pick Up Height75 – 395 mm
        • Component Outer Body Diameter RangeØ 15 – Ø 160 mm
        • Component Internal Neck Diameter RangeØ 15 – Ø 45 mm
        • Component Outer Neck Diameter RangeØ 18 – Ø 54 mm
        • Component Weight Range5 – 3000 g


        Measurement Features

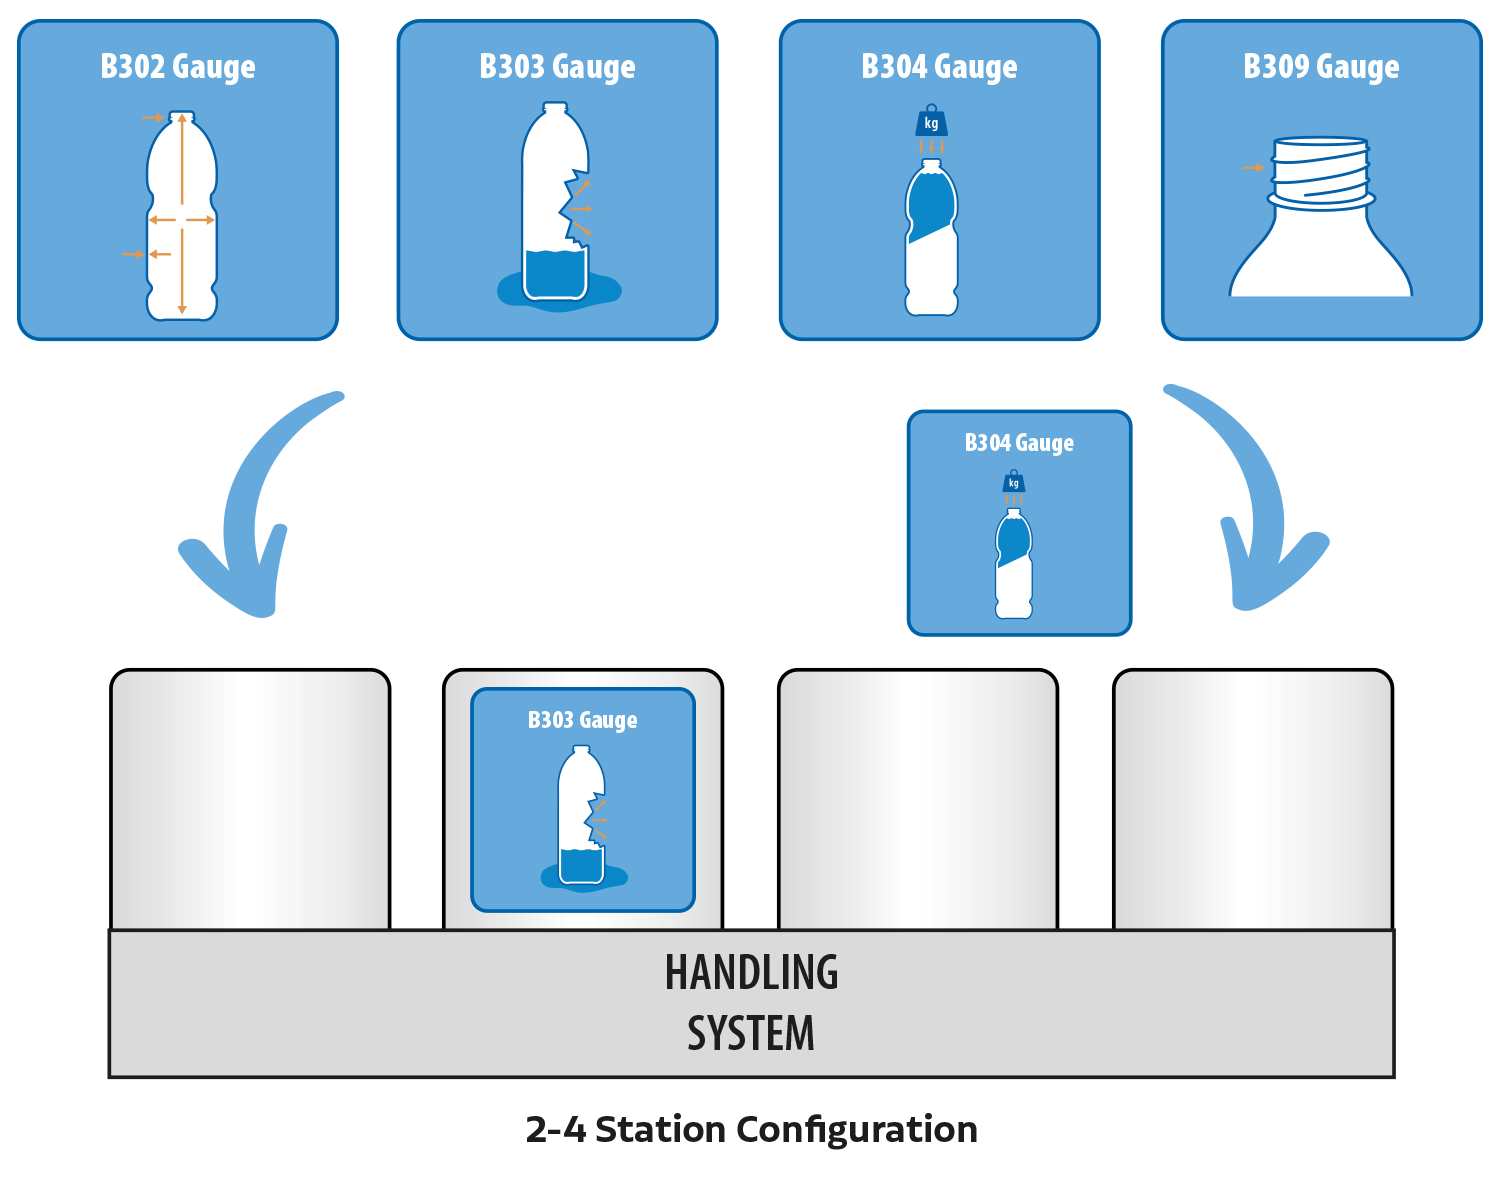
        Choose from between 2 and 4 measurement modules to customise your TQ Lab:

        • B302 – Thread, Body and Thickness Module
        • B304 – Load, Volume and Weight Module
        • B303 – Burst Pressures Module
        • B309 – Internal Diameter Module
        • Worlds only Fully Automatic Bottle Inspection Laboratory
        • Providing over 8,000 measurement data points across the full range of Dimensional and Destructive module options
        • All required inspection features completed in one system, reducing testing time, equipment requirement and floor space
        • GaugeXplorer operating system, enables fast part program generation completed on the gauge, Industry Standard and programmable features can be renamed to local measurement feature requirements at customers facility
        • CSV data output and flexible formatting for input in to local data handling/control systems at customers facility
        • Remote support package, which includes automatic gauge monitoring and reporting back to Torus for proactive response
        • Measurements traceable and certified to UKAS standards, with internal Torus annual calibration recall system, for continued measurement assurance
        • Configurable conveyor options, for batches of up to 50 components, with interchangeable pallet options specific to the customers bottle portfolio

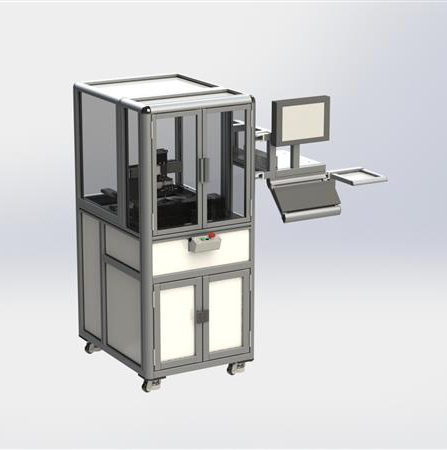
        Our modular gauge setups are unique and allow you to customise your gauge as and when you require, giving you the flexibility to ensure you have a total quality solution.

        Choose from a range of conveyor options, and finally choose your modules (a minimum of a 2 station configuration through to a maximum of 4).
        Torus Recommends

        Our Divisions

        Through our three key divisions we deliver a range of measurement and inspection systems, metrology services and machine enclosure solutions, as well as our online store for aluminium profile components and workspace solutions.

        How can we help you?

          B309 SEMI-AUTOMATIC INTERNAL DIAMETER GAUGE

          B309 SEMI-AUTOMATIC INTERNAL DIAMETER GAUGE

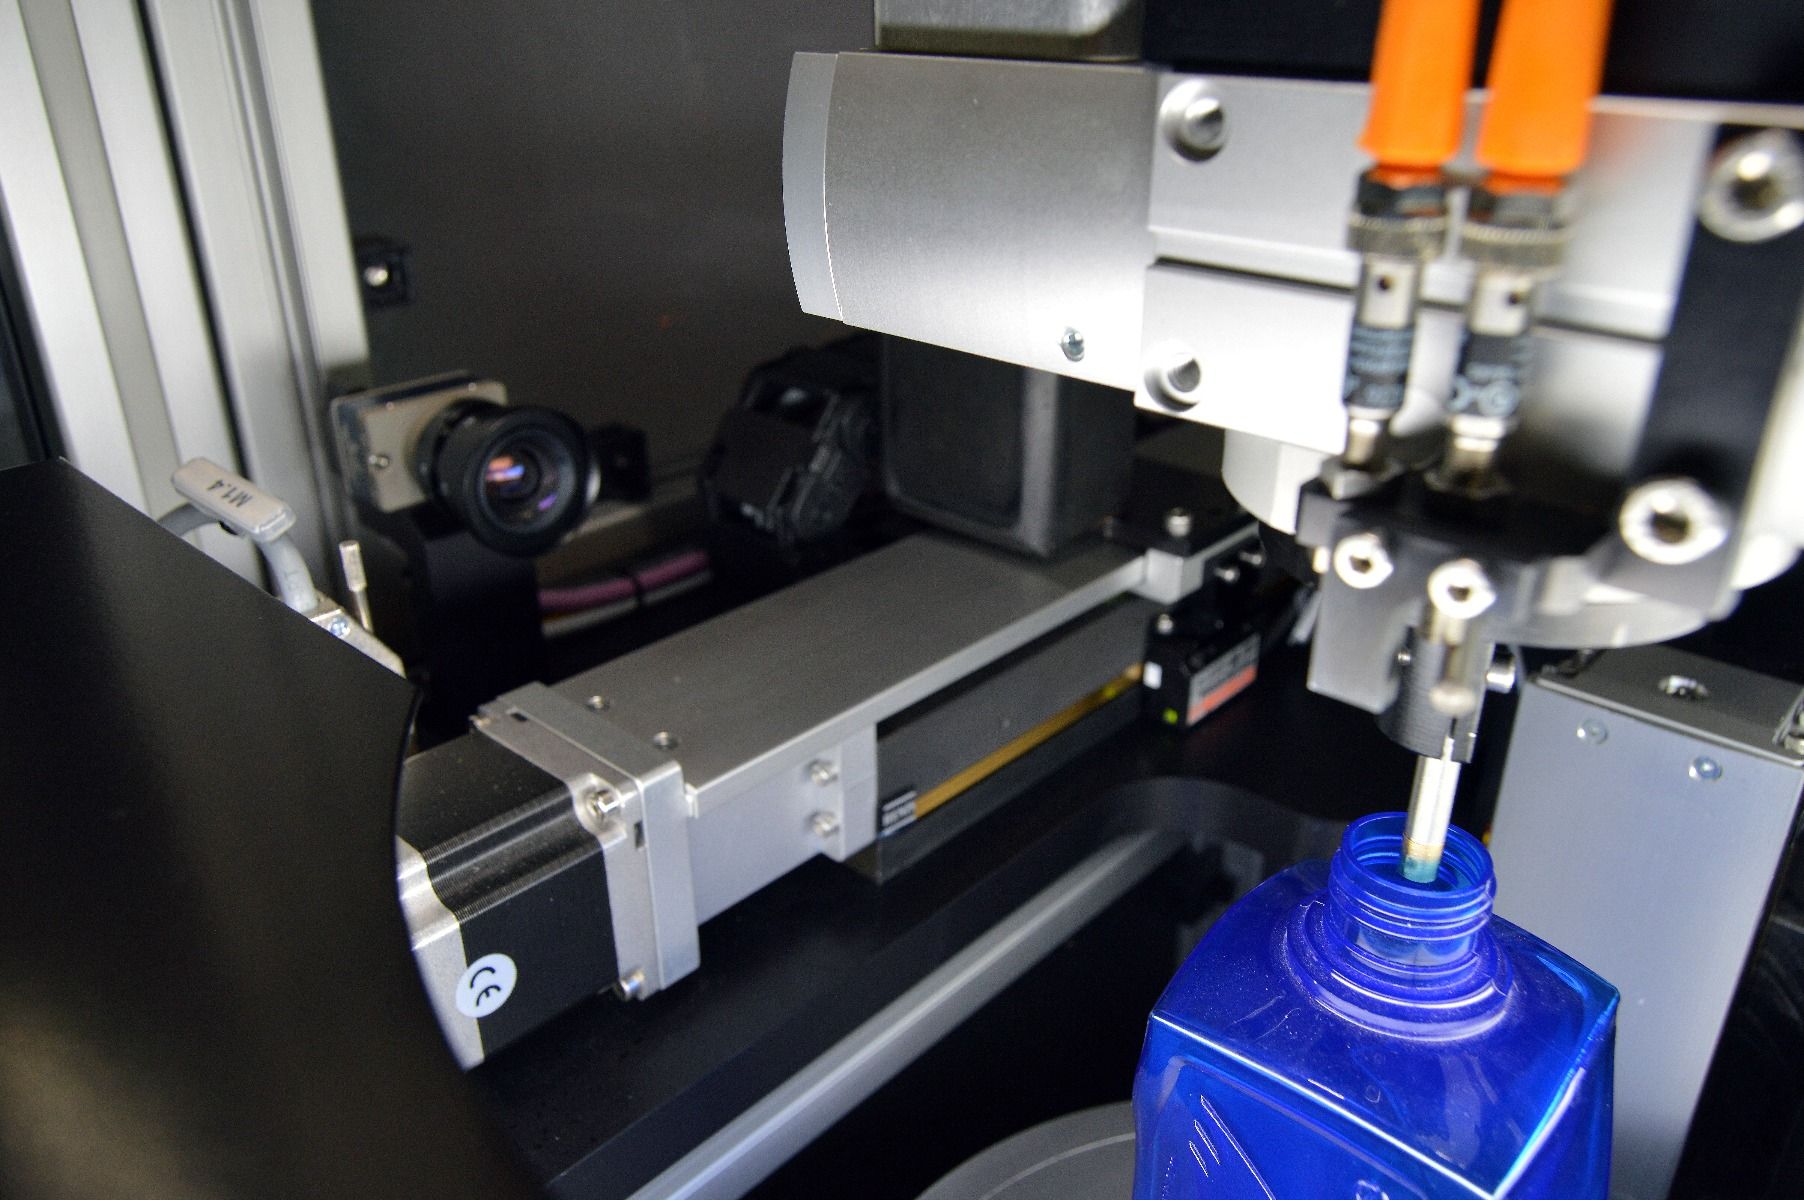
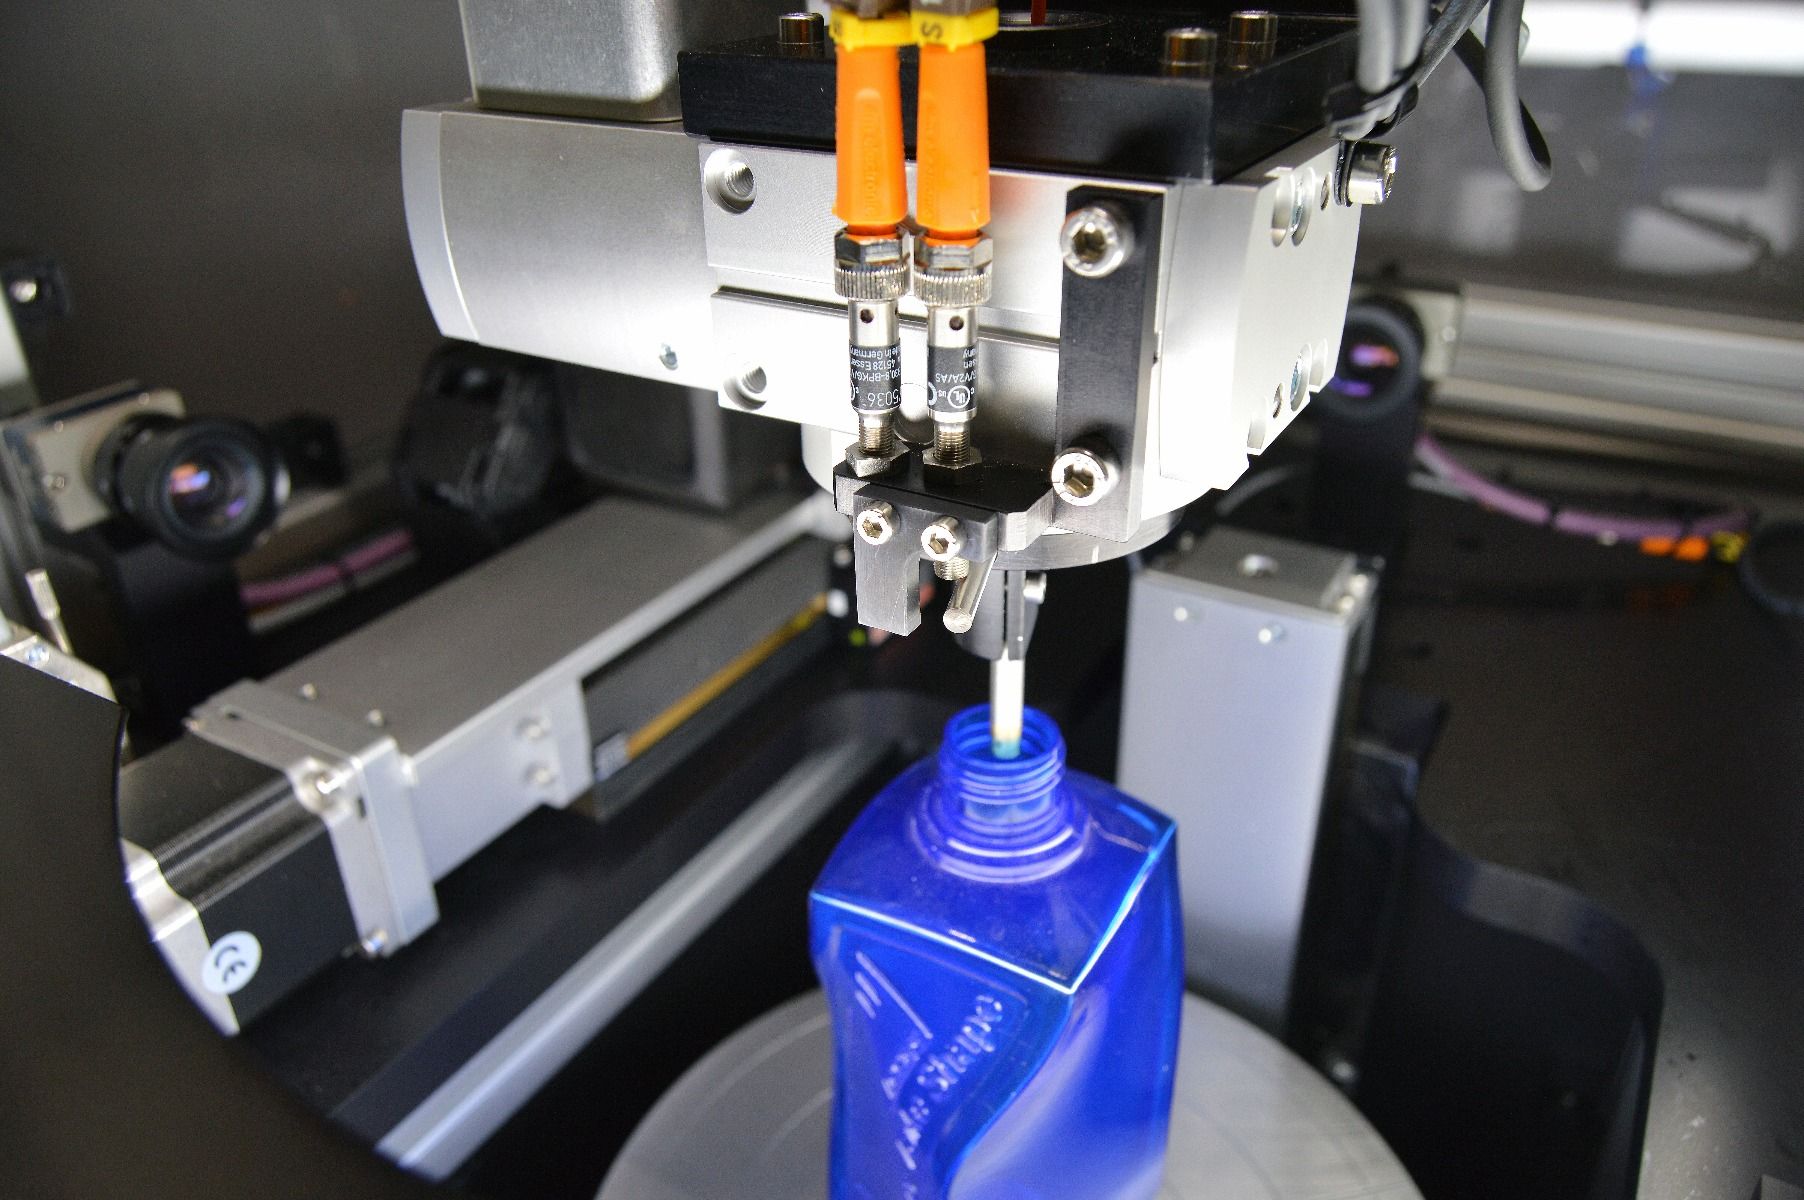
          Torus’ new Internal Diameter Gauge for plastic containers and preforms offers non-contact internal diameter measurements in a single operation with industry leading measurement range.

          Specifications

          The proven contact measurement technology ensures accurate, reliable and traceable measurement 24/7.


          Reporting options such as standard CSV or Statistical Process Control (SPC)


          Certification to UKAS standards.

          Measurement Features

          • Internal Diameter
          • System Accuracy | Accuracy: Internal Diameter +/- 0.030 mm


          Technical Specification

          • Component Types | Bottles, jars, containers and preforms
          • Container Height Range | 30 mm – 460 mm
          • Neck ID Range | 8.5 mm – 145 mm
          • Max Body Diameter | 200 mm
          • Materials | PET, HDPE, TRITAN, PP (others)
          • Measurement range suits small vials, common necks and wide mouth containers
          • Eliminates operator influence
          • Ability to measure internal diameters at multiple heights (from TOF)
          • Utilising state-of-the-art confocal white light technology
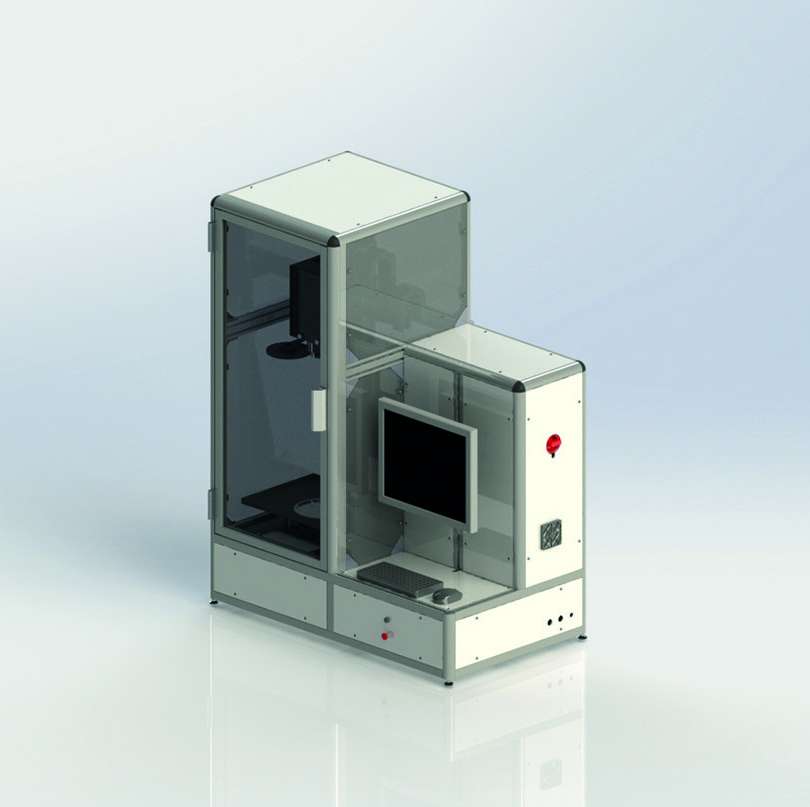
          • Floor standing industrial enclosure for laboratory or shop floor environments
          • Vertical Scanning Minimum Diameter Find function
          • Intelligent camera system for finding neck centre

          Torus Recommends

          Our Divisions

          Through our three key divisions we deliver a range of measurement and inspection systems, metrology services and machine enclosure solutions, as well as our online store for aluminium profile components and workspace solutions.

          How can we help you?

            B304 SEMI-AUTOMATIC TOP LOAD, VOLUME AND WEIGHT GAUGE

            B304 SEMI-AUTOMATIC TOP LOAD, VOLUME AND WEIGHT GAUGE

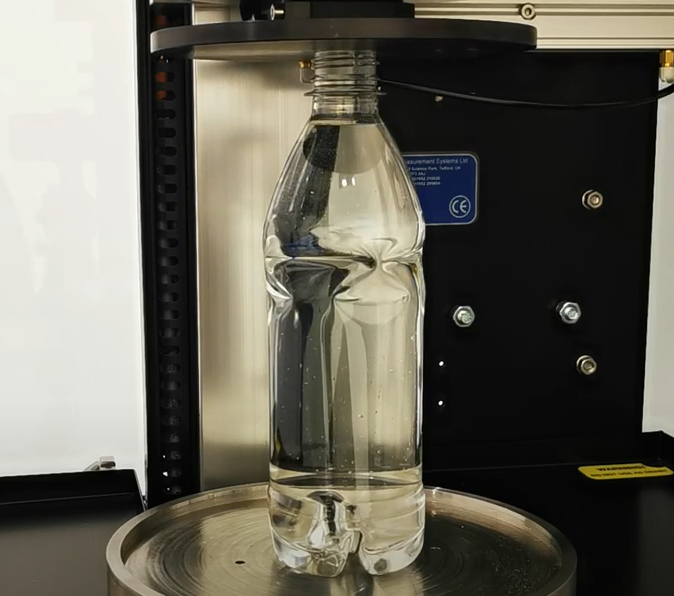
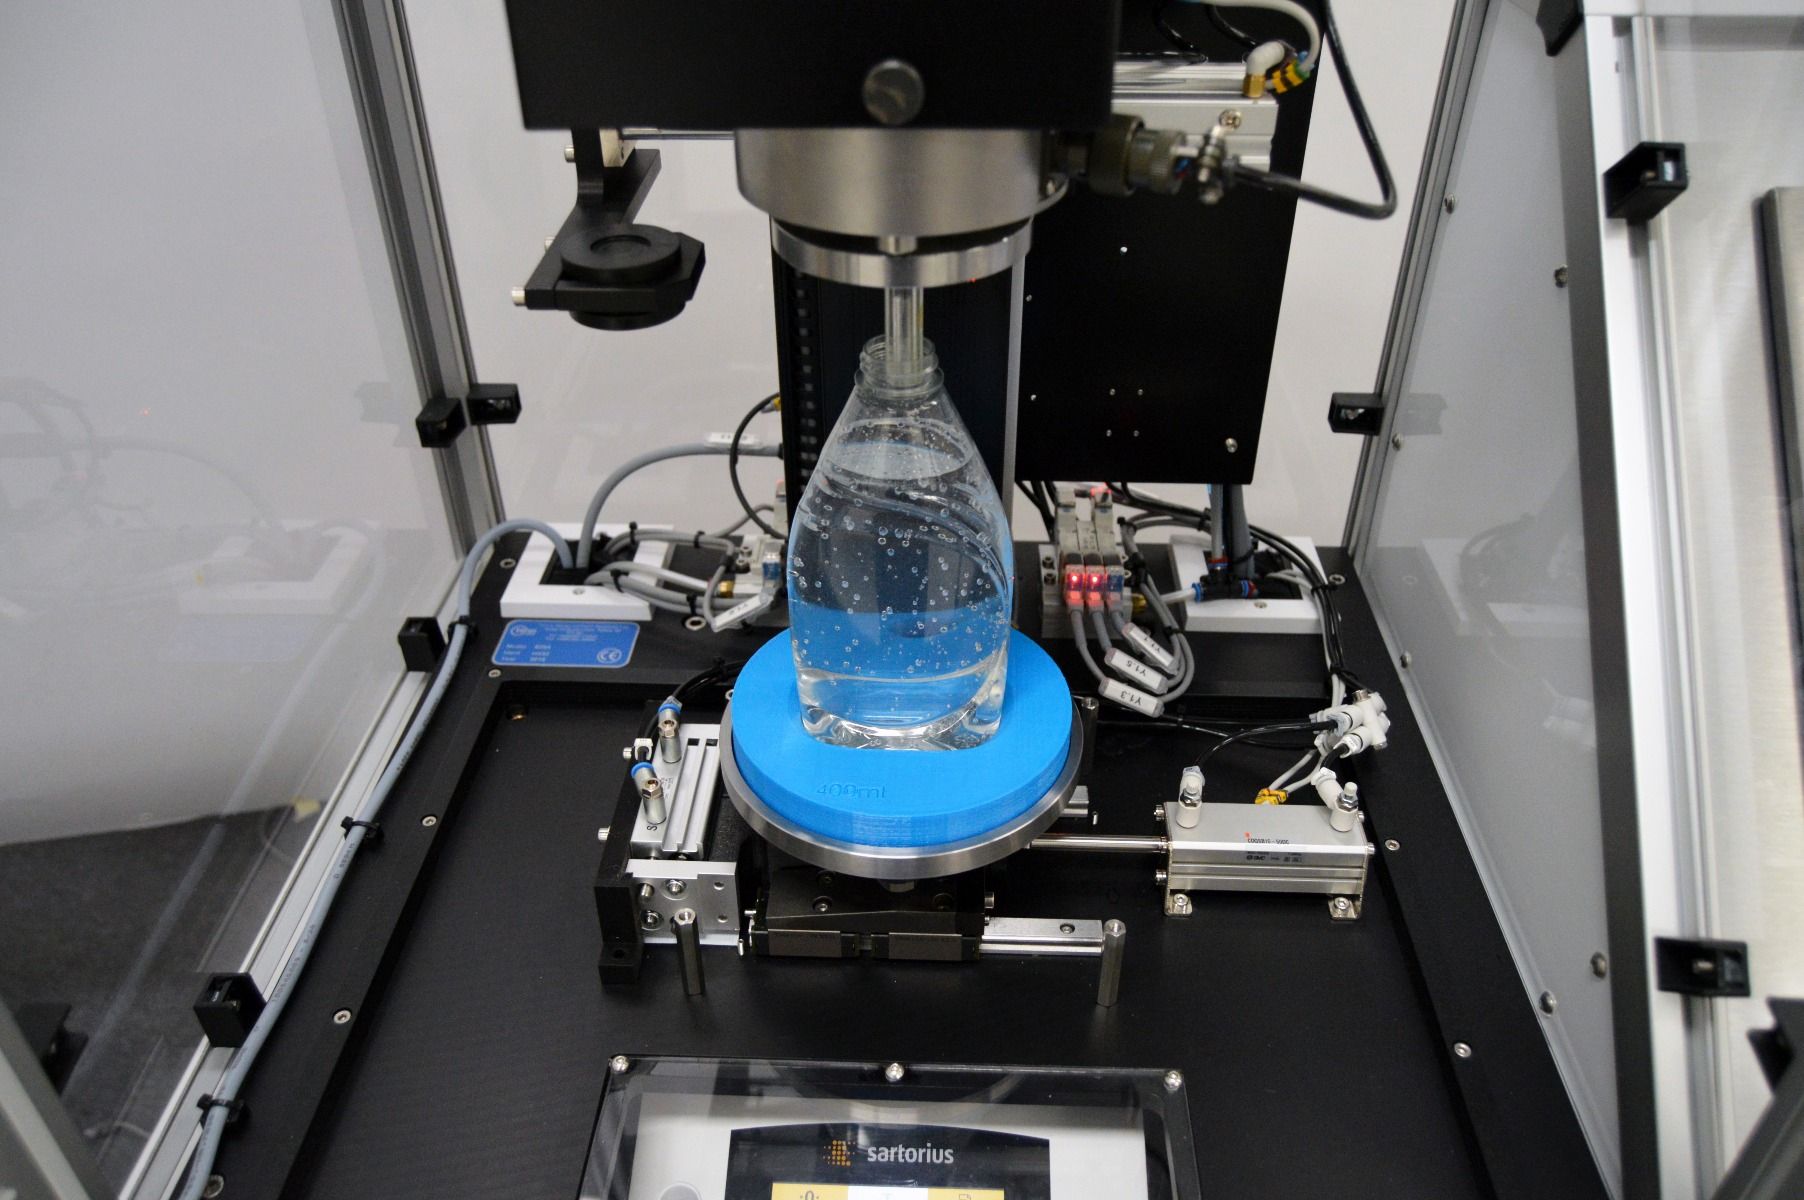
            The B304 Top Load, Volume and Weight Gauge provides the worlds first in-line combination test for measuring vertical strength and capacity. Data can be presented numerically and graphically, creating a Max Load Vs Deflection signature as the ‘live’ bottle force is measured. A traceable batch setup function is provided for further blow moulder to cavity analysis. The test specifics adhere to ASTM D2659 Standards and offer selectable units of Force, adjustable compression speeds with a simple windows based programmable user interface.

            Specifications

            The proven contact measurement technology ensures accurate, reliable and traceable measurement 24/7.


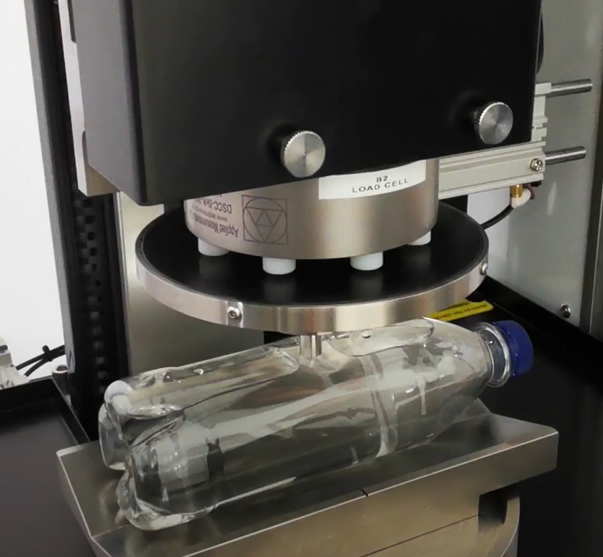
            The latest update for the B304 introduces a side load horizontal test function, for both filled and empty containers, providing critical compression information.


            Reporting options such as a standard CSV or Statistical Process Control (SPC)


            Traceable to UKAS Standards.

            Measurement Features

            • Dry Top Load | N, kgs, lbf | Accuracy: +/- 5.0 N
            • Wet Top Load | N, kgs, lbf | Accuracy: +/- 5.0 N
            • Side Load | N, kgs, lbf | Accuracy: +/- 5.0 N
            • Deflection Point | mm | Accuracy: +/- 1.0 mm
            • Brimful (Overflow) | ml | Accuracy: +/- 1.0 ml
            • Fill Height | ml | Accuracy: +/- 1.0 ml
            • Vacuity (Headspace) | % | Accuracy: +/- 1.0 %
            • Empty Bottle Weight | g | Accuracy: +/- 1.0 g
            • TemperatureºC | Accuracy: +/- 1.0 ºC


            Technical Specification

            • Material Types | PET, PP, TRITAN, HDPE, PEF
            • Fill Height from TOF≤ 65 mm (+ on application)
            • Component Neck ID≤ Ø 13 mm – 145 mm
            • Component Height Range | ≤ 400 mm
            • Component Body Diameter | ≤ 200 mm @ base
            • Component Max. Load | ≤ 2500 N (250 kgf)
            • Compression Range | 0-50 mm
            • Selectable Test Speed | 0.5 – 510 mm/min


            Volume Inspection Options

            • Standard Range | ≤ 3000 ml
            • Advanced Range | ≤ 5000 ml
            • Tests adhere to ASTM D2659 standard
            • Top load tests can be completed, sealed, vented or capped
            • Scan until dip functionality to stop test once elastic limit is passed to reduce cycle time
            • Side load (horizontal load) testing functionality
            • Top of finish detection for accurate and repeatable fill height and brimfull (overflow) fill positions
            • Volume and wet compression testing completed in one part program cycle
            • Water service packages to support hard and soft water conditions at customer facility

            Torus Recommends

            Our Divisions

            Through our three key divisions we deliver a range of measurement and inspection systems, metrology services and machine enclosure solutions, as well as our online store for aluminium profile components and workspace solutions.

            How can we help you?

              B303 SEMI-AUTOMATIC BOTTLE BURST GAUGE

              B303 SEMI-AUTOMATIC BOTTLE BURST GAUGE

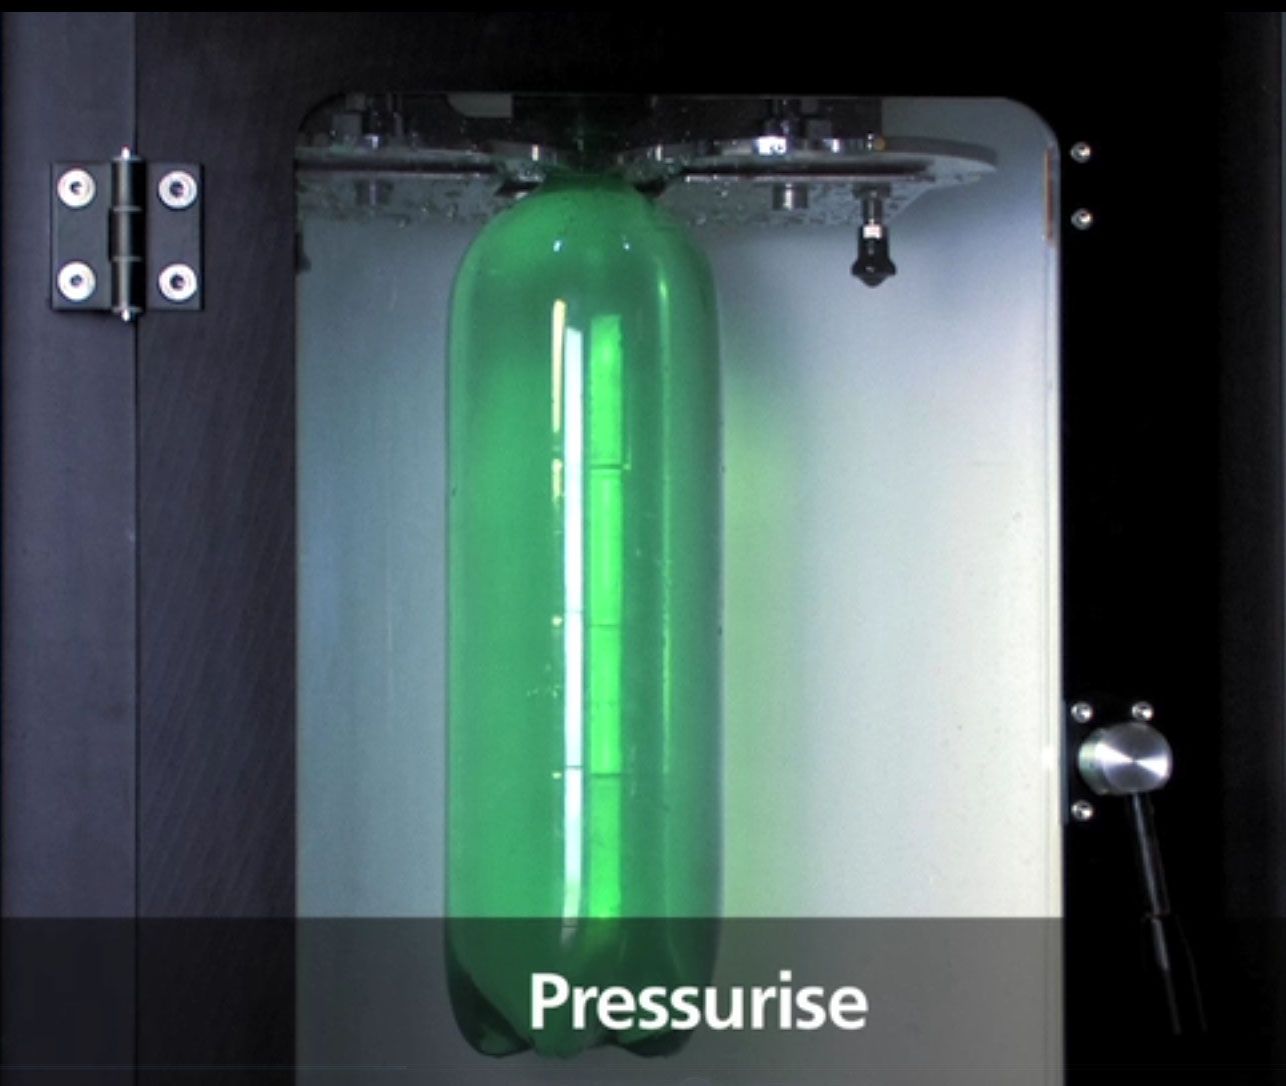
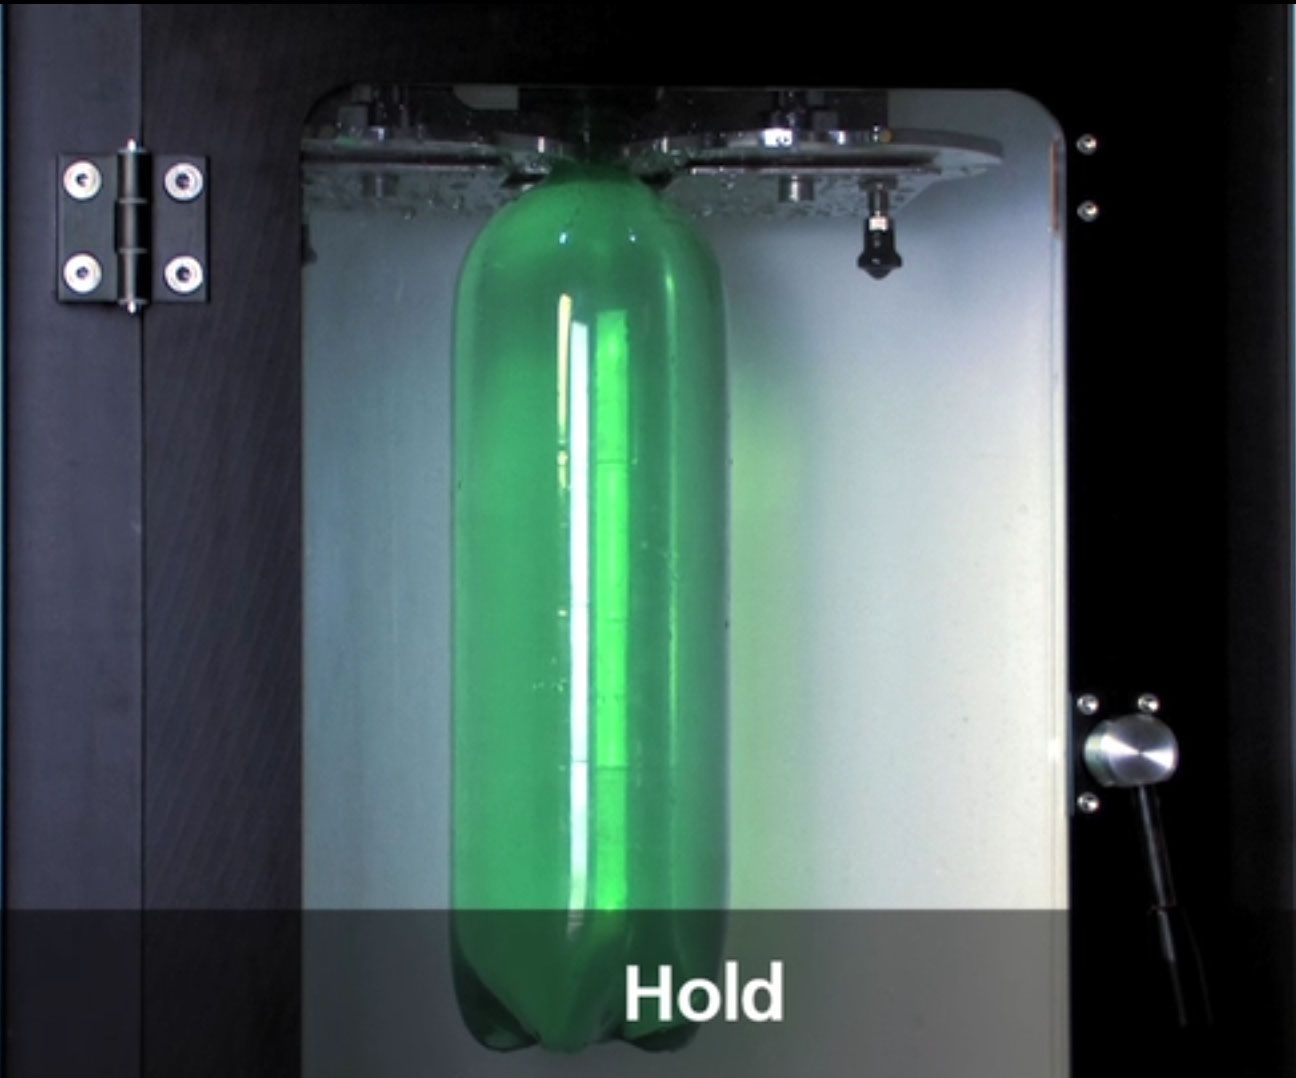
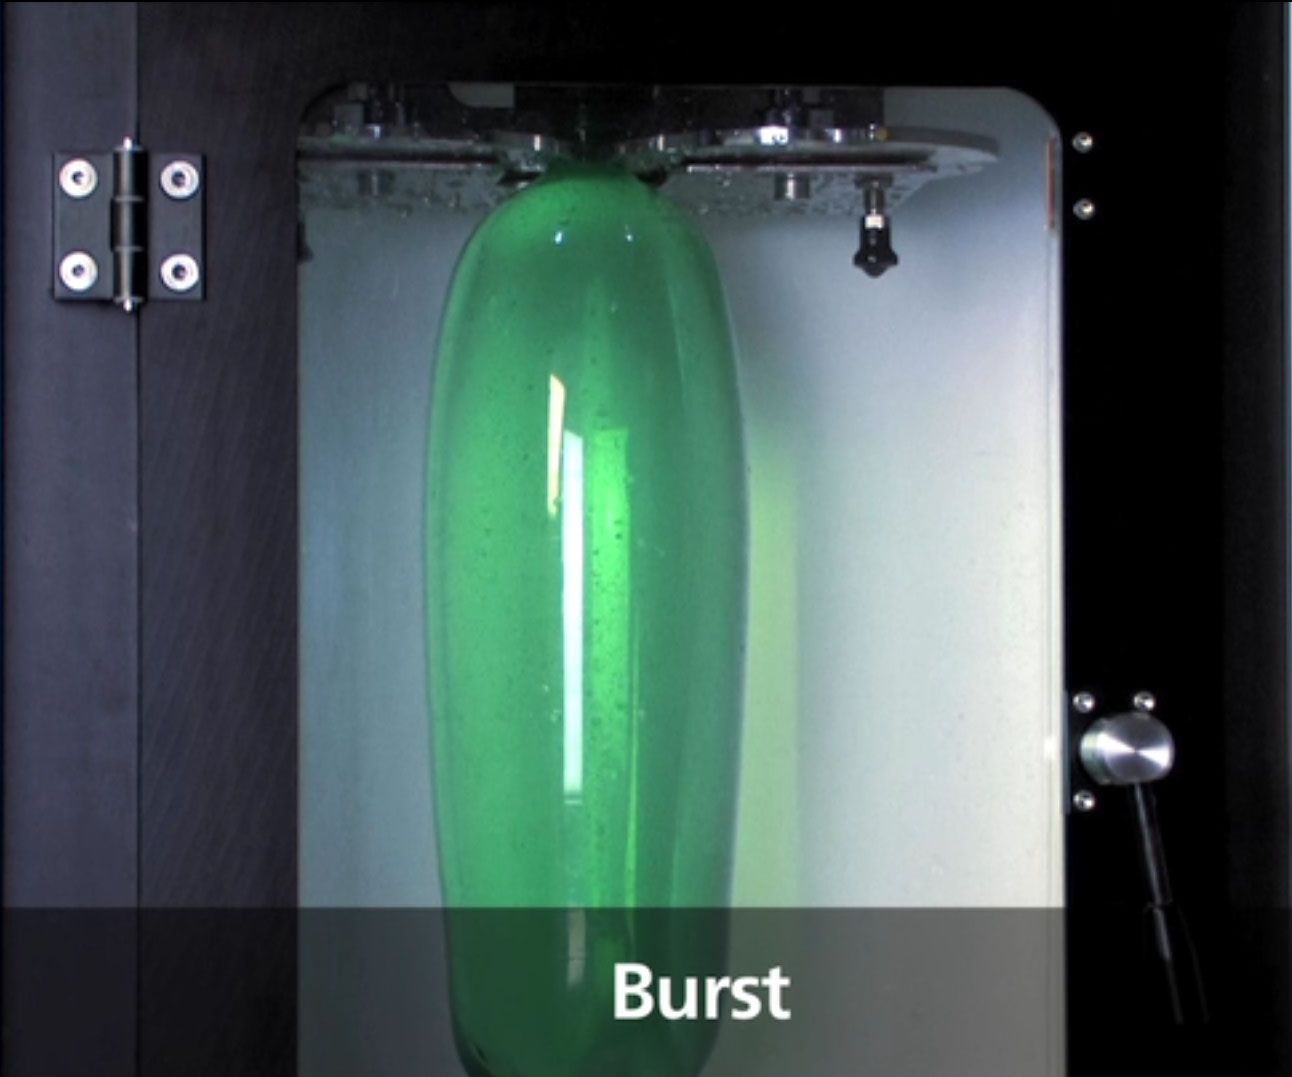
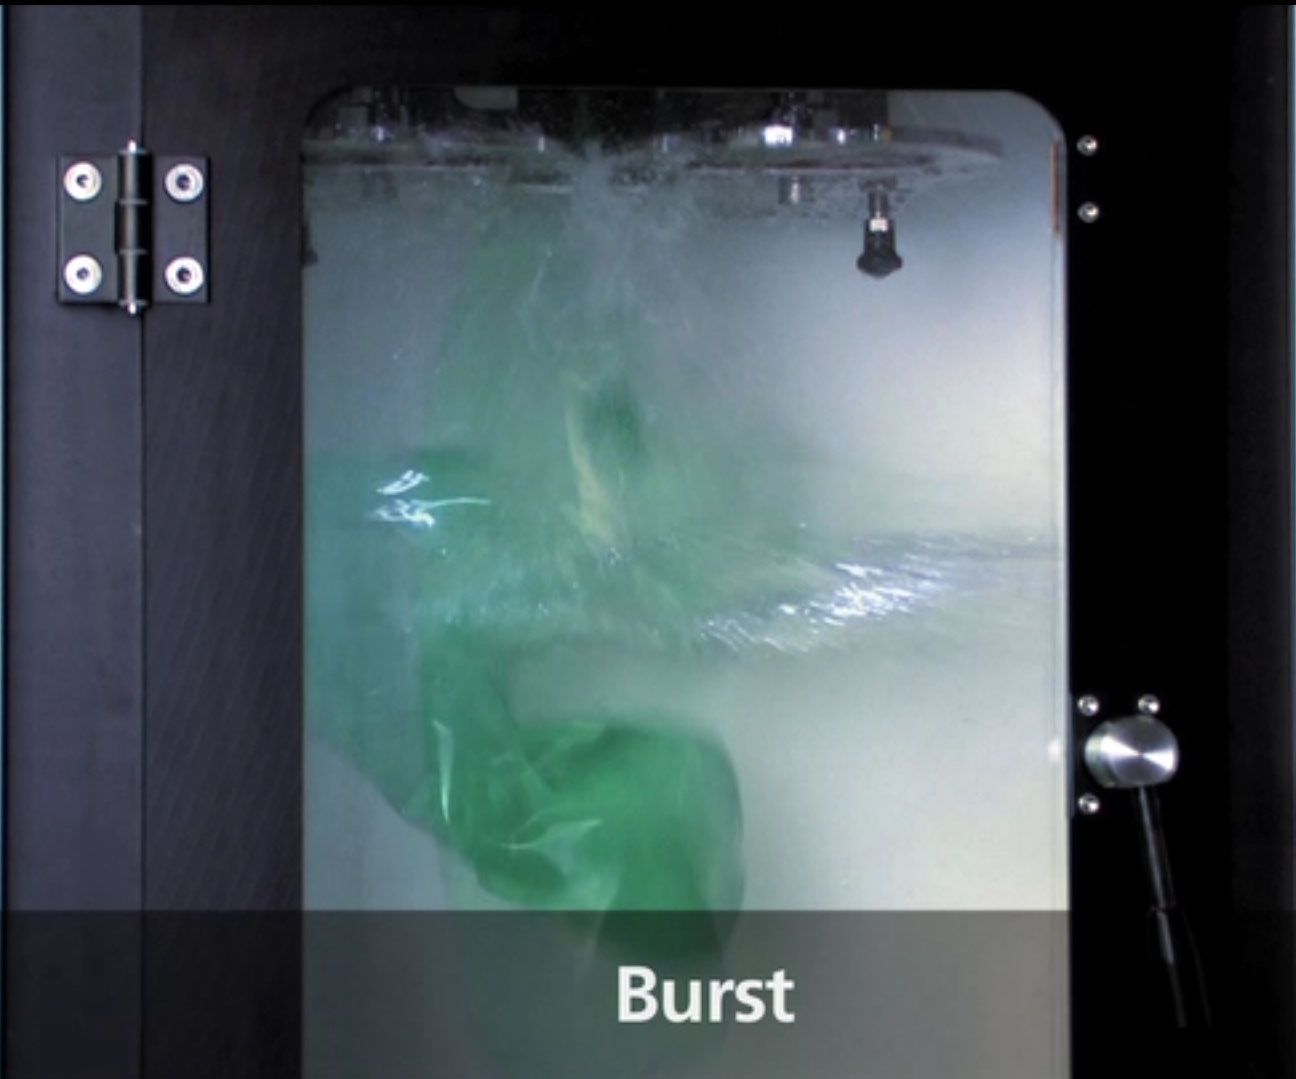
              The B303 Semi-Automatic Bottle Burst Gauge has been developed to verify production containers meet the minimum pressure requirements.

              The systems monitors expansion volumes and yield points to provide important information regarding the stability of the bottle.

              Quick-change tooling provides the capability to cover a wide range of industry neck finishes, future production proofing the machine as customer requirements and portfolios develop. With an expansion volume of up to 2400ml, the system covers small vials to large water keg containers.

              Specifications

              The proven contact measurement technology ensures accurate, reliable and traceable measurement 24/7.


              The system has the option of being mains water supplied or recirculating from a local water tank, reducing running costs and therefore cost of ownership.


              Reporting options such as standard CSV or Statistical Process Control (SPC).


              Traceable to UKAS standards.

              Measurement Features

              • Burst Pressure | bar, PSI | Accuracy: +/- 0.2 bar
              • Expansion Volume | ml | Accuracy: +/- 20.00 ml
              • Expansion %
              • Pressure Hold Out | Pass/Fail
              • Yield Point Pressure | bar, PSI
              • Yield Point Expansion Volume | %
              • Test Time | Seconds


              Technical Specification

              • Material Types | PET, PP, TRITAN
              • Component Volume Range≤ 3000 ml
              • Component Neck Diameter | 12.5 mm – 42 mm
              • Component Height Range | ≤ 482 ml
              • Component Body Diameter≤ Ø 180 mm
              • Component Burst Pressure≤ 24 bar
              • Component Expansion Volume | ≤ 2400 ml
              • Component Neck Height | ≤ 25 mm


              Pressure and Expansion Options

              • Low Range Pressure | 24 bar / 2.4 L
              • Mid Range Pressure | 35 bar / 1.8 L
              • Interchangeable neck diameter tooling to cover a wider range of bottle neck finishes and diameters without sacrificing sealing capability
              • Recirculating water tank reduces cost of ownership
              • Live Pressure vs. Time vs. Volume graphical display
              • Automated material yield pressure and volume
              • 3 hold periods and pressure range
              • Burst mode for quick cycle times

              Torus Recommends

              Our Divisions

              Through our three key divisions we deliver a range of measurement and inspection systems, metrology services and machine enclosure solutions, as well as our online store for aluminium profile components and workspace solutions.

              How can we help you?

                B302 SEMI-AUTOMATIC THREAD, BODY AND THICKNESS INSPECTION GAUGE

                B302 SEMI-AUTOMATIC THREAD, BODY AND THICKNESS INSPECTION GAUGE

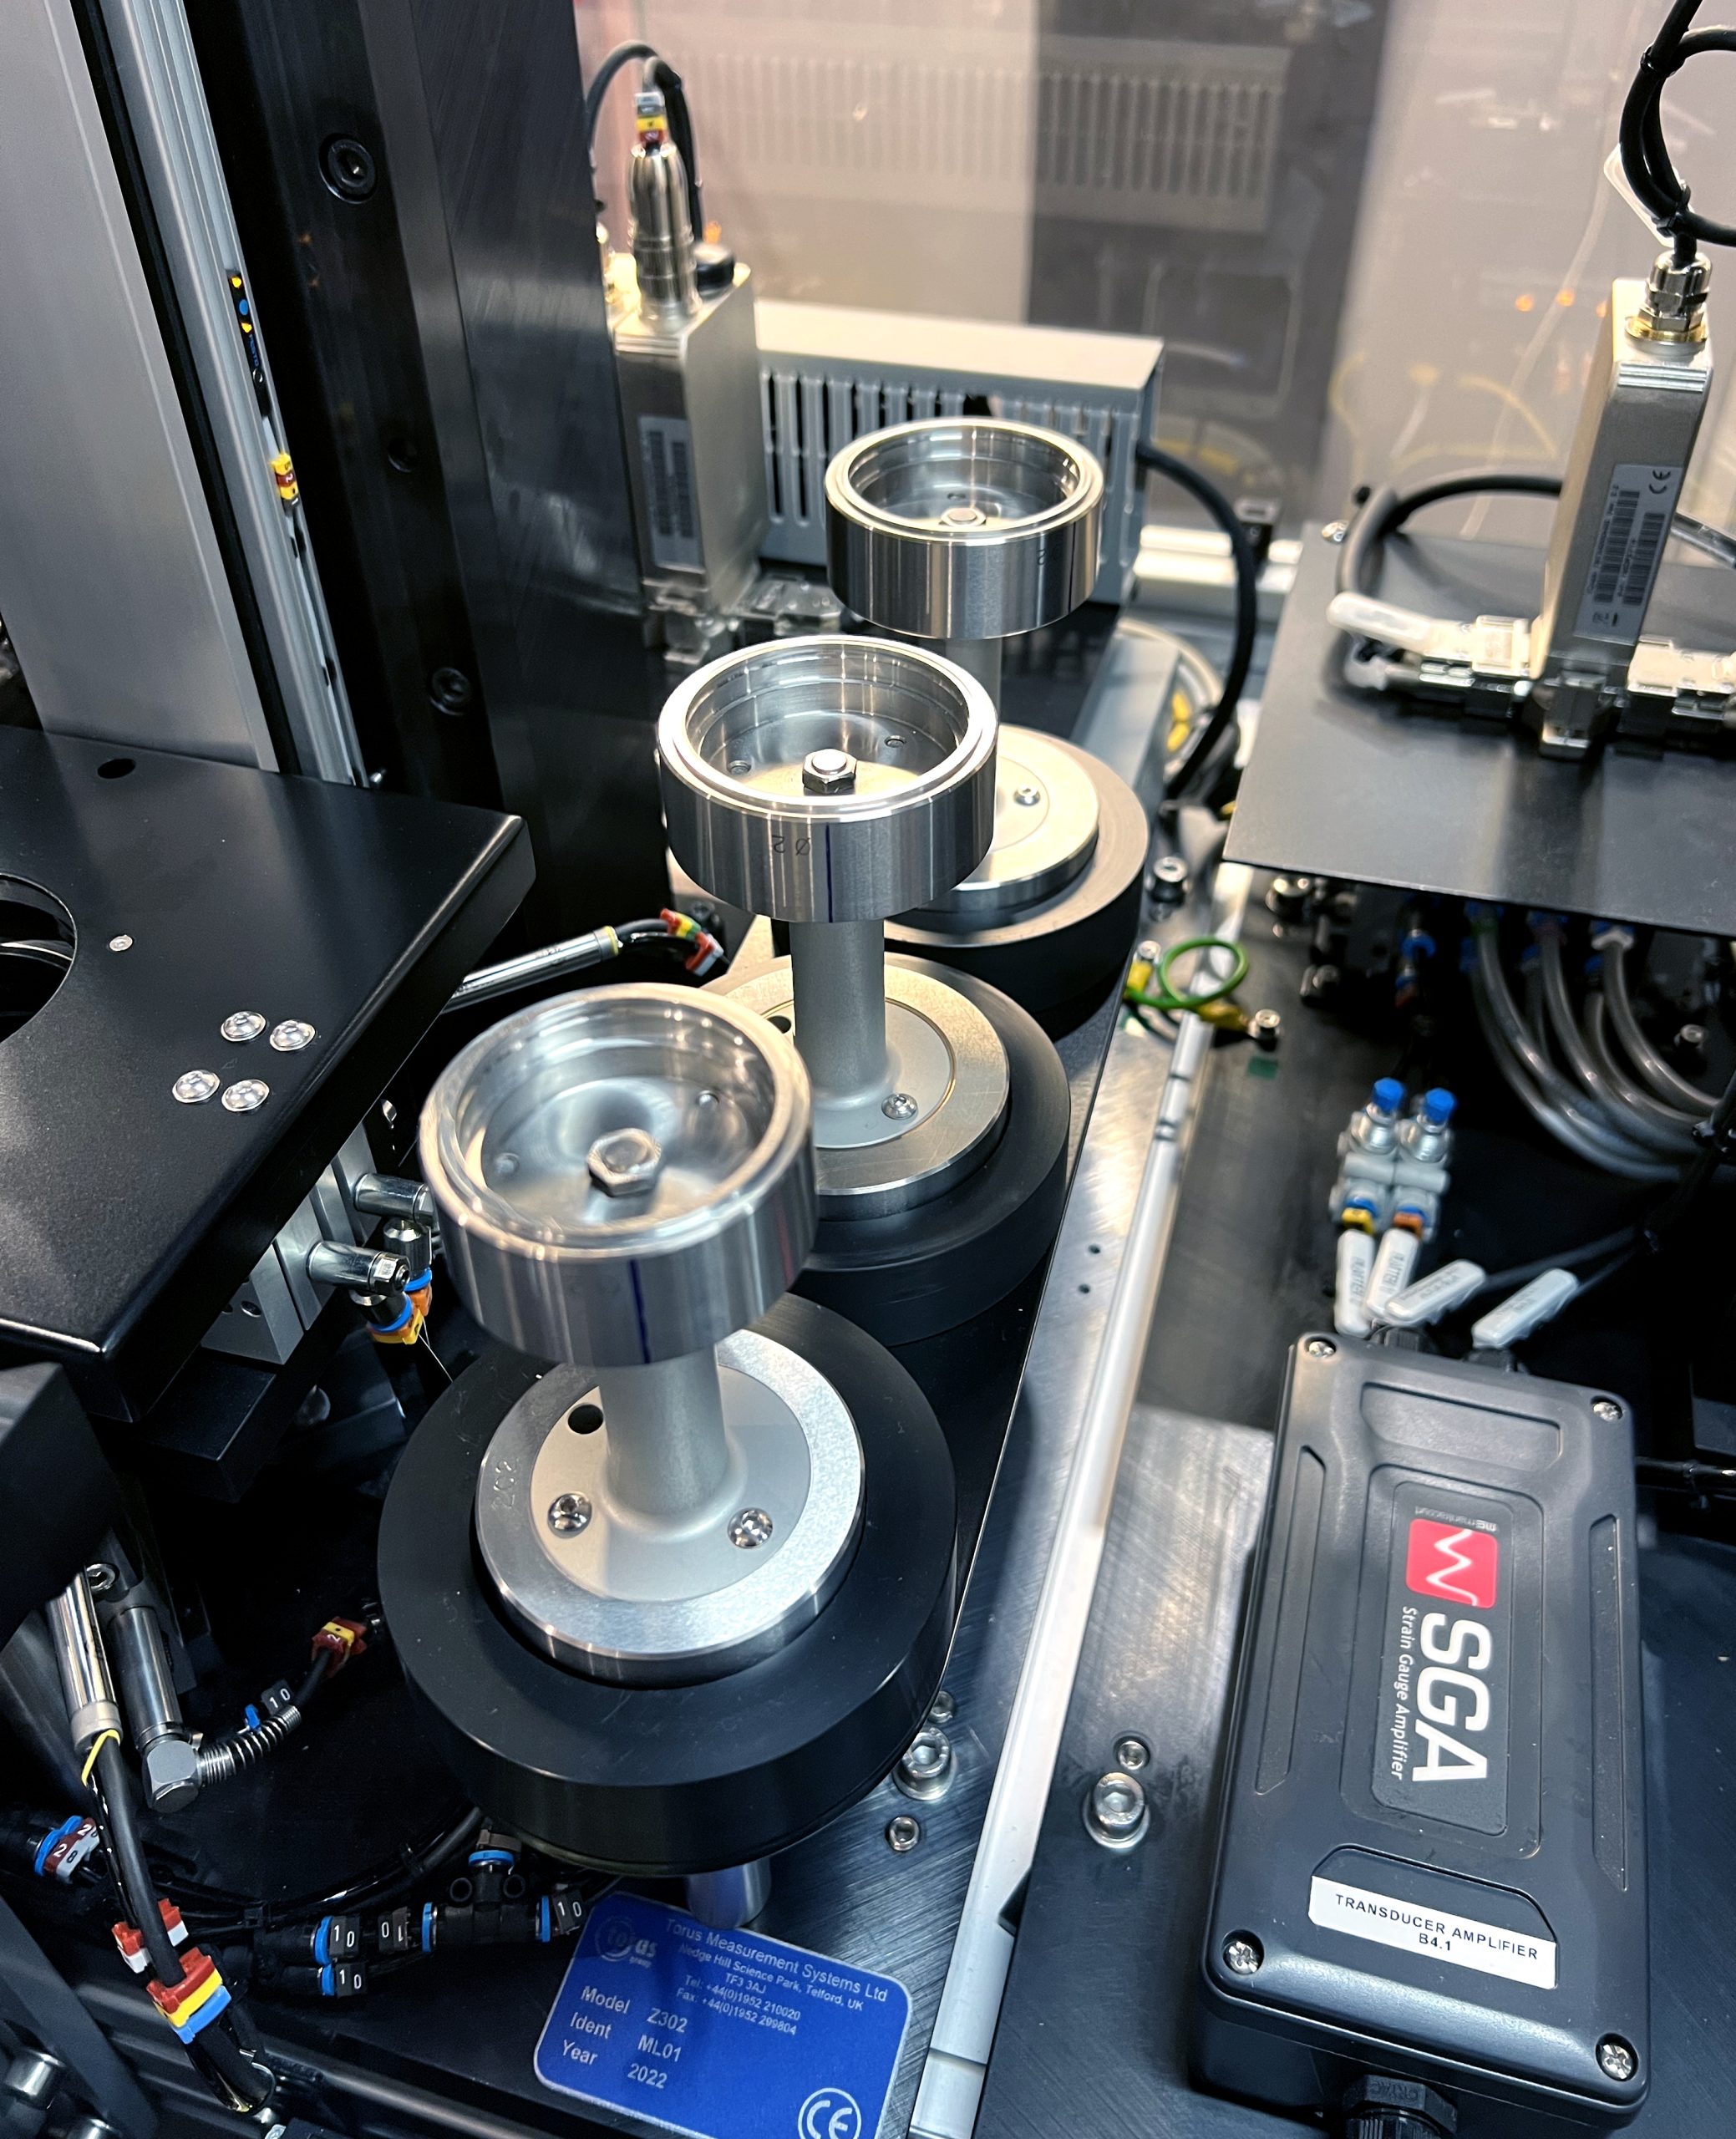
                The 6-axis Torus TBT Gauge provides the ability to measure base & wall thickness with dimensional measurements in a single operation. This gauge has been designed with extended range to deal with the latest industry needs encompassing the scope to measure containers, jars and preforms as standard. Self centralising tooling delivers fast and repeatable container location, increasing throughput whilst achieving industry leading results. The latest confocal white light and optical technologies allow for unrivaled, non-contact measurements creating a new standard for plastic packaging quality control.

                Specifications

                The proven contact measurement technology ensures accurate, reliable and traceable measurement 24/7.


                Reporting options such as standard CSV or Statistical Process Control (SPC).


                Traceable to UKAS standards.

                Measurement Features

                • Neck DiametersT, E, Z, B, B1, A, F, G Programmable neck diameter | Accuracy: +/- 0.030 mm
                • Neck HeightsS, K, X, H, M, D Programmable neck heights | Accuracy: +/- 0.030 mm
                • Body Diameters | Programmable body diameter | Accuracy: +/- 0.050 mm
                • Body Heights | Programmable body heights | Accuracy: +/- 0.050 mm
                • Perpendicularity | Angle / Distance | Accuracy: Indicative
                • Wall Thickness | Up to 3,000 measurements | Accuracy: +/- 0.020 mm
                • Standing Thickness | Petaloid bottle stand point | Accuracy: +/- 0.050 mm
                • Bottle Height | Individual / Height | Accuracy: +/- 0.100 mm
                • Base Clearance | Individual | Accuracy: +/- 0.100 mm


                Technical Specification

                • Material Types | PET, PP, TRITAN, PEF
                • Component Neck TypesThread, Continuous thread, Split thread, PCO, SP, ROPP, Snap, Clinch, Crown Cap (others on ap)
                • Component Outer Neck Diameter≤ Ø 200 mm
                • Component Internal Neck DiameterØ 8.00 mm – 170.00 mm
                • Component Height Range | ≤ 400 mm
                • Component Body Diameter | ≤ Ø 200 mm


                Thickness Sensor Options

                • Low-Range Sensor | 0.04 mm – 0.70 mm
                • Mid-Range Sensor | 0.12 mm – 2.50 mm (standard)
                • High-Range Sensor | 0.35 mm – 8.00 mm
                • Over 7000 measurement data points per bottle
                • Quick-snap pre-programmed industry standard neck features
                • Programmable neck features for full measurement flexibility
                • Programmable body features, including dynamic rotational search functionality with max. and min. form and diameter features, perfect for minor, major and pinch diameters 
                • Single sided thickness measurement
                • Thickness sensor can be configured
                • Automatic thread start alignment
                • Automatic body alignment
                • Self-teach profile scan function
                • Filled and sealed thermal stability capabilty

                Torus Recommends

                Our Divisions

                Through our three key divisions we deliver a range of measurement and inspection systems, metrology services and machine enclosure solutions, as well as our online store for aluminium profile components and workspace solutions.

                How can we help you?

                  B301 SEMI-AUTOMATIC OPTICAL INSPECTION GAUGE

                  B301 SEMI-AUTOMATIC OPTICAL INSPECTION GAUGE

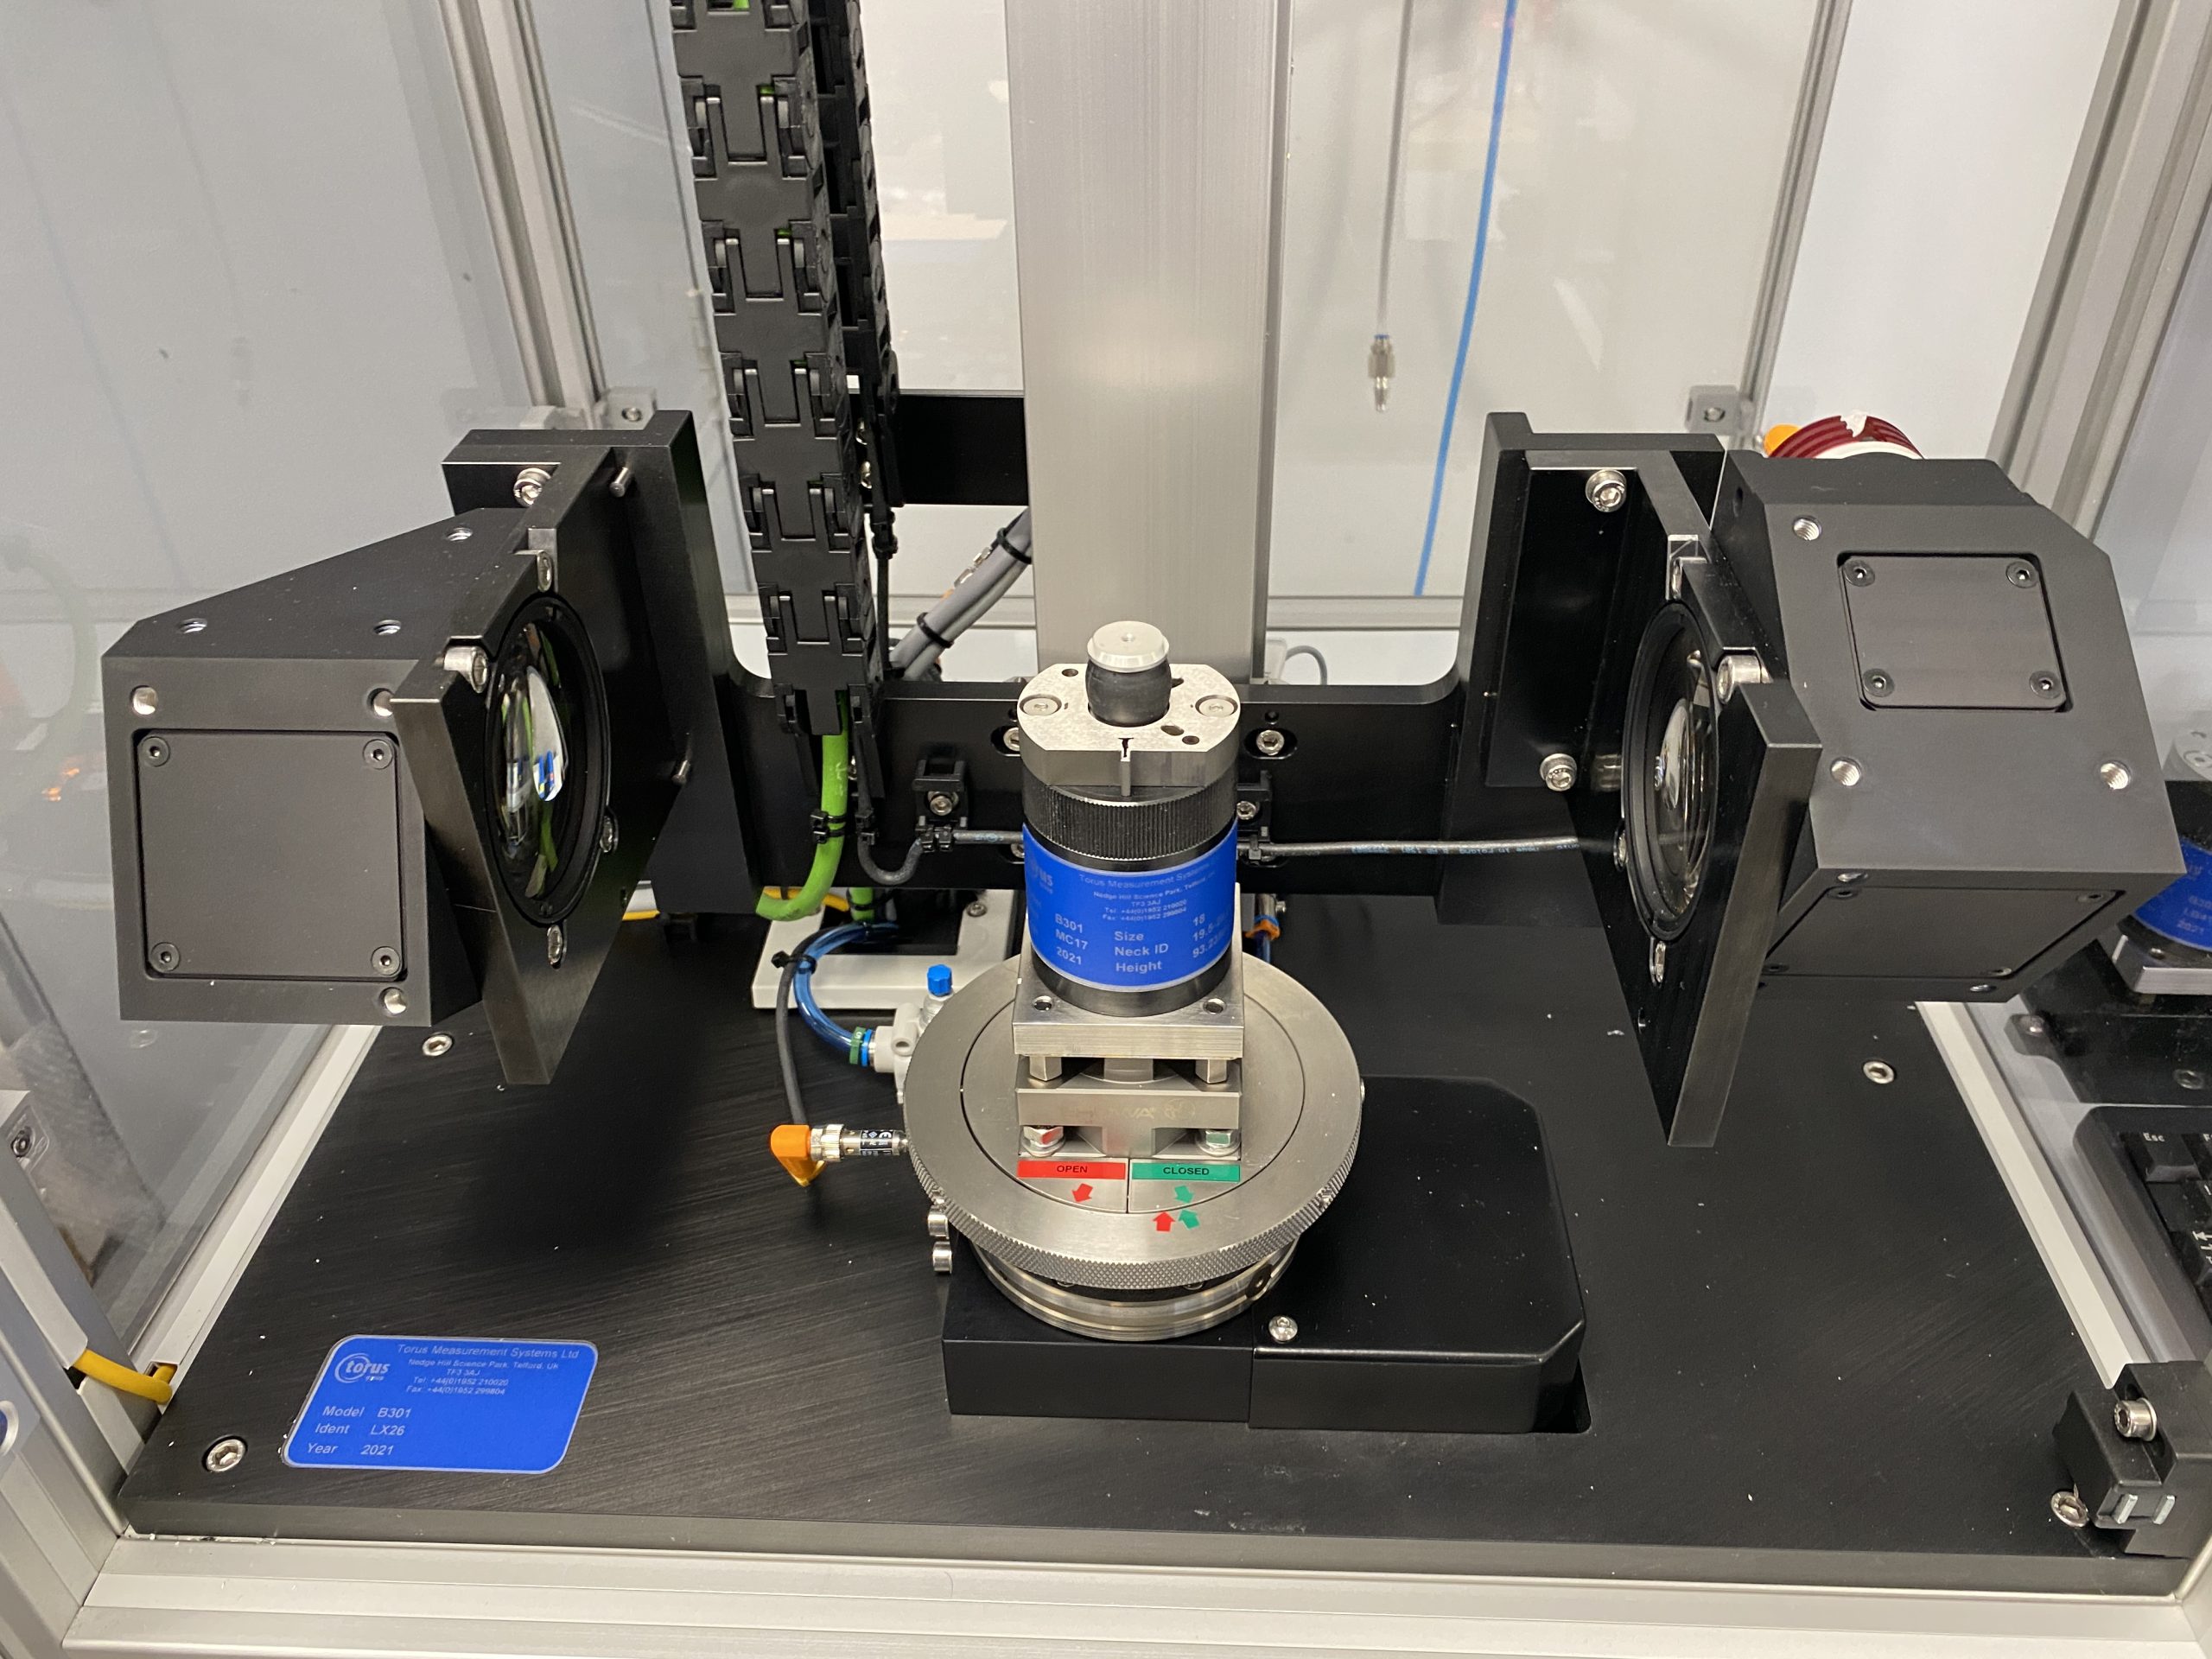
                  The B301 Semi-Automatic Optical Inspection Gauge has been developed to provide a fast, non-contact, traceable measurement solution for neck finish and body dimensions.

                  Specifications

                  Using state-of-the-art optical telecentric lens technology, the system takes advantage of a self-teach profile function for part program generation.

                  Interchangeable location tooling provides the capability to perform dimensional inspection on a wide range of industry standard neck type finishes.

                  Automatic thread start alignment used to offer unmatched measurement repeatability and consistency from part-to-part measurement.


                  Reporting options as standard CSV or Statistical Process Control (SPC)


                  Traceability and Certification to UKAS Standards

                  Measurement Features

                  • Neck Diameters | T, E, Z, B, B1, A, F, G programmable neck diameter | Accuracy:+/- 0.030 mm
                  • Neck Height / S, K, X, H, M, D programmable neck heights | Accuracy: +/- 0.030 mm
                  • Body Diameter / Programmable body diameter | Accuracy: +/- 0.030 mm
                  • Overall Height | Individual
                  • Gate Height | Individual
                  • Perpendicularity | Angle / Distance | Accuracy:  N/A


                  Technical Specification

                  • Material Type | PET, PP, TRITAN, PEF
                  • Component Neck Types | Thread, Continuous Thread, Split Thread, PCO, SP, ROPP Snap, Clinch, Crown Cap (others on ap)
                  • Component Outer Neck Diameter | ≤ Ø 40 mm
                  • Component Internal Neck Diameter | Ø 8.00 mm – Ø 37.00 mm
                  • Component Height Range | ≤ 165 mm
                  • Component Body Diameter | ≤ 40 mm
                  • Quick-snap pre-programmed industry standard neck features
                  • Programmable neck features for full measurement flexibility
                  • Up to 16 rotational diameter positions
                  • Automatic thread start alignment
                  • Fast cycle time
                  • Mimic display screens

                  Torus Recommends

                  Our Divisions

                  Through our three key divisions we deliver a range of measurement and inspection systems, metrology services and machine enclosure solutions, as well as our online store for aluminium profile components and workspace solutions.

                  How can we help you?

                    B300 MANUAL THICKNESS INSPECTION GAUGE

                    B300 MANUAL THICKNESS INSPECTION GAUGE

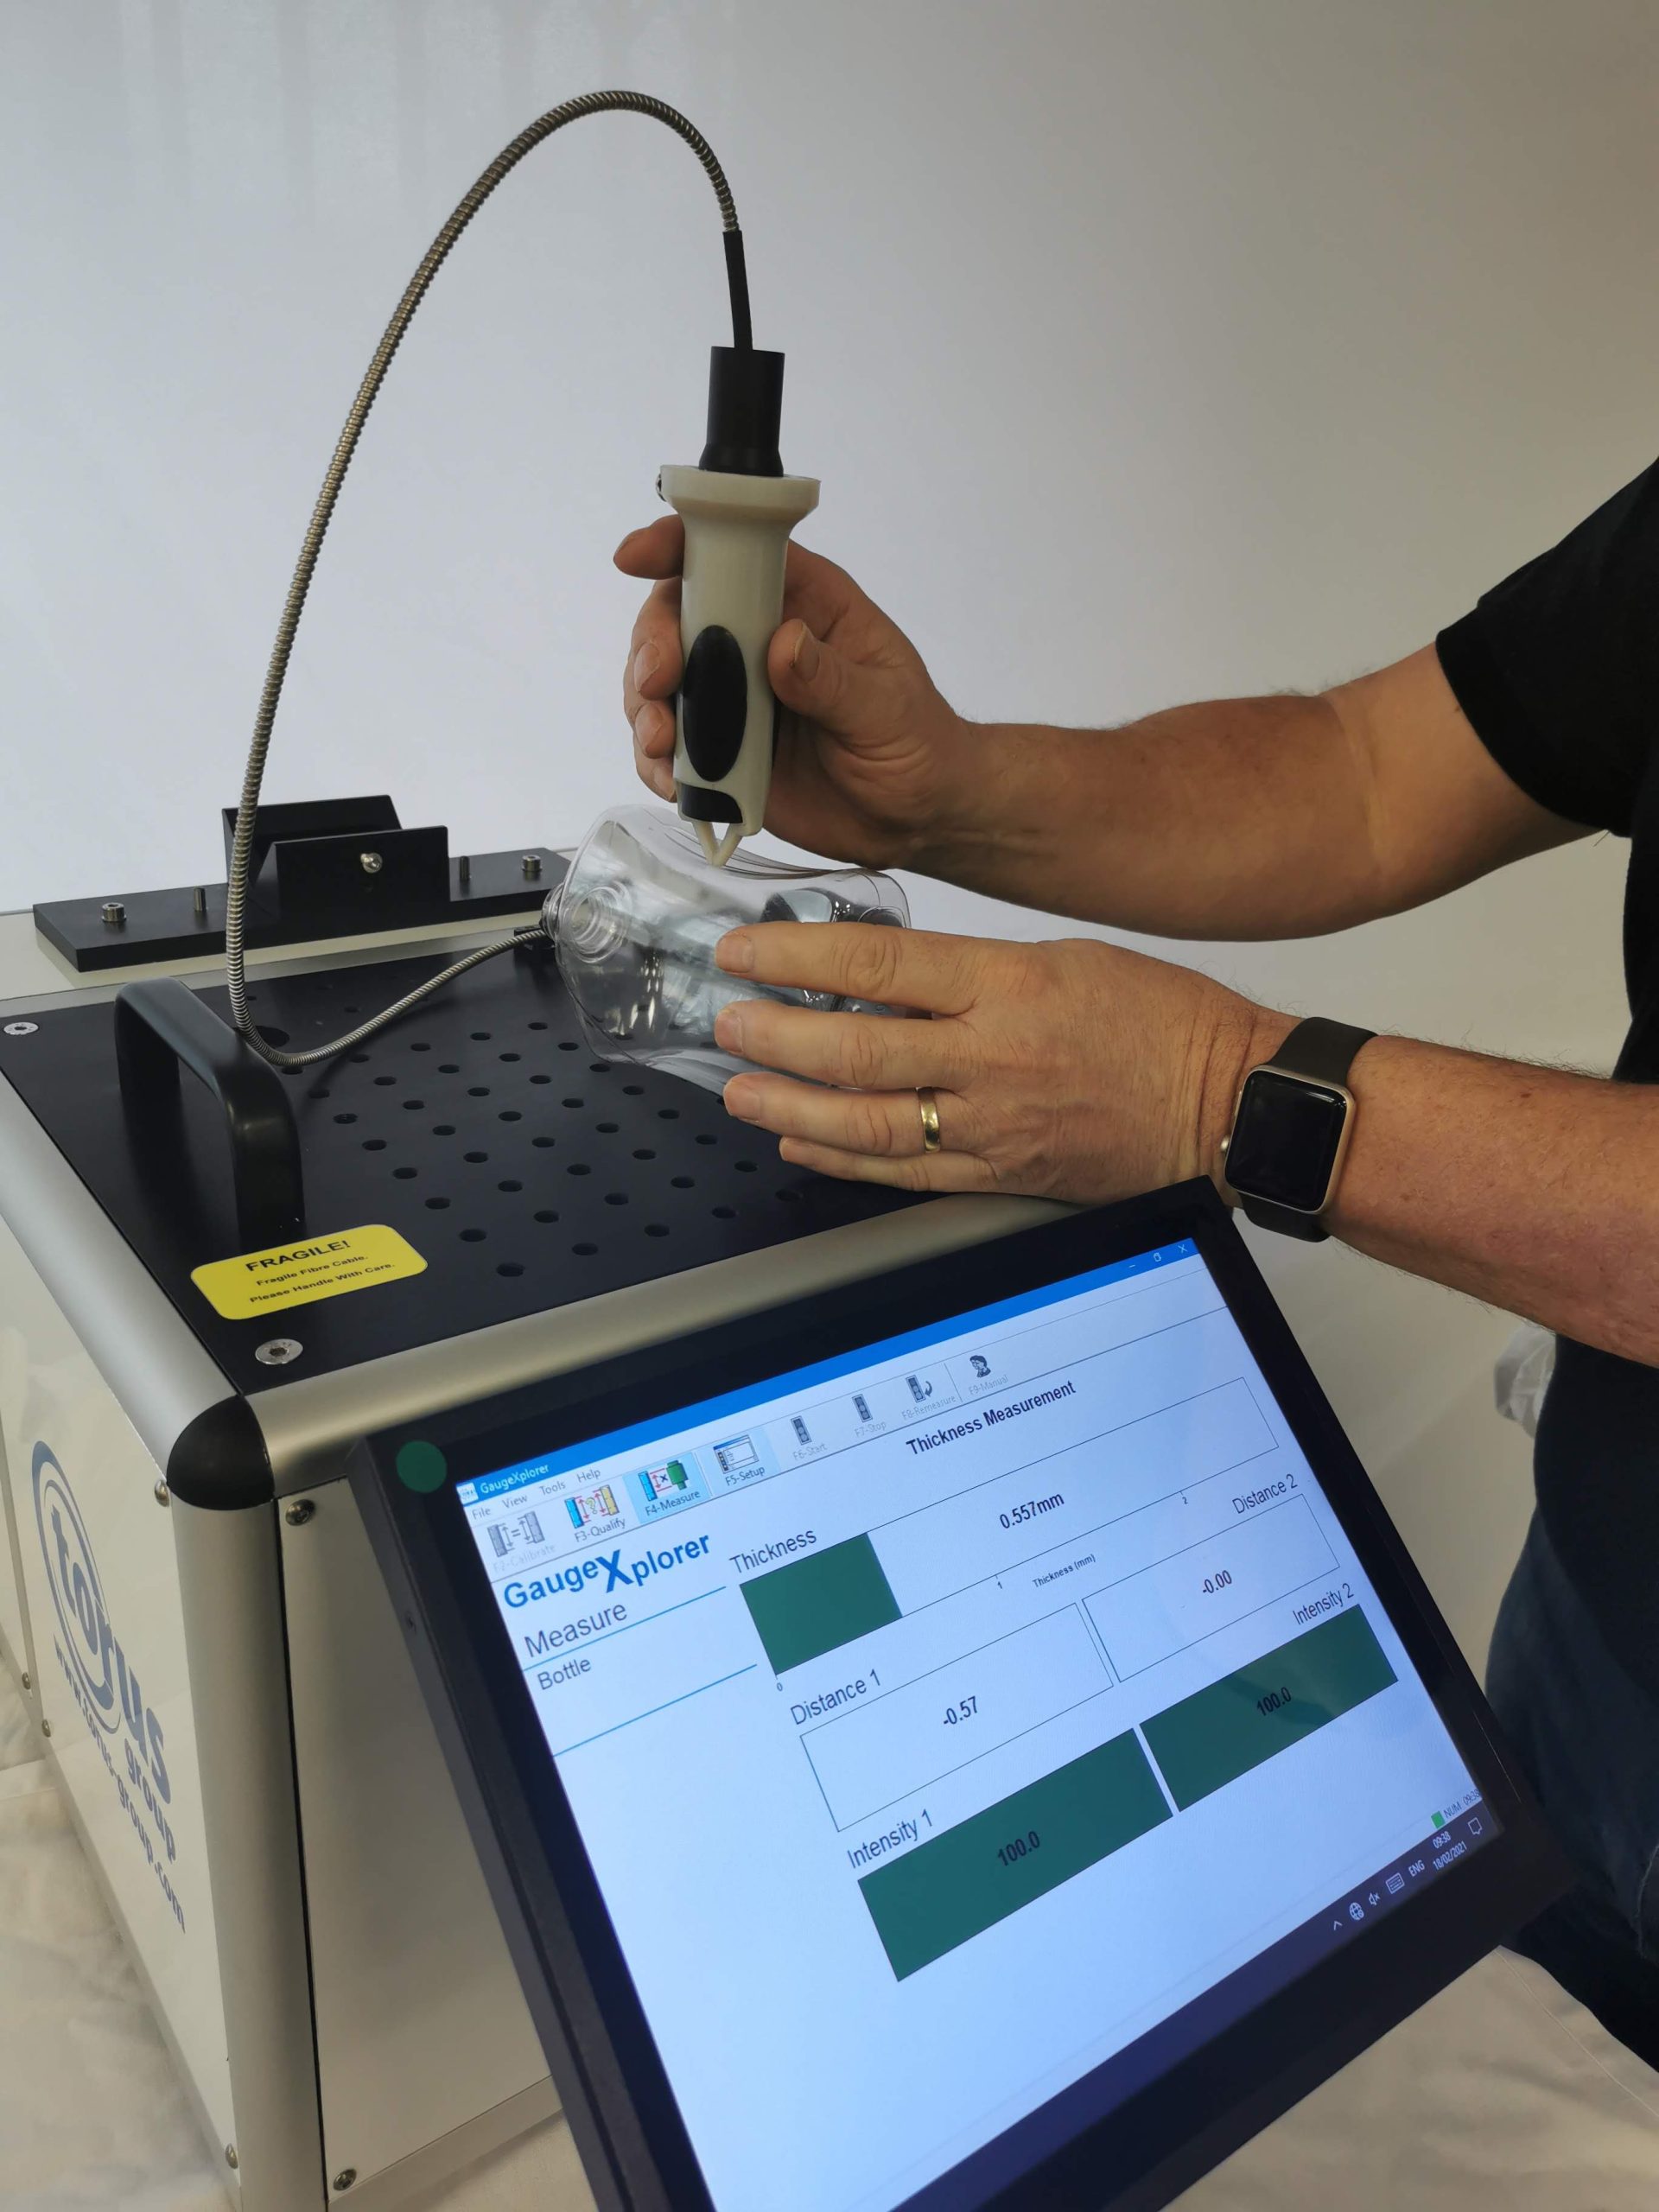
                    The B300 Manual Thickness Inspection Gauge has been developed to provide a simple solution to single sided thickness measurement on plastic components

                    Specifications

                    Using state-of-the-art optical white light technology for rapid, non-contact reliable inspection, the system takes advantage of a live and continuous measurement mode enabling quick thickness checks without the requirement for batch setup. The system has been integrated into a small bench top footprint, allowing for ease of transportation around production facilities within a suitable transportation or flight case.


                    Reporting options as standard CSV or Statistical Process Control (SPC).


                    Traceability and Certification to UKAS Standards.

                    Measurement Features

                    • Thickness | Material thickness as point of measurement


                    Technical Specification

                    • Material Types | PET, PP, TRITAN, PEF
                    • Colours | All colours that are translucent (others upon evaluation)
                    • Component Neck Sizes | No limitation
                    • Component Shapes | No limitation
                    • Component Outer Neck Diameter | No limitation
                    • Component Neck Internal Diameter | No limitation
                    • Component Height Range | No limitation
                    • Component Body Diameter | No limitation
                    • Live and continuous measurement mode for quick checks
                    • No limitation of measured component size and shape
                    • Offering an alternative option to industry standard thickness inspection equipment, Magna Mike
                    • Single side measurement
                    • Interchangeable thickness sensor for 0.04 mm – 8.00 mm measurement range
                    • Benchtop, lightweight design for transportation in flight case

                    Torus Recommends

                    Our Divisions

                    Through our three key divisions we deliver a range of measurement and inspection systems, metrology services and machine enclosure solutions, as well as our online store for aluminium profile components and workspace solutions.

                    How can we help you?

                      MASTER RE-CALIBRATION FOR METAL PACKAGING SYSTEMS

                      MASTER RE-CALIBRATION FOR METAL PACKAGING SYSTEMS

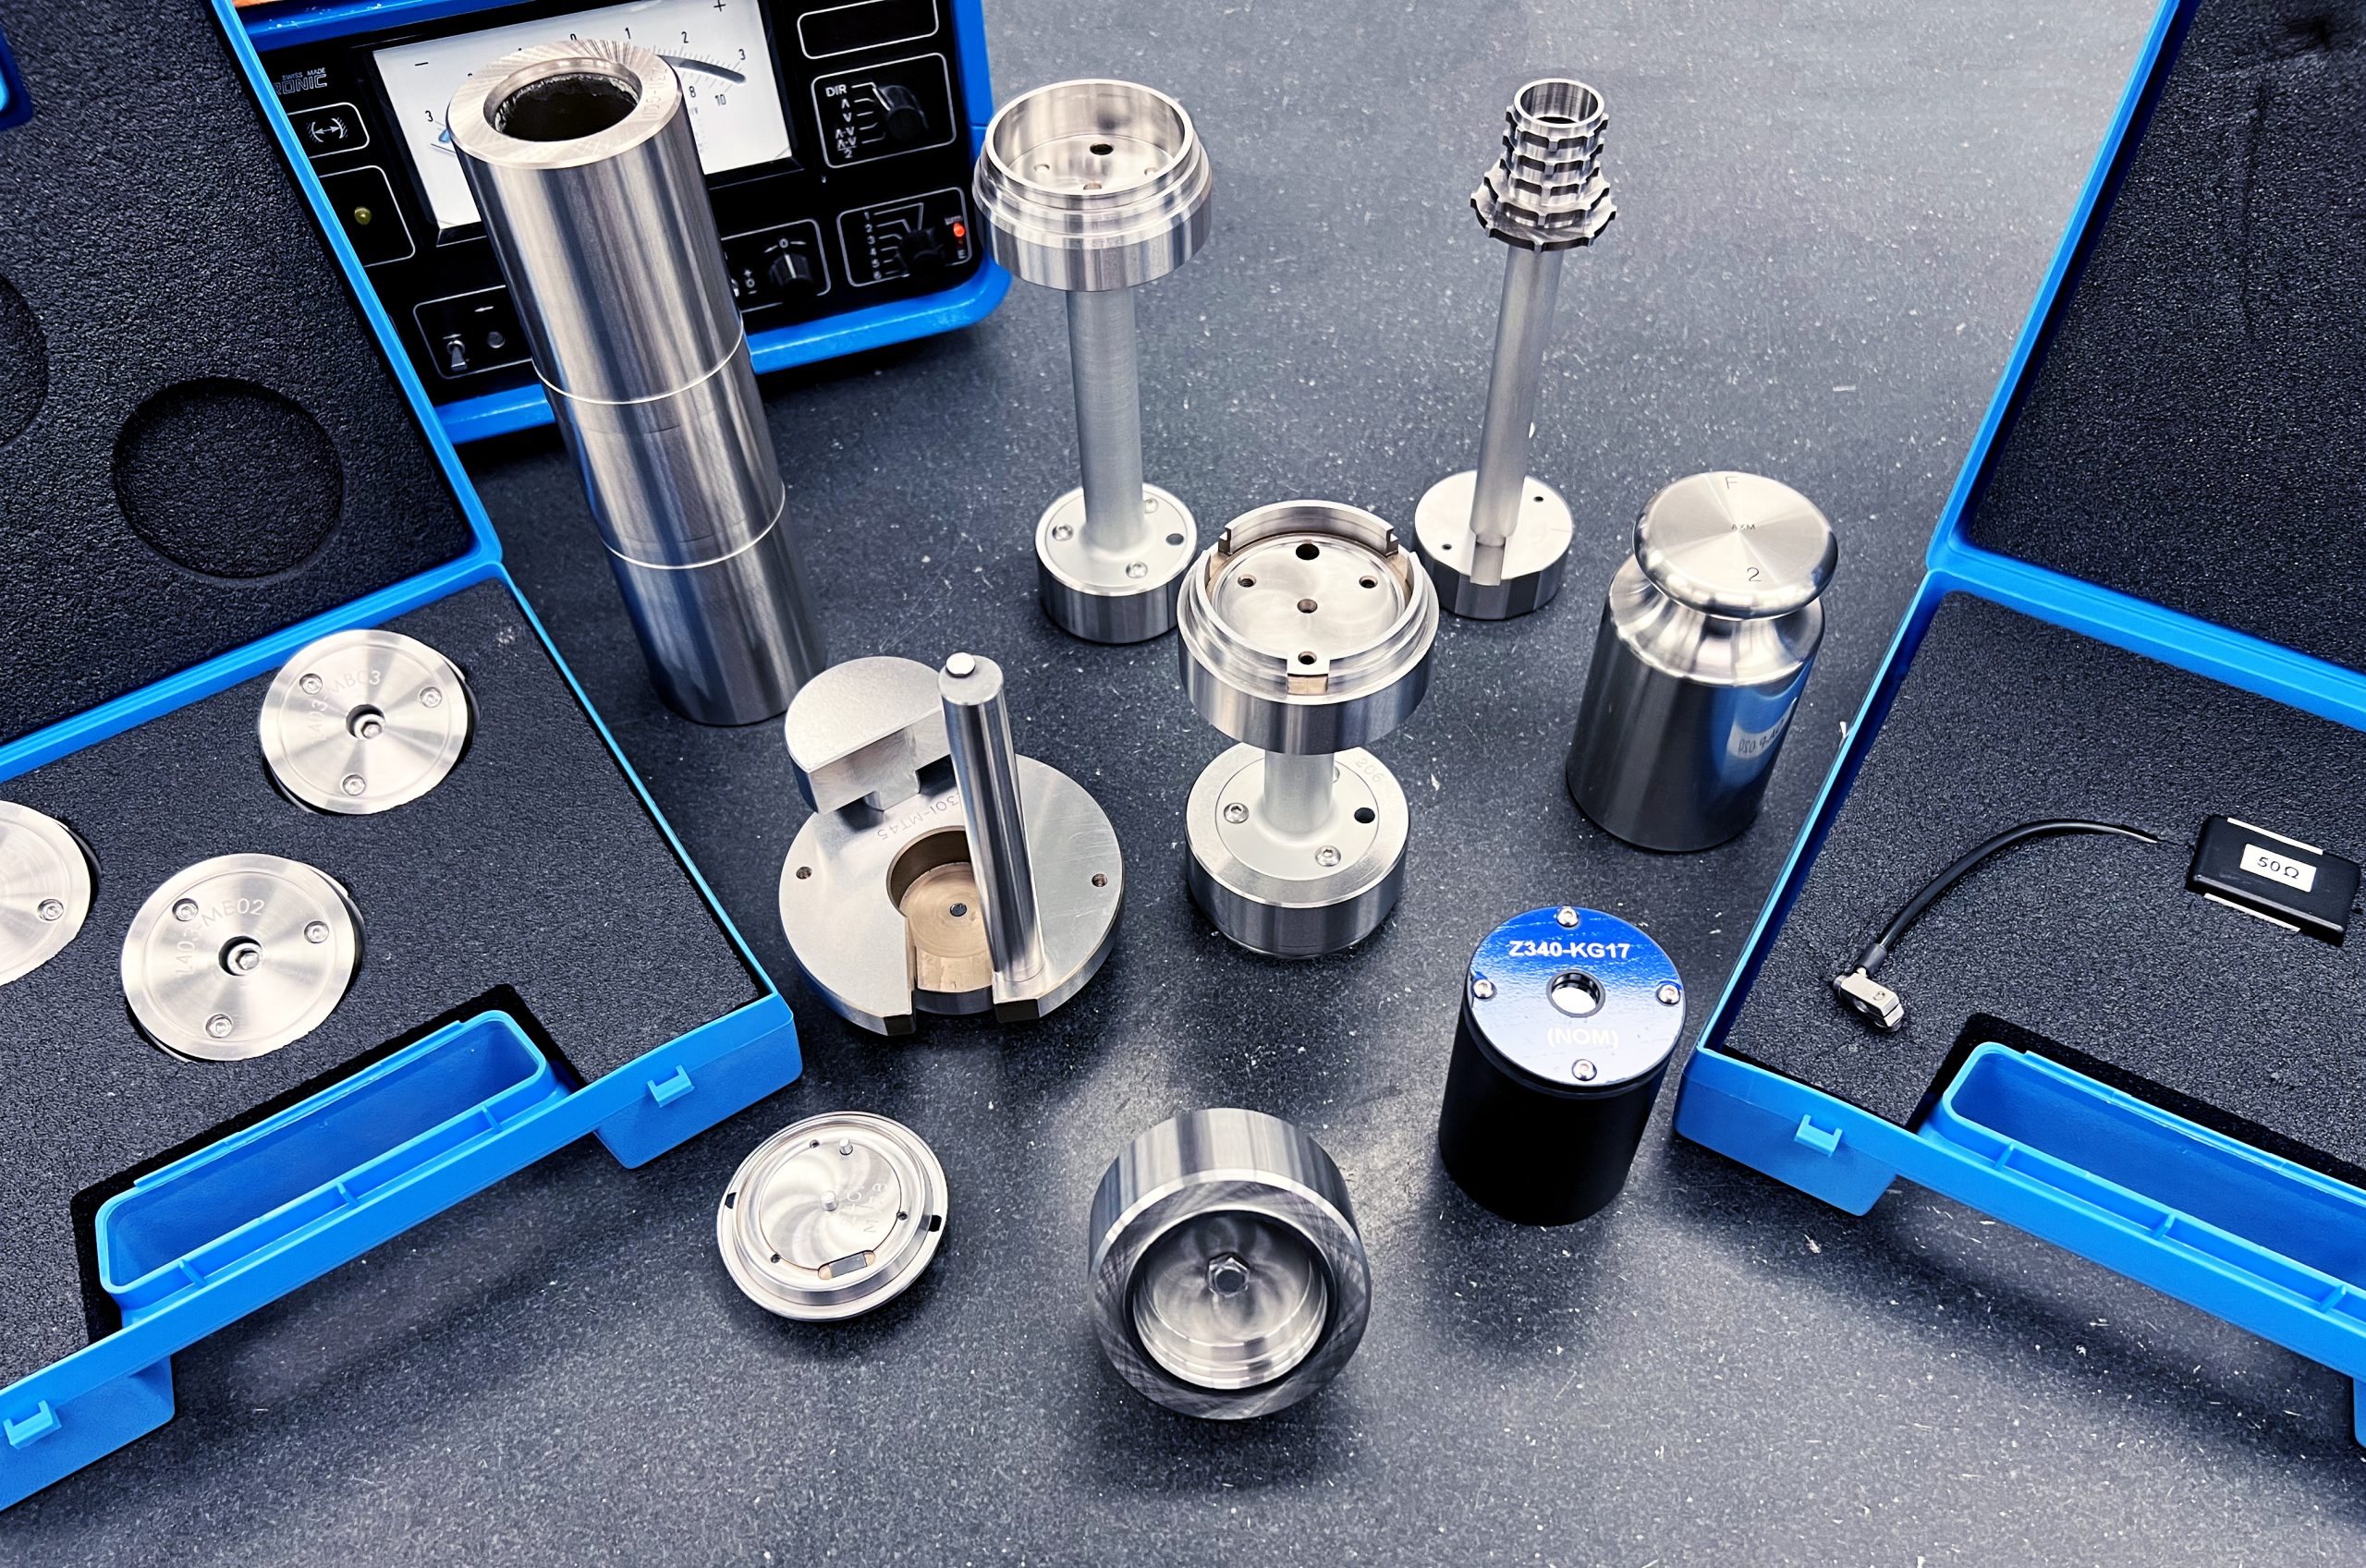
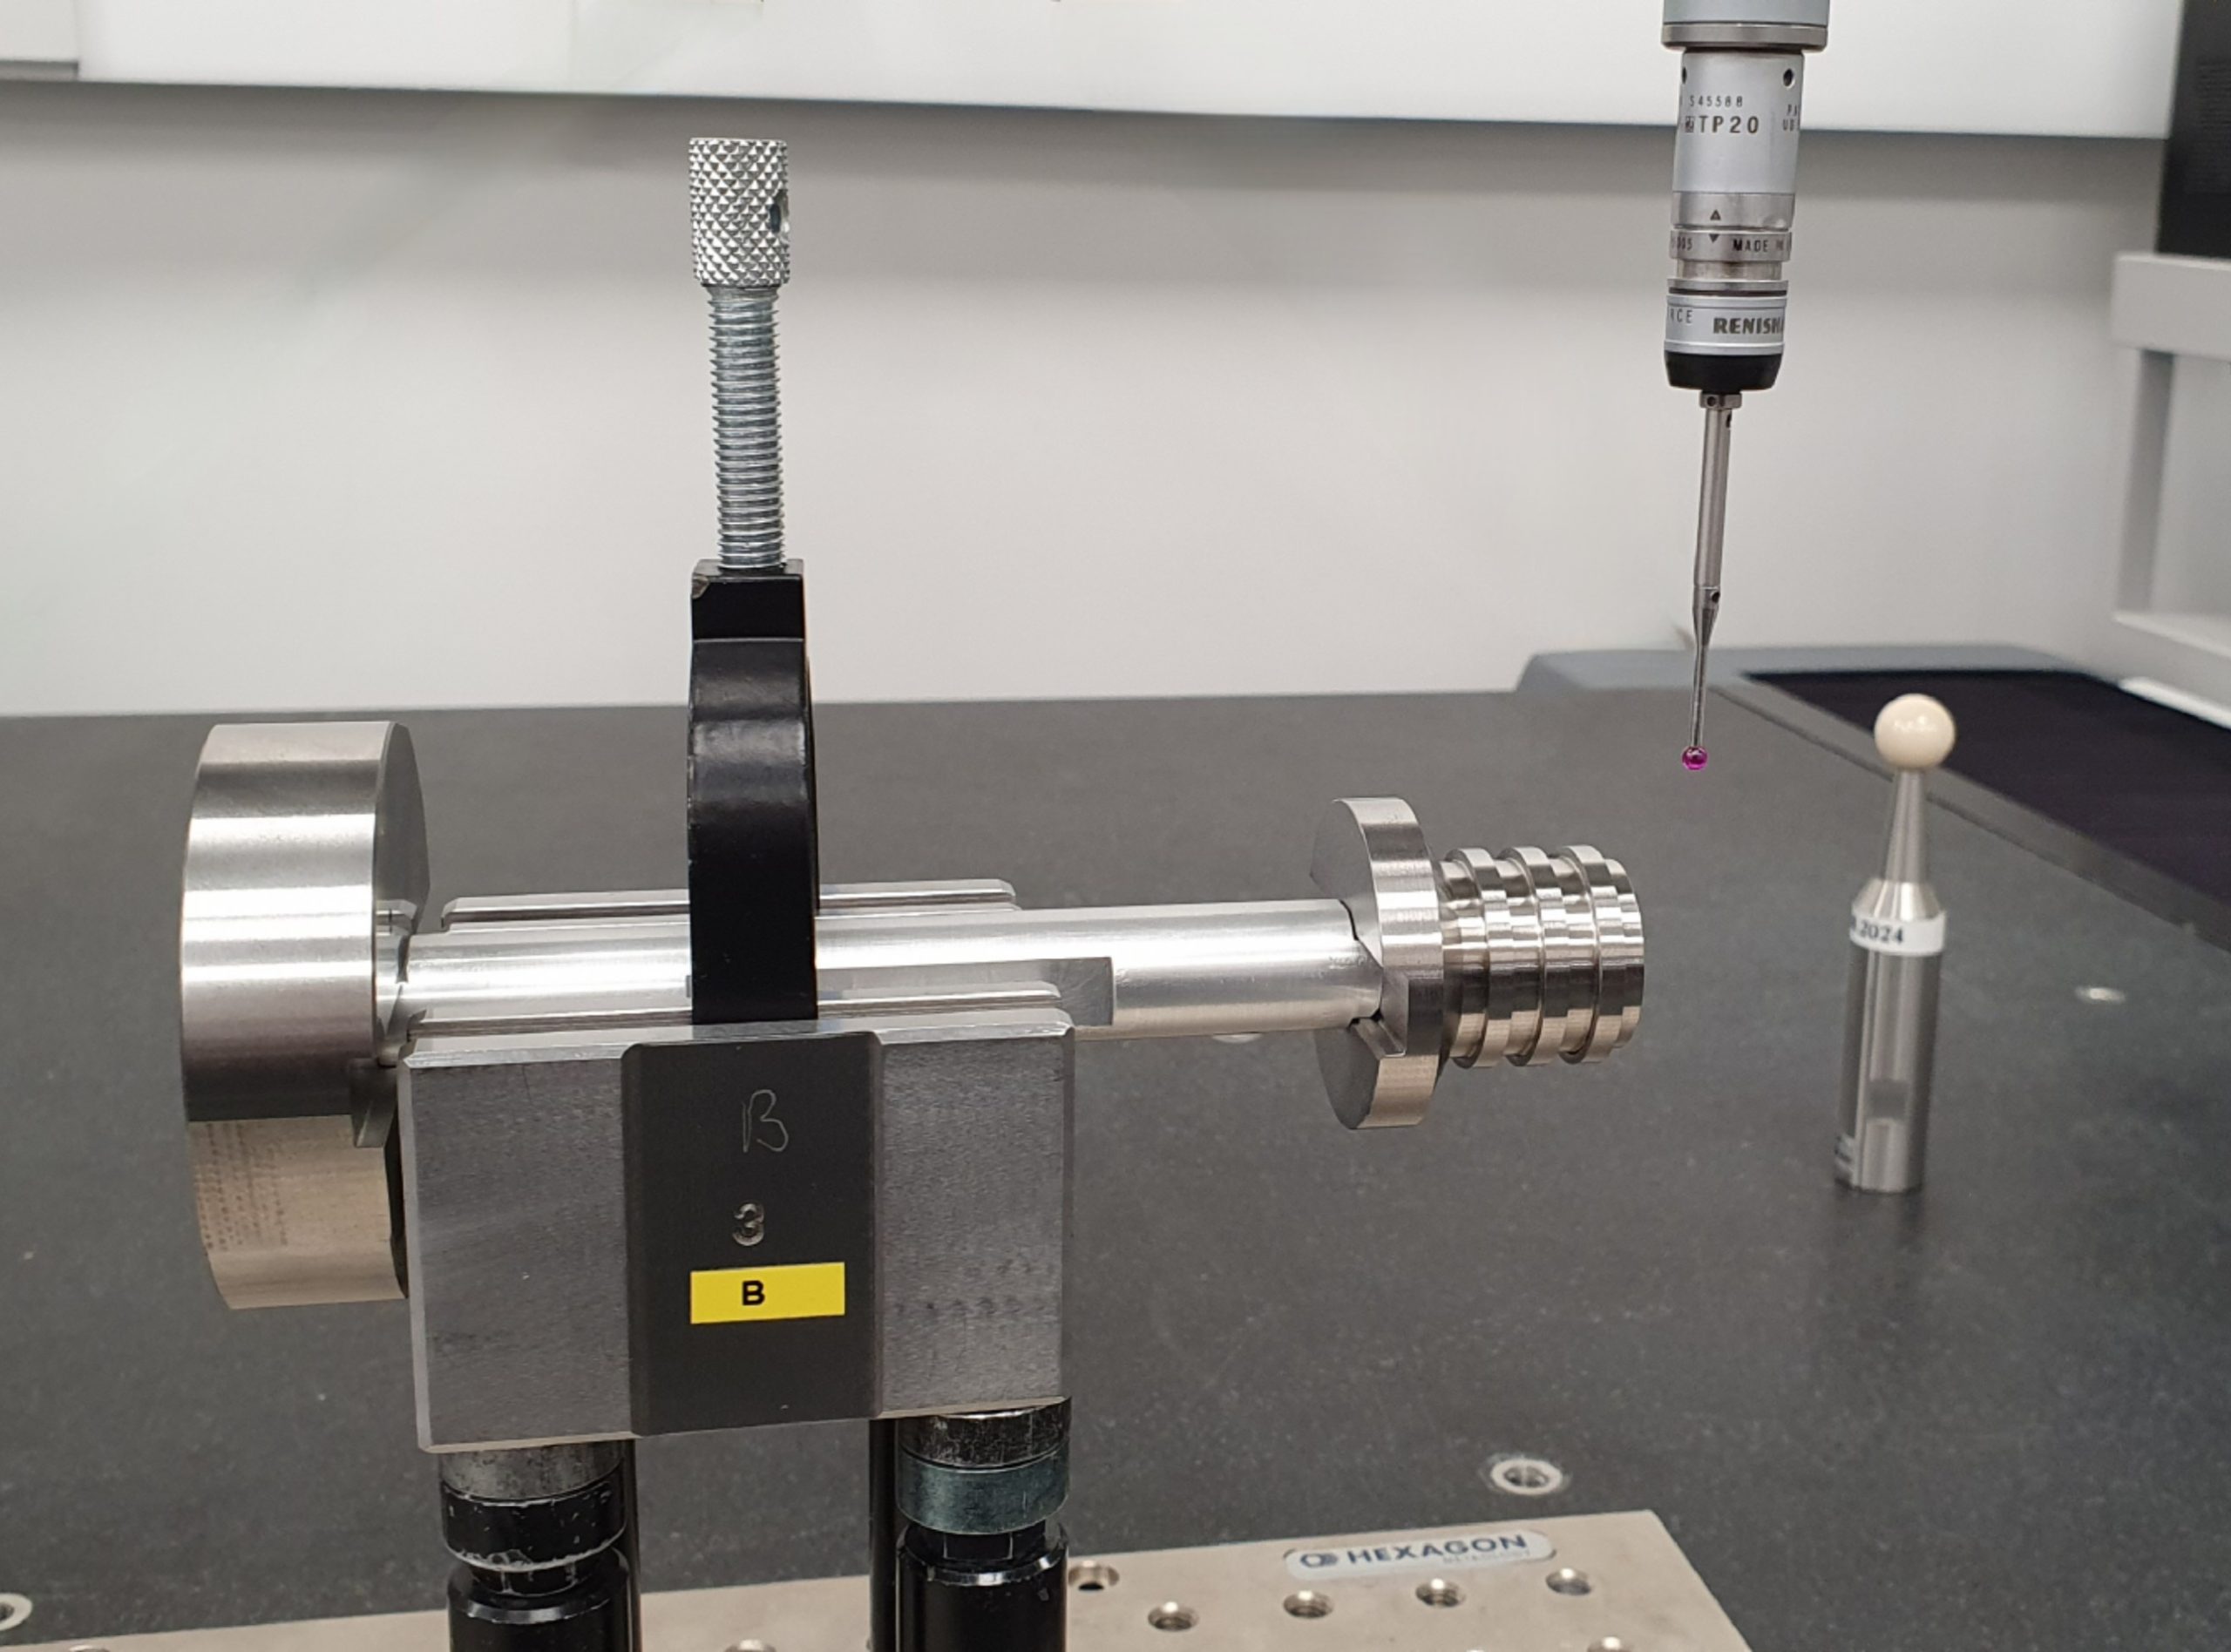
                      Ensure your product quality is never compromised by utilising Torus’ Master re-calibration service for your gauge masters.

                      Specifications

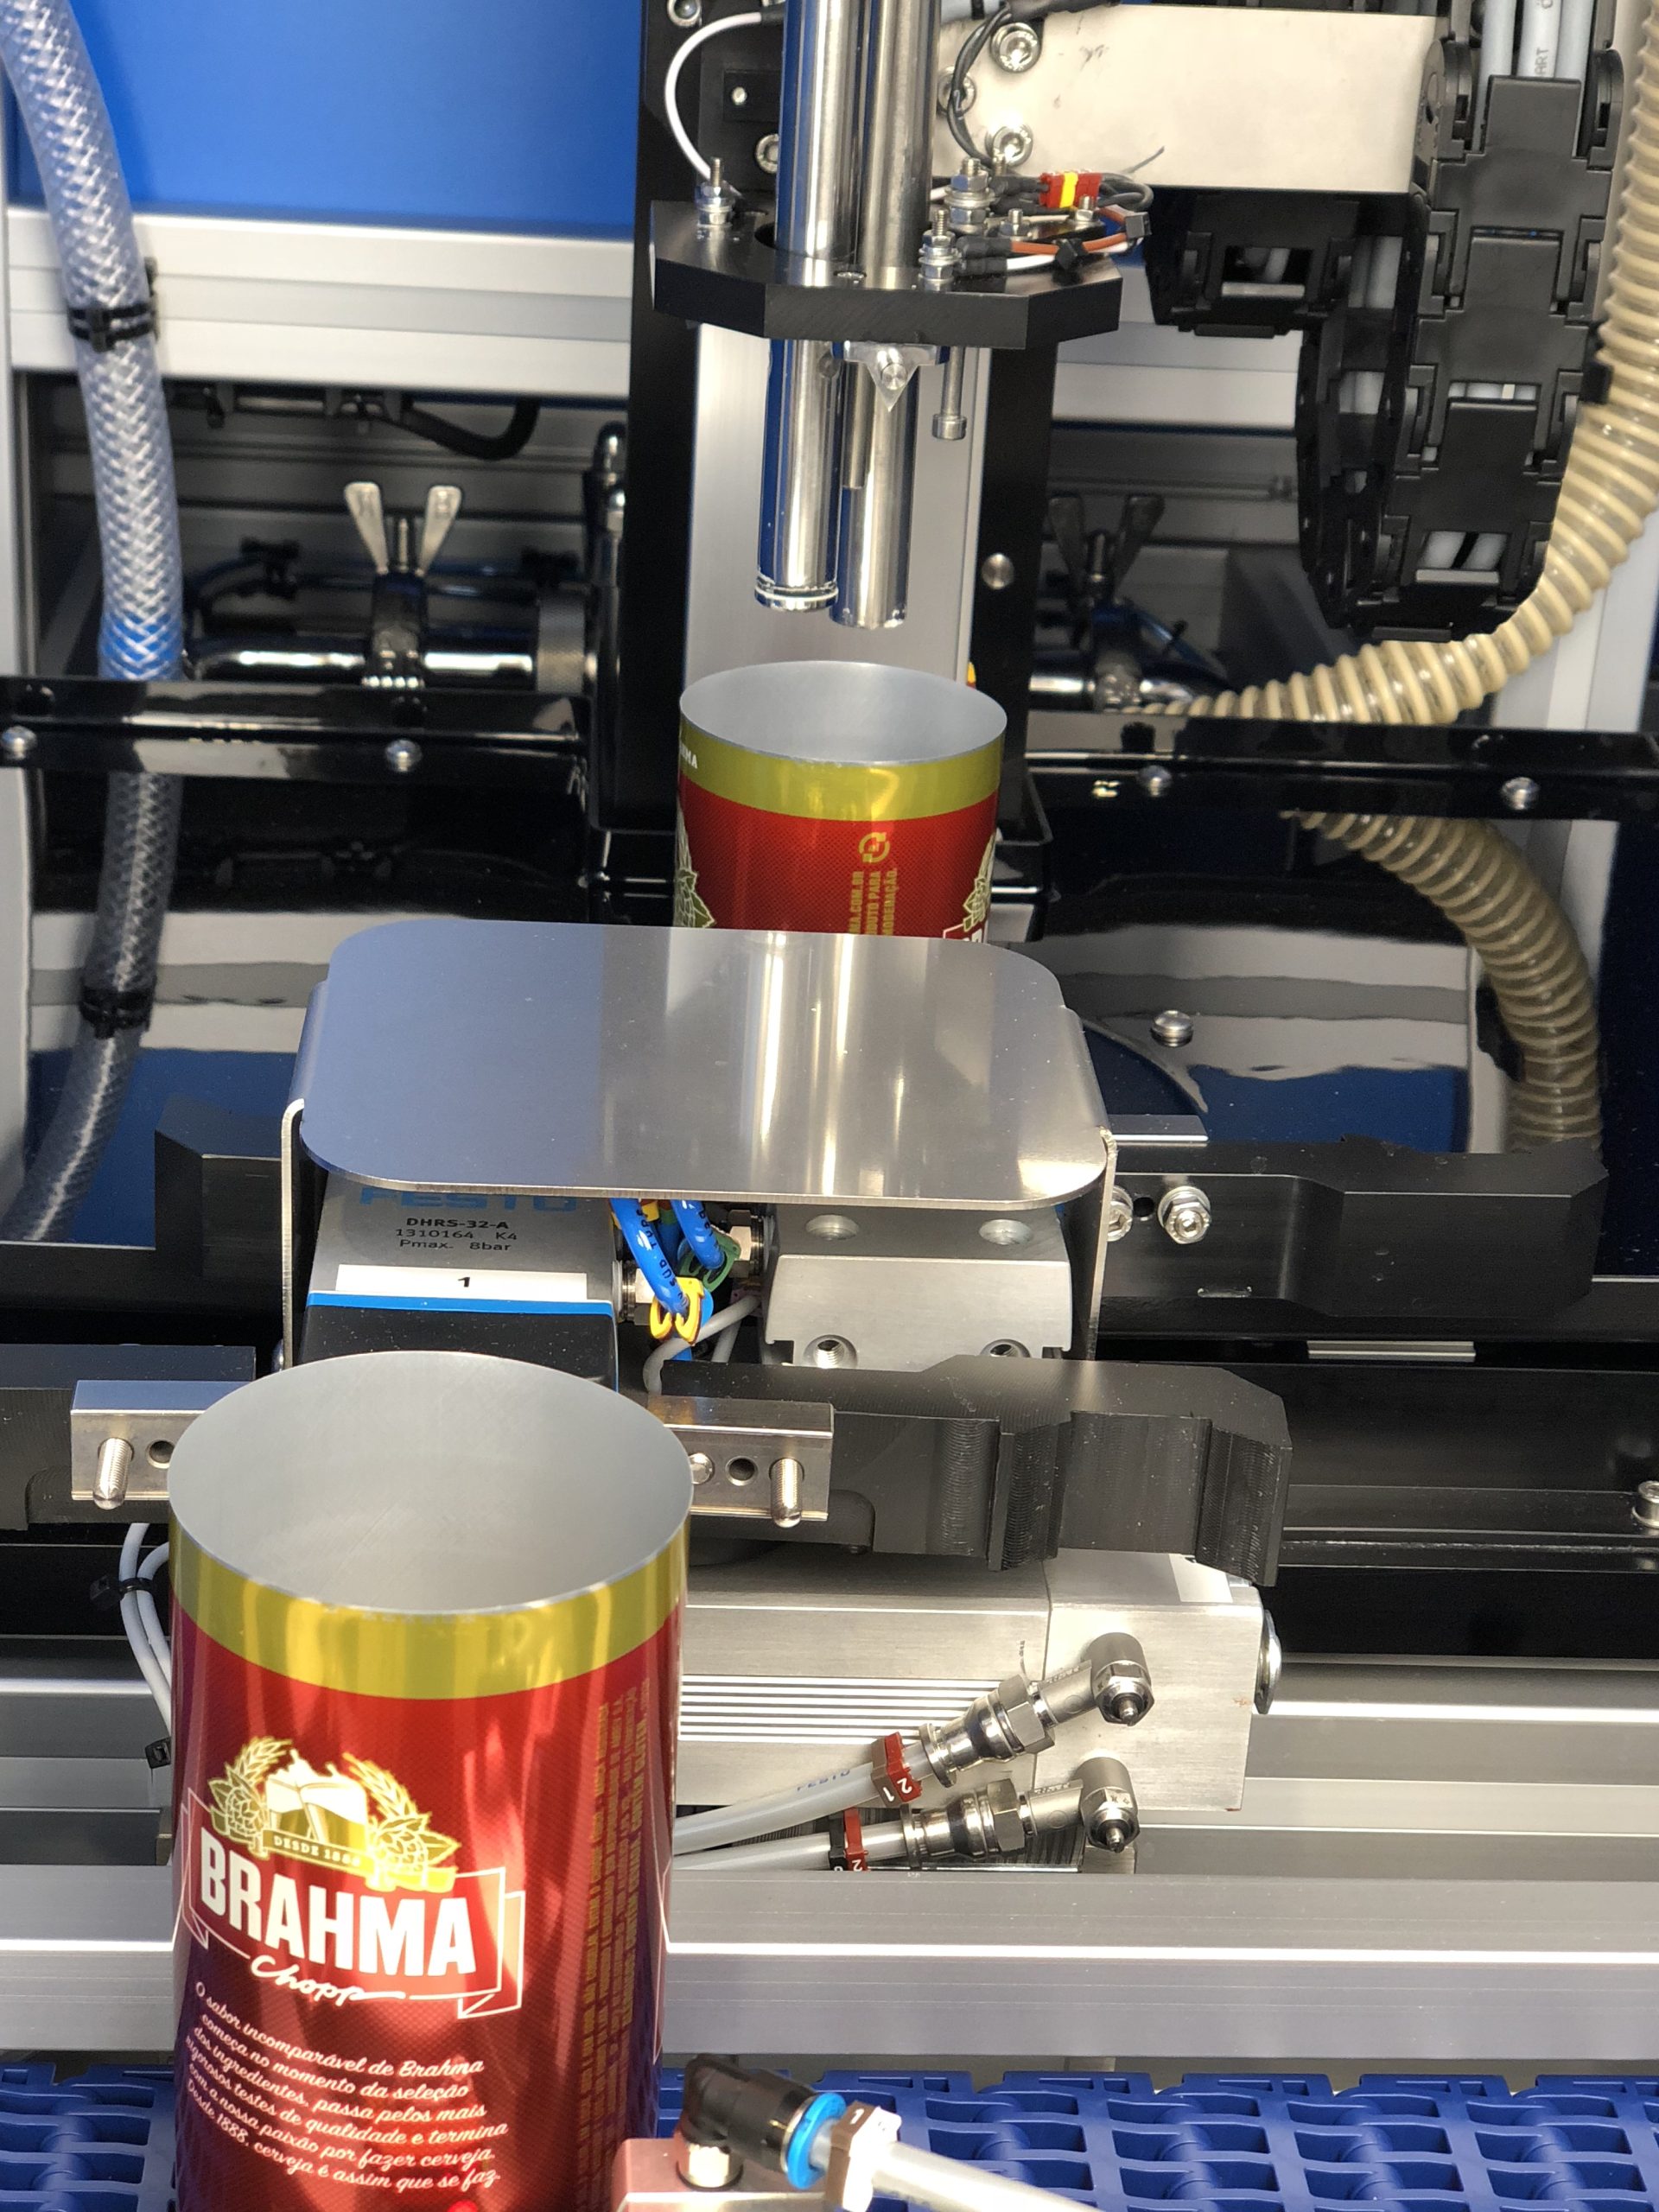
                      The Beverage Can Master supplied with your gauge is extremely important for the reliability of your measurement results.


                      As the original equipment manufacturer Torus Measurement Systems recommends that your Master is re-calibrated annually to continually assess for wear, damage and integrity. This ensures your product quality is never compromised.


                      Torus are a leading manufacturer in gauging systems for the packaging industry worldwide, with the expertise to understand the functionality and critical features of your master.


                      Torus Measurement Systems Master Calibration Service offers:
                      • ISO 17025 (UKAS approved measurement methods)
                      • ISO 9001 (BSI approved Quality Management System)
                      • Continual commitment to quality
                      • Quick turnaround offering minimum disruption (typical 3 – 5 days)
                      • Value for money
                      • Annual re-call notification when your master is due for calibration (this is driven by our own bespoke software Information Management System) – this notification will be sent to your preferred contact six weeks prior to when your master is due for re-calibration.

                      Torus Recommends

                      Our Divisions

                      Through our three key divisions we deliver a range of measurement and inspection systems, metrology services and machine enclosure solutions, as well as our online store for aluminium profile components and workspace solutions.

                      How can we help you?

                        Z702 AUTOMATIC 2 PIECE BOTTLE CAN INSPECTION GAUGE

                        Z702 AUTOMATIC 2 PIECE BOTTLE CAN INSPECTION GAUGE

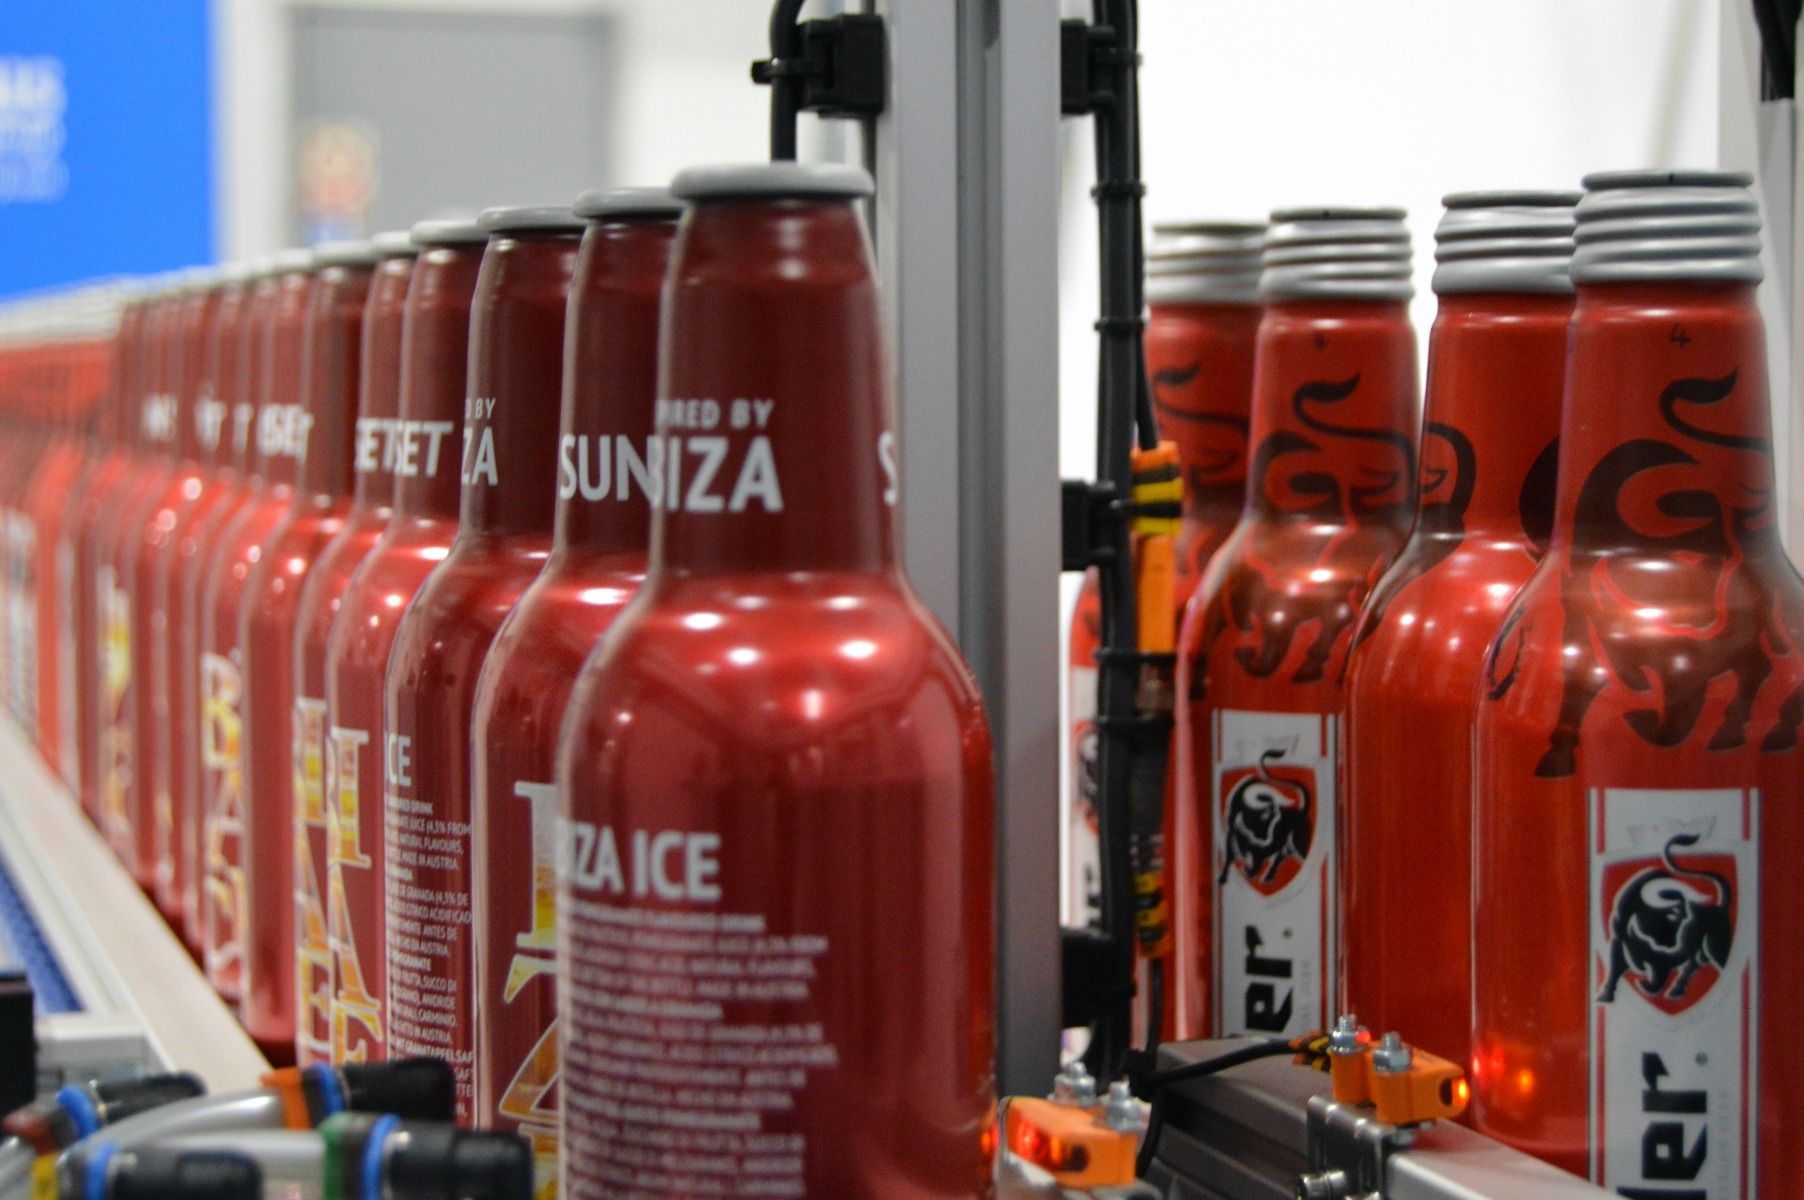
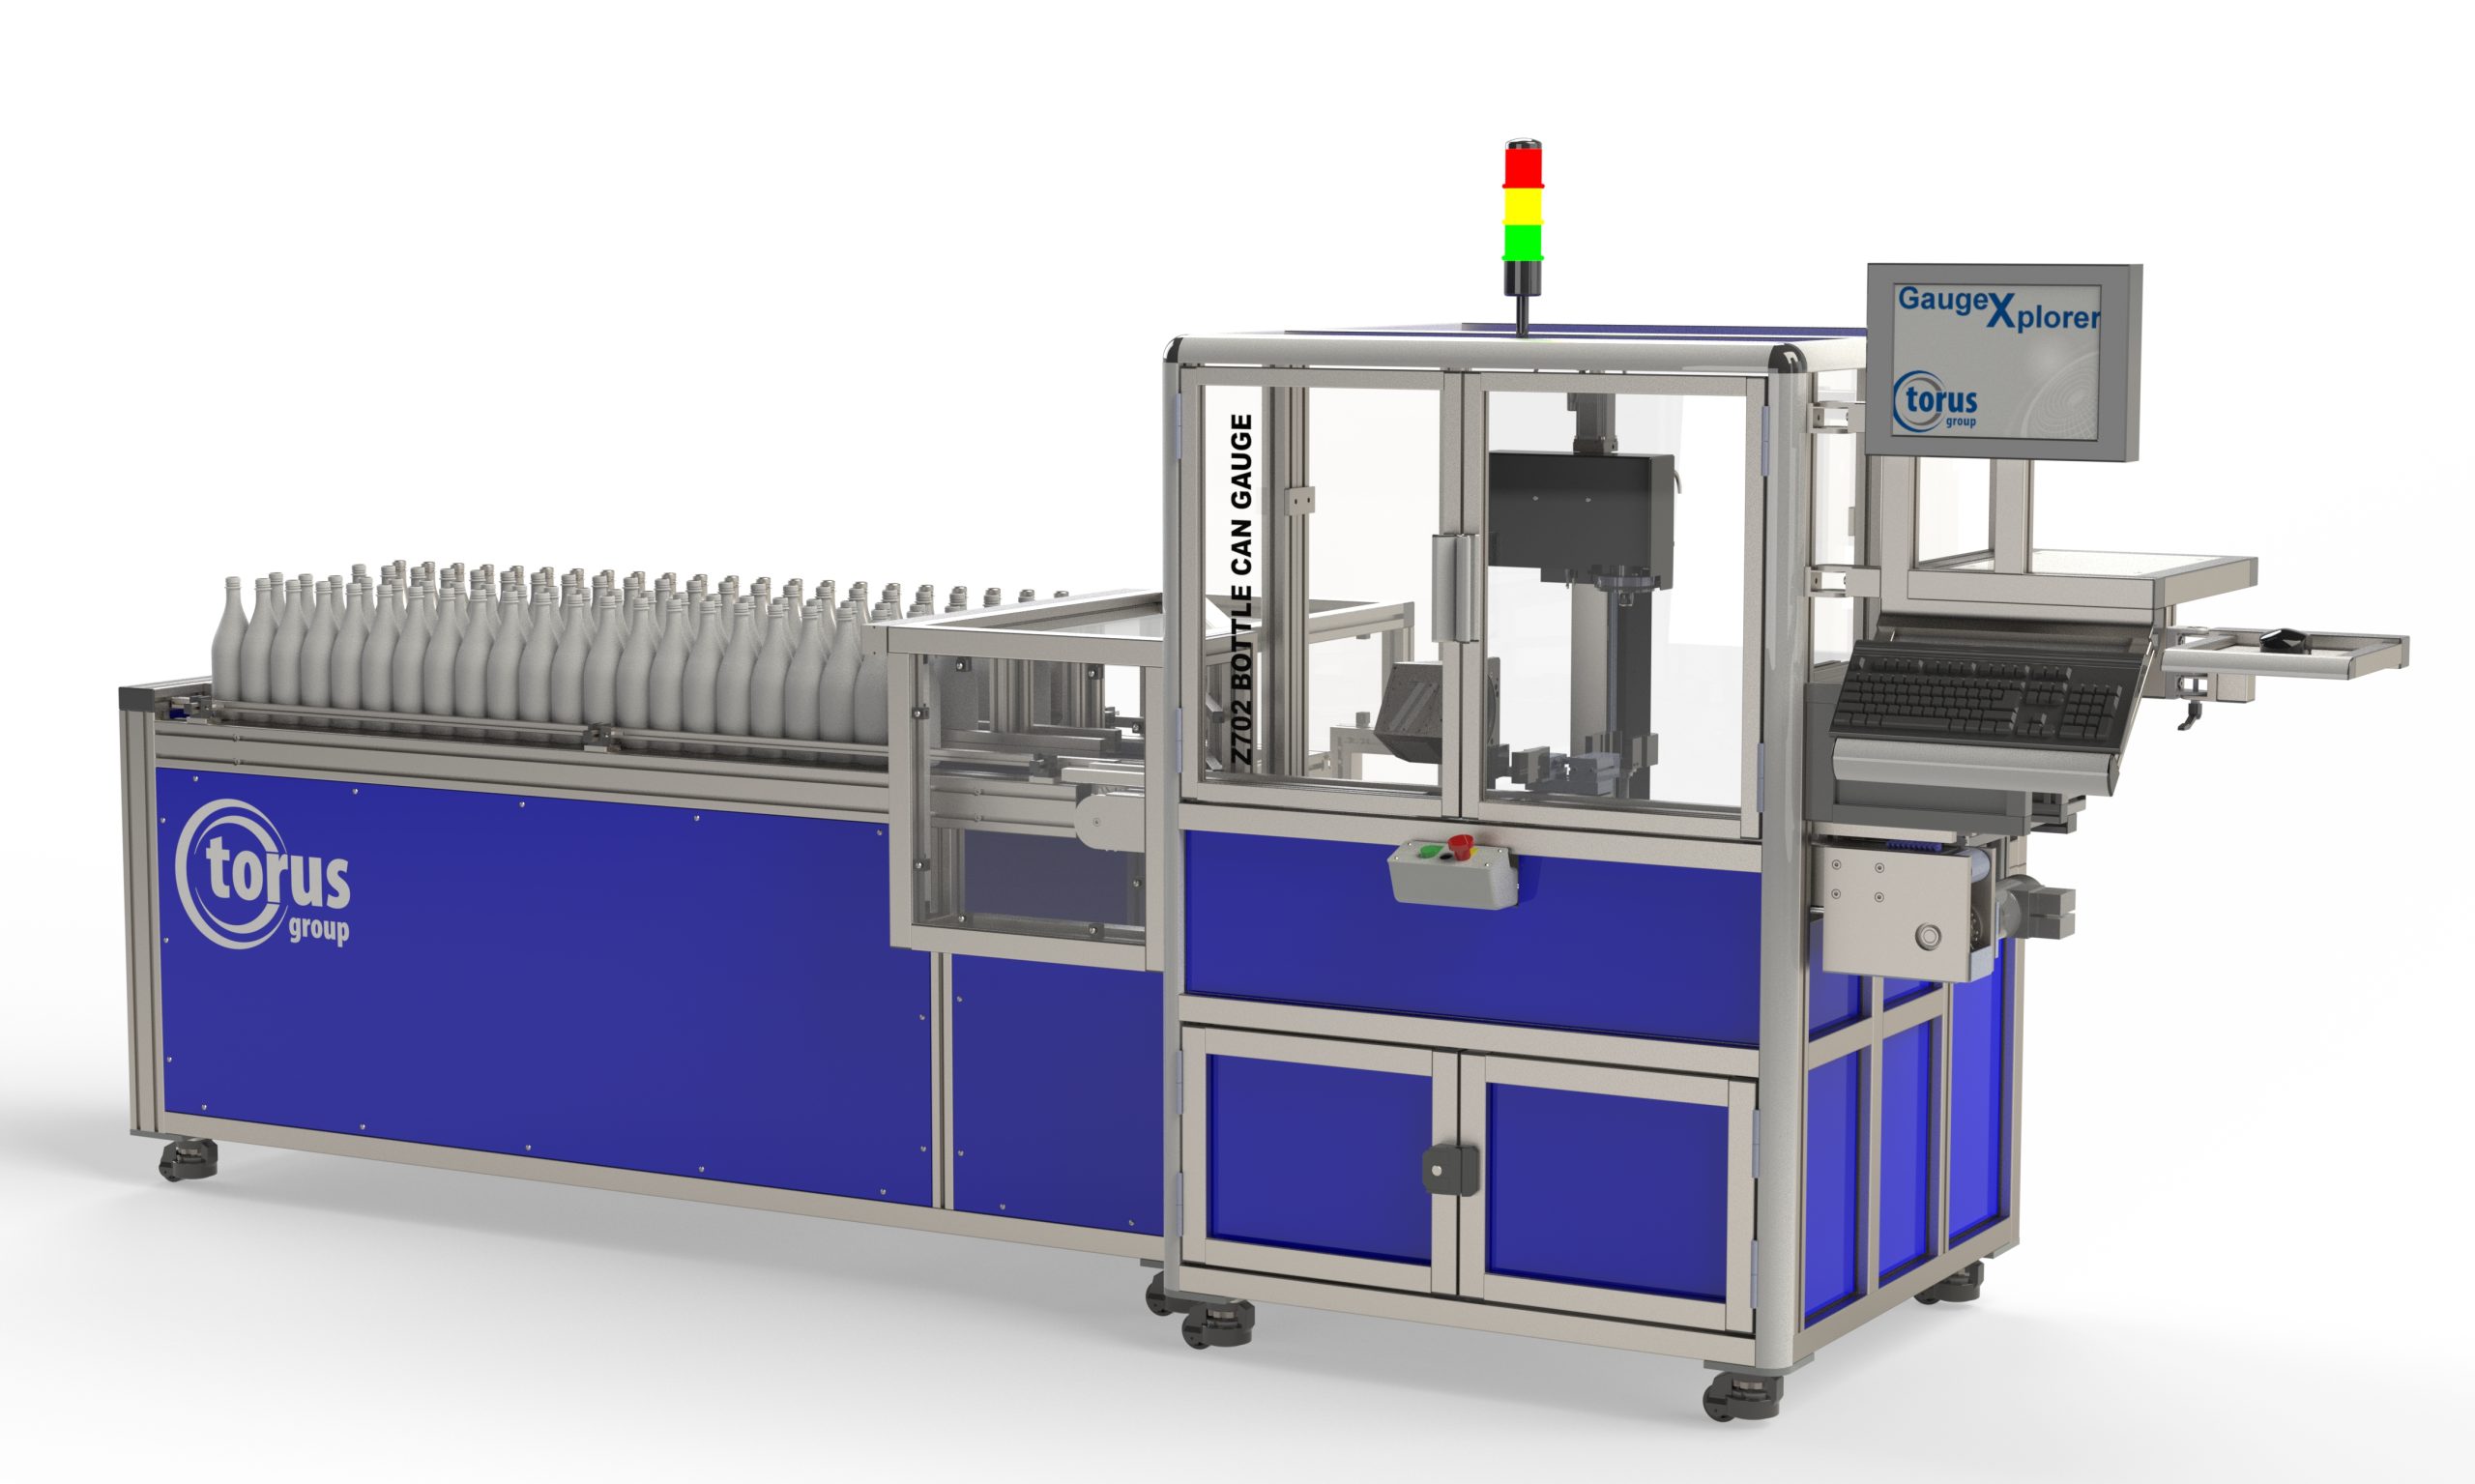
                        The Torus Z702 Automatic Bottle Can Inspection System has been developed to inspect all the critical dimensions of a 2 piece aluminium bottle

                        Specifications

                        Using state-of-the-art optical measurement technology, critical dimensions on the body or thread and cap areas can be obtained quickly without operator intervention.

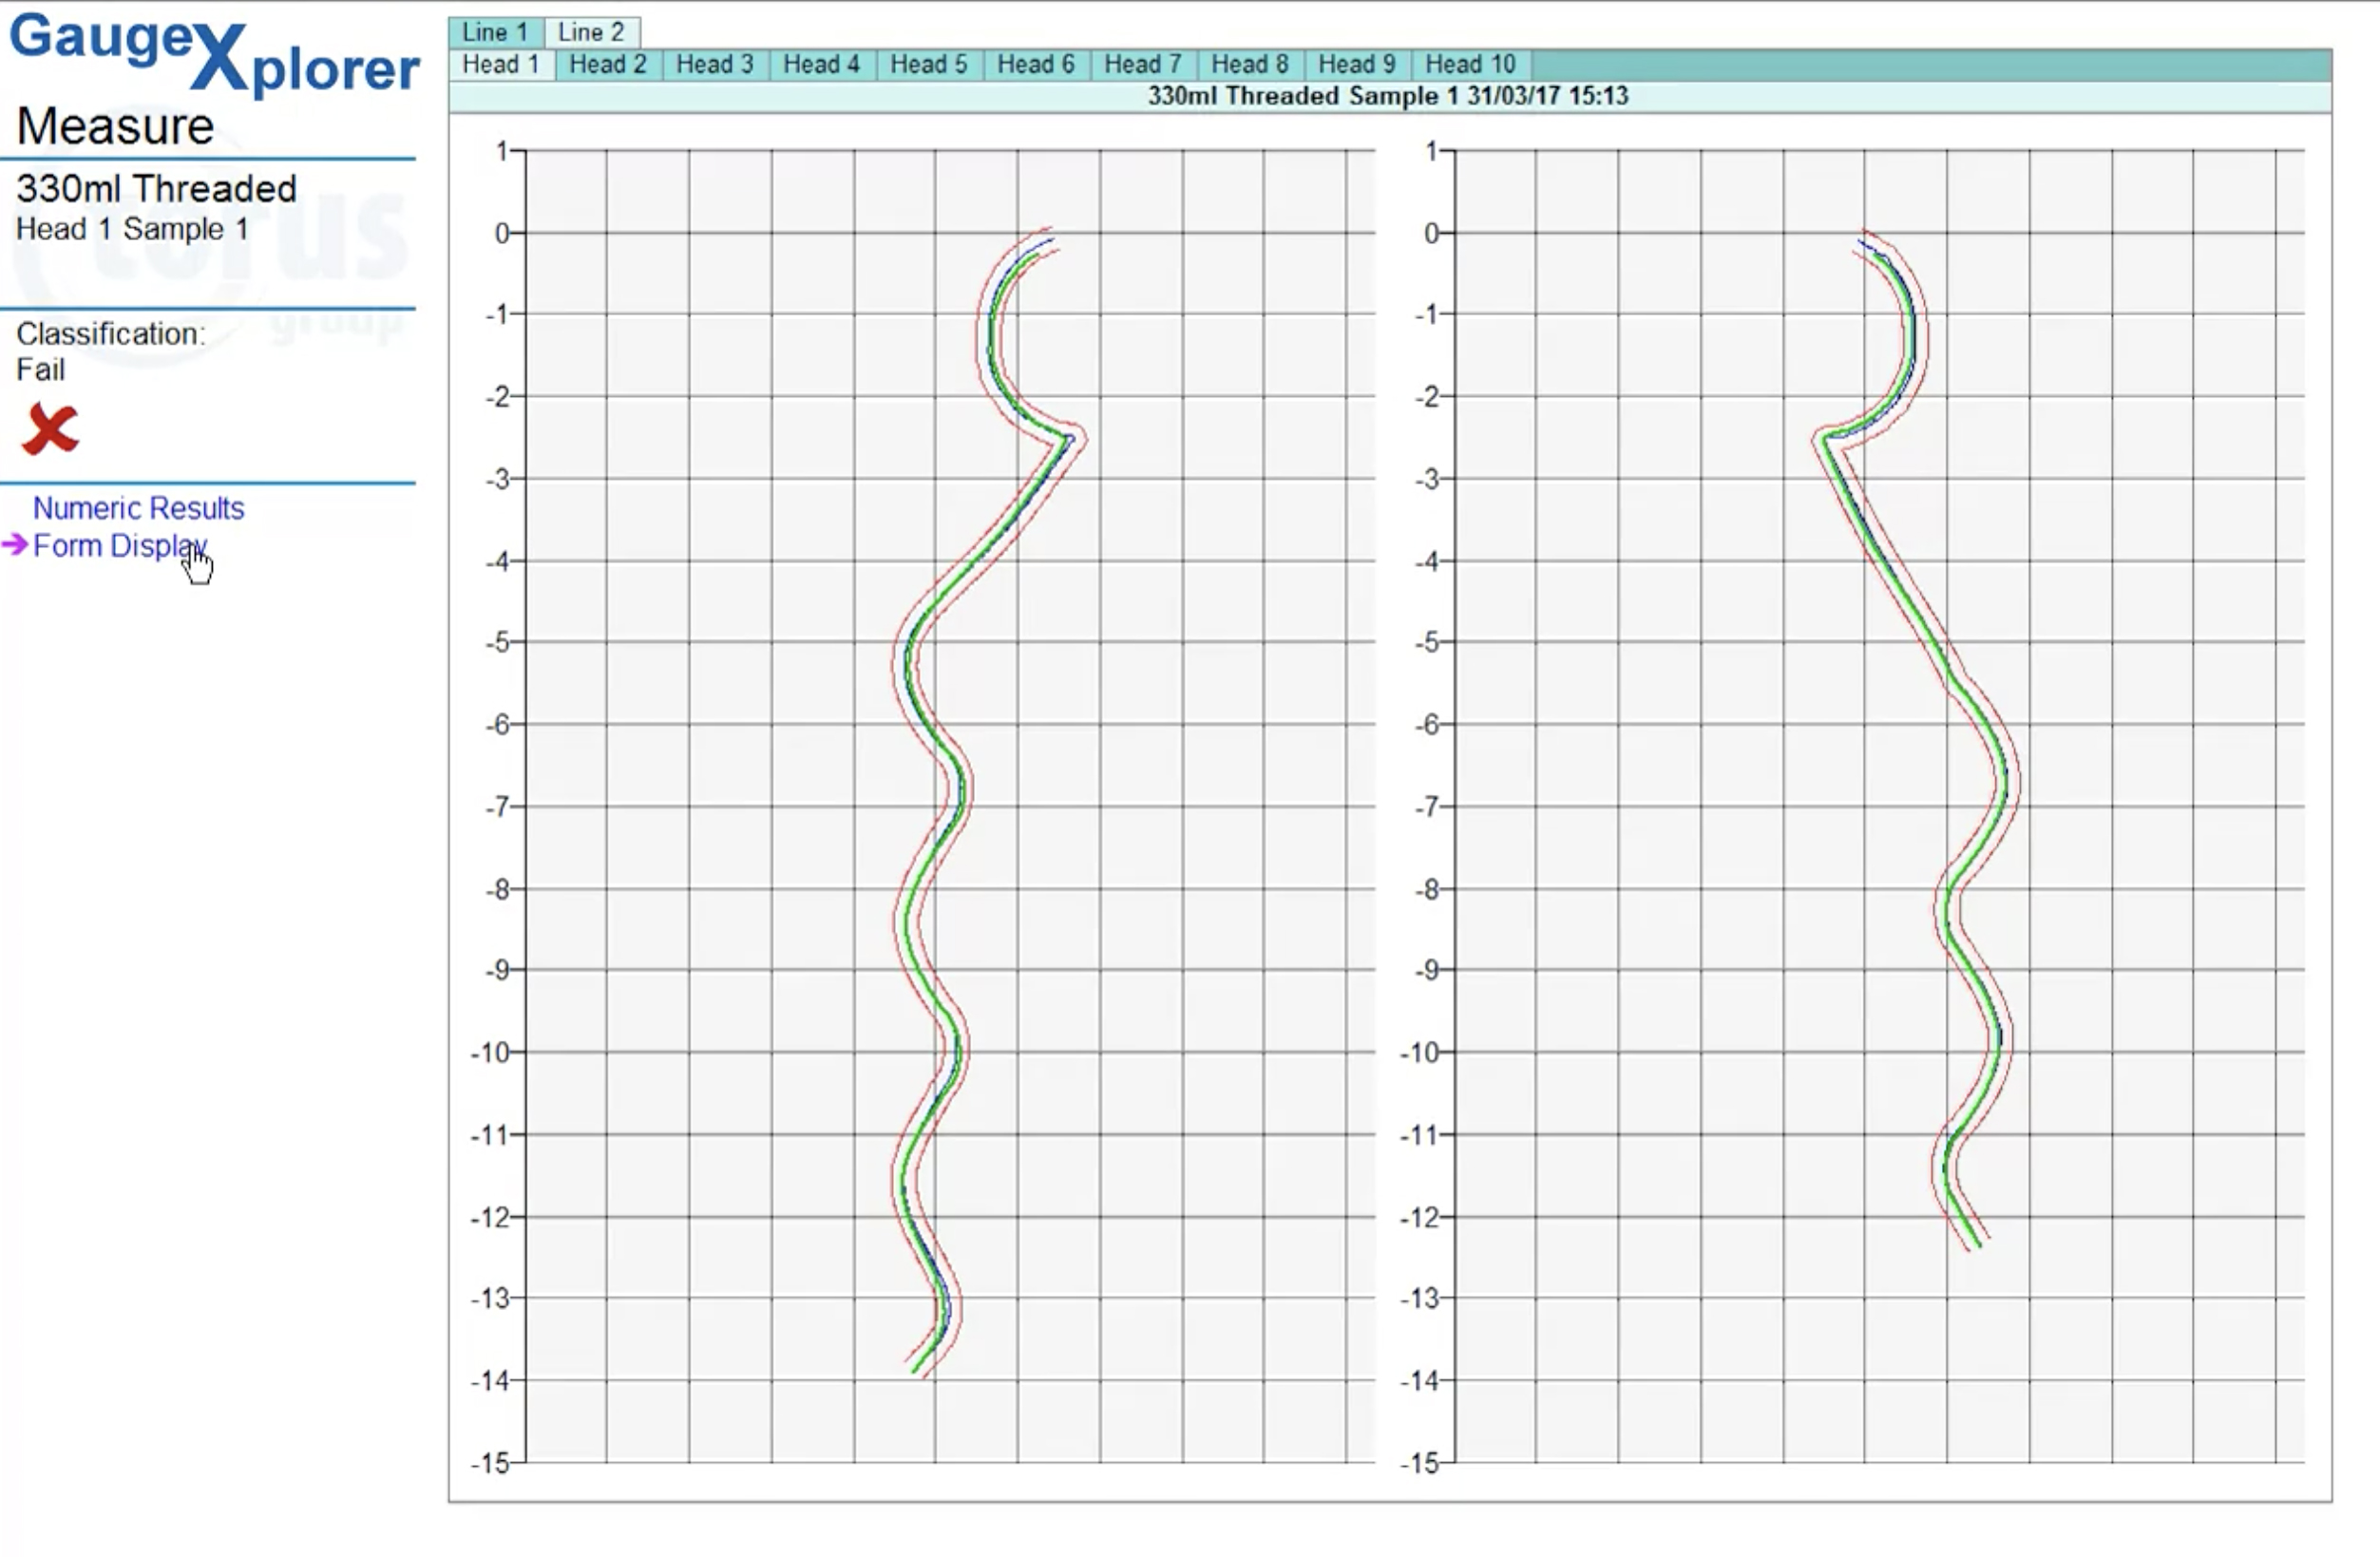
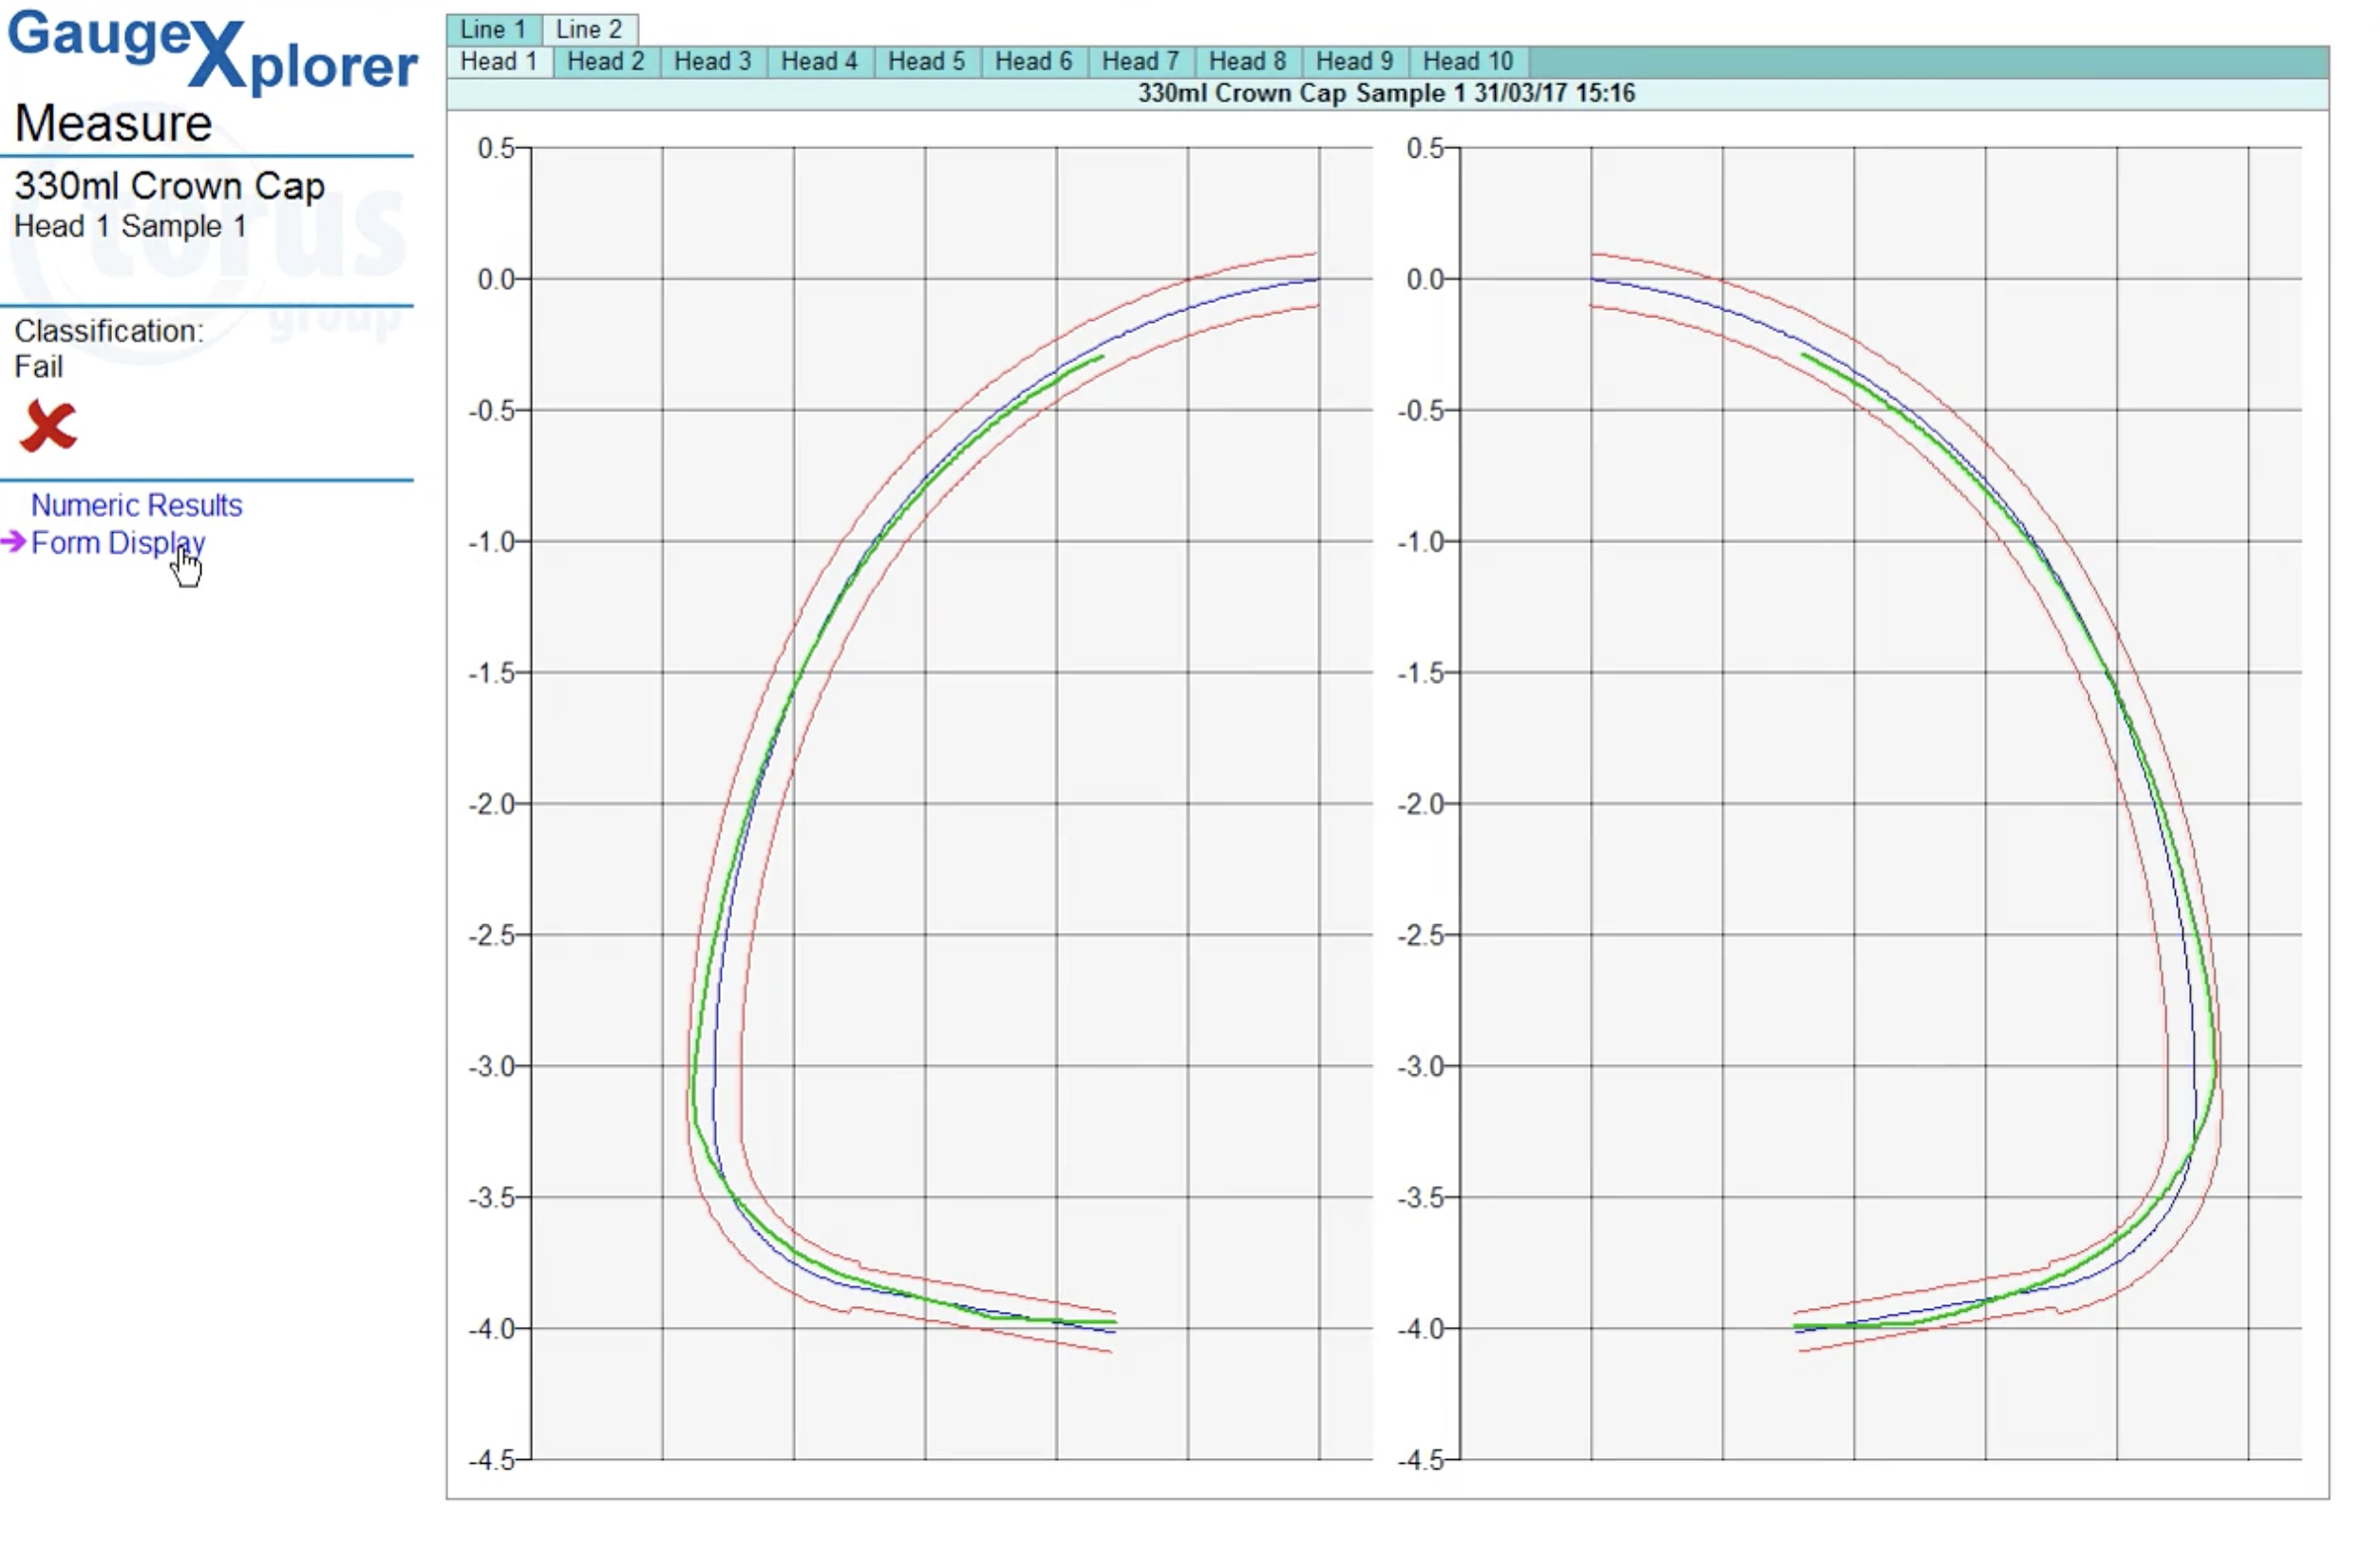
                        Unlike other vision based technologies, a collimated light source combined with a high-resolution camera and lens generate a high-resolution image of the bottle centreline, from which precise form data is collected using Torus’ GaugeXplorer software.


                        Torus Beverage Can Gauging


                        Measurement Features

                        • Optical Features: Includes – Diameters, Heights, Pitch, Depth, Intersections, Angles | Accuracy: +/- 0.030 mm
                        • Contact Features: Internal Diameter and Overall Height | Accuracy:  +/- 0.030 mm


                        Technical Specification

                        • System Body Diameter | Typical Range: Ø 202 – Ø 211
                        • System Bottle Height | Typical Range: 80 mm – 250 mm
                        • System Thread | Typical Range: 5 mm – 66.6 mm
                        • System Plug DIameter | Typical Range: 18 mm – 32 mm
                        • Utilises non-contact with traditional contact, flexible design
                        • Automatic ‘Find Thread Start’ capability for threaded bottles
                        • Fast cycle time
                        • No operator influence on measurement results
                        • Visual ‘Form Fit’ function

                        Our modular gauge setups are unique and allow you to customise your gauge as and when you require, giving you the flexibility to ensure you have a total quality solution.
                        1. Start with the standard Z702 Automatic 2 Piece Bottle Can Inspection Gauge (3)…
                        2. … add any of the below optional modules at any time.
                        1. Multi Lane Input Conveyor
                        2. Z705 Body Maker Recognition Module
                        3. Z702 Automatic 2 Piece Bottle Can Inspection Gauge
                        4. Finished Bottle Weight Module
                        5. Axial Load Module

                        Torus Recommends

                        Our Divisions

                        Through our three key divisions we deliver a range of measurement and inspection systems, metrology services and machine enclosure solutions, as well as our online store for aluminium profile components and workspace solutions.

                        How can we help you?

                          Z704 REMOTEXPLORER CAMERA SYSTEM

                          Z704 REMOTEXPLORER CAMERA SYSTEM

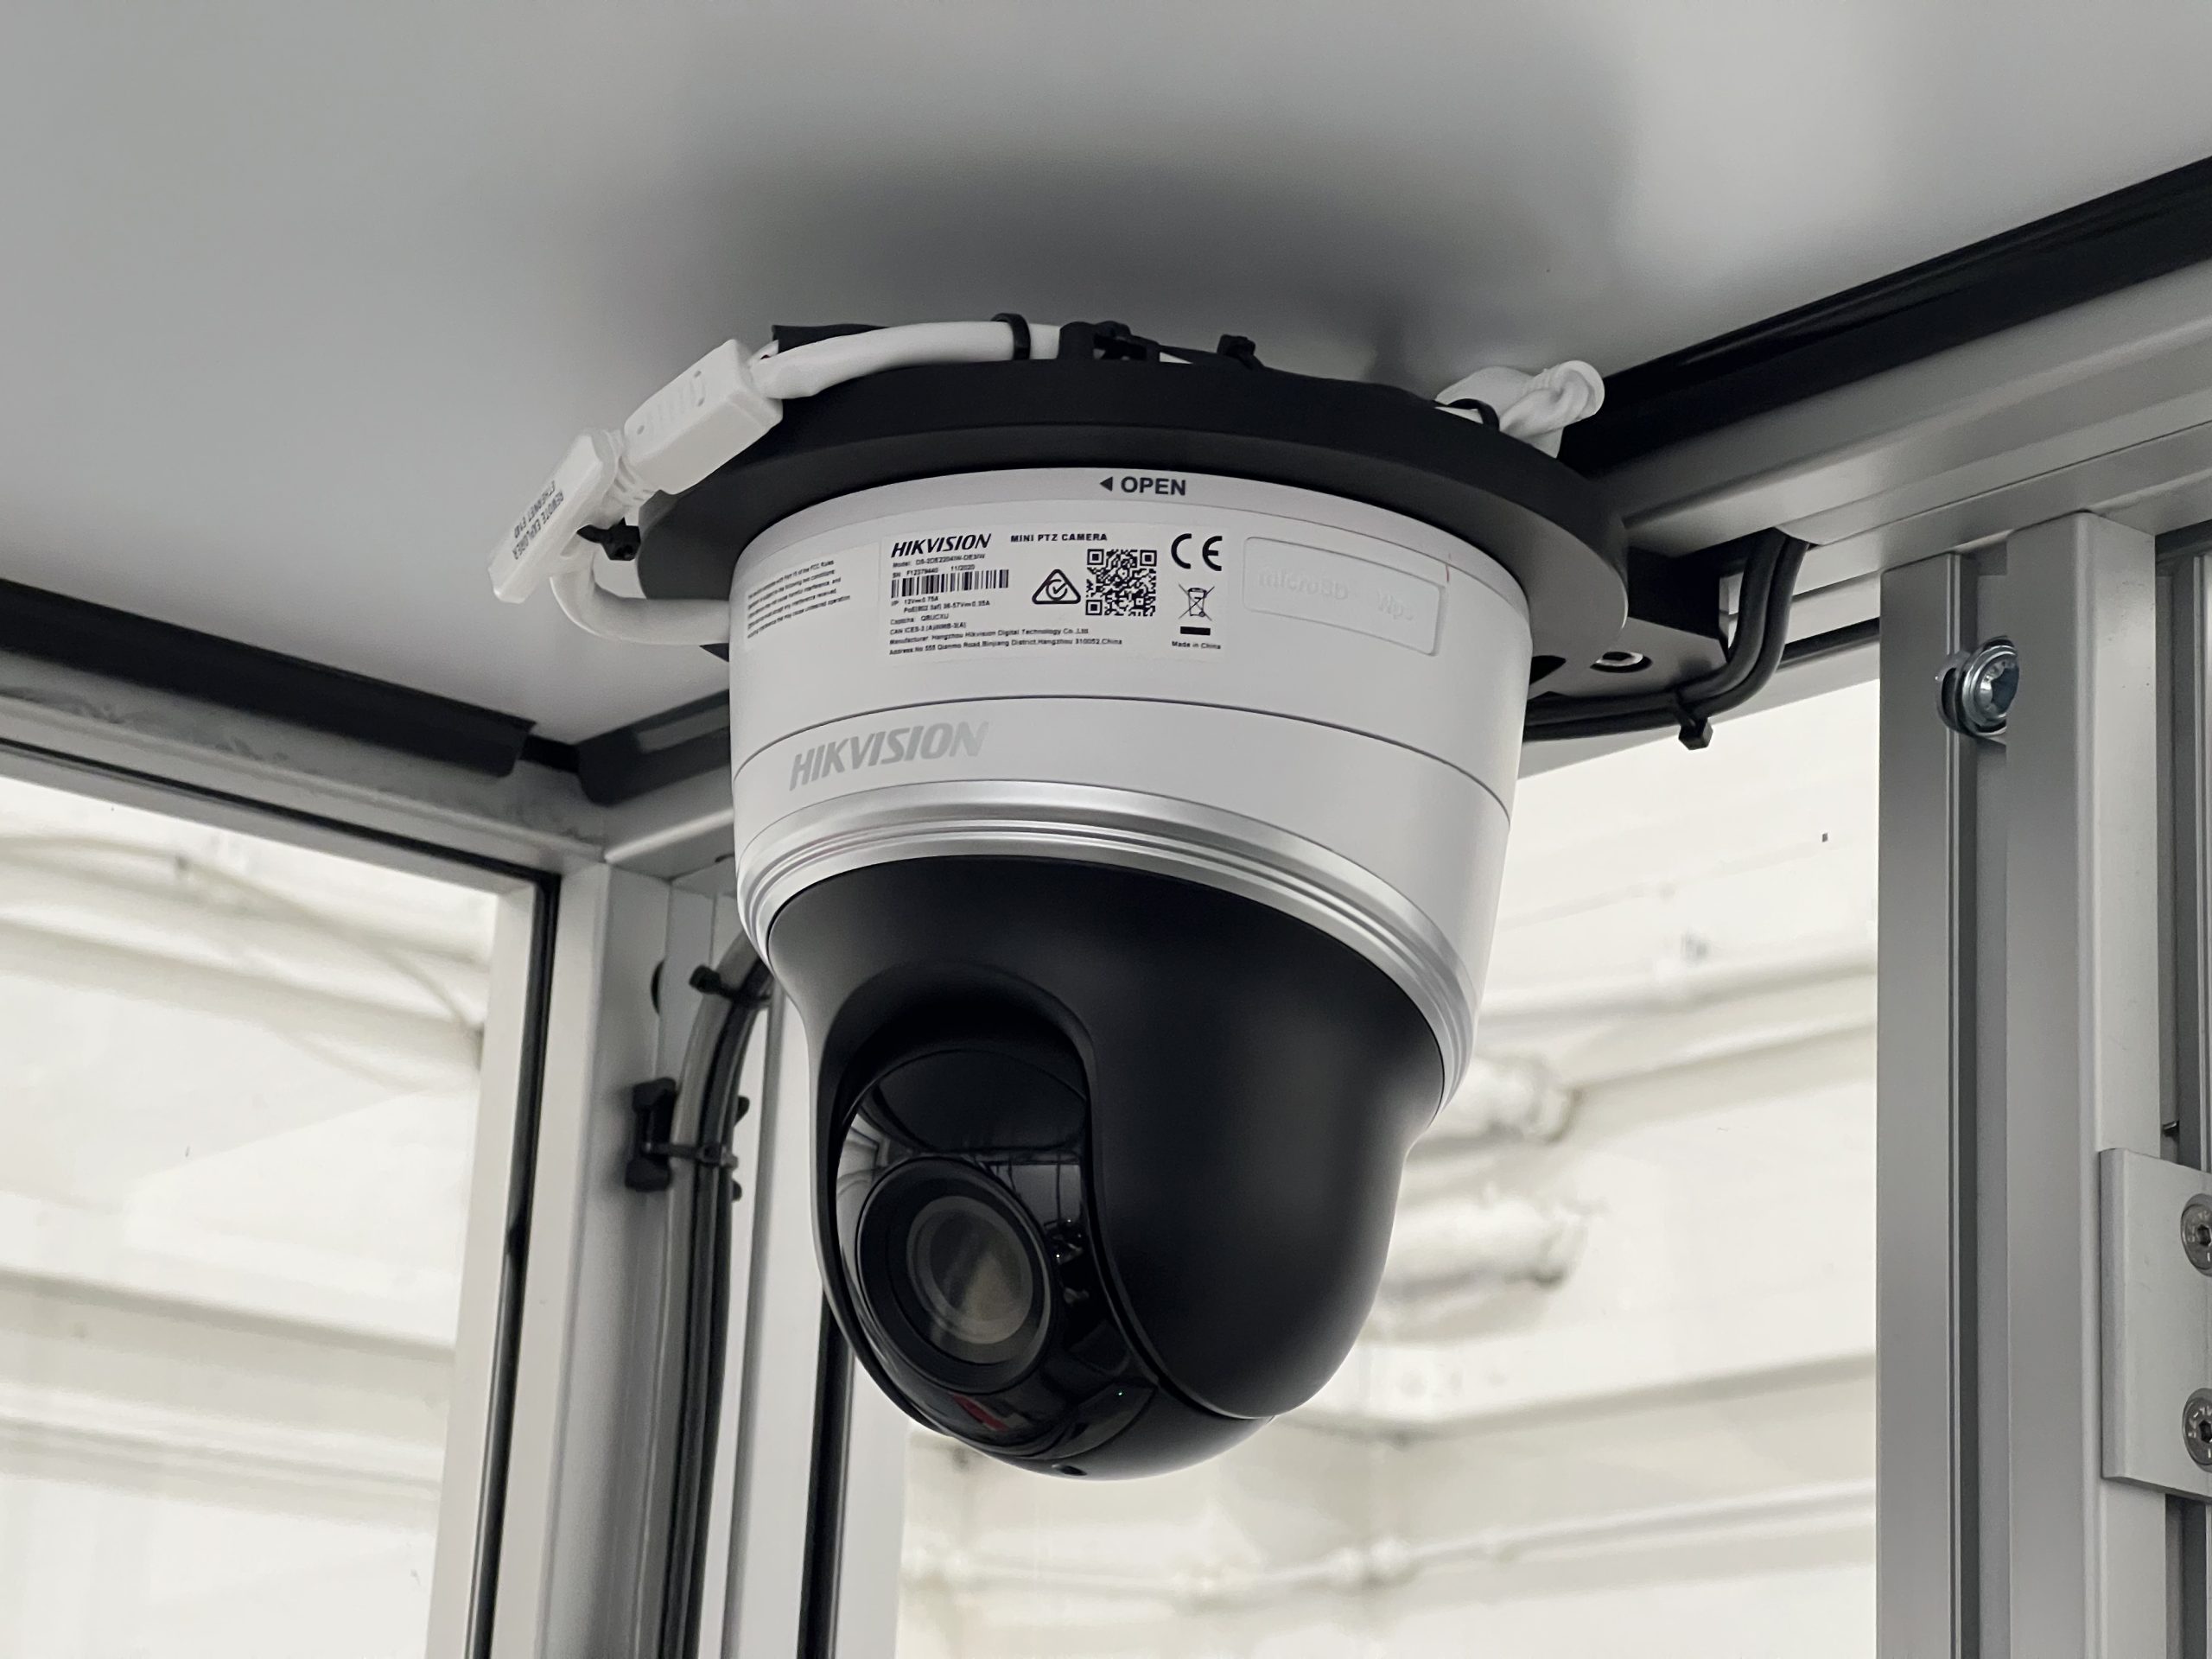
                          Introducing Torus’ Z704 RemoteXplorer, offering remote visual global support from our head office

                          Specifications

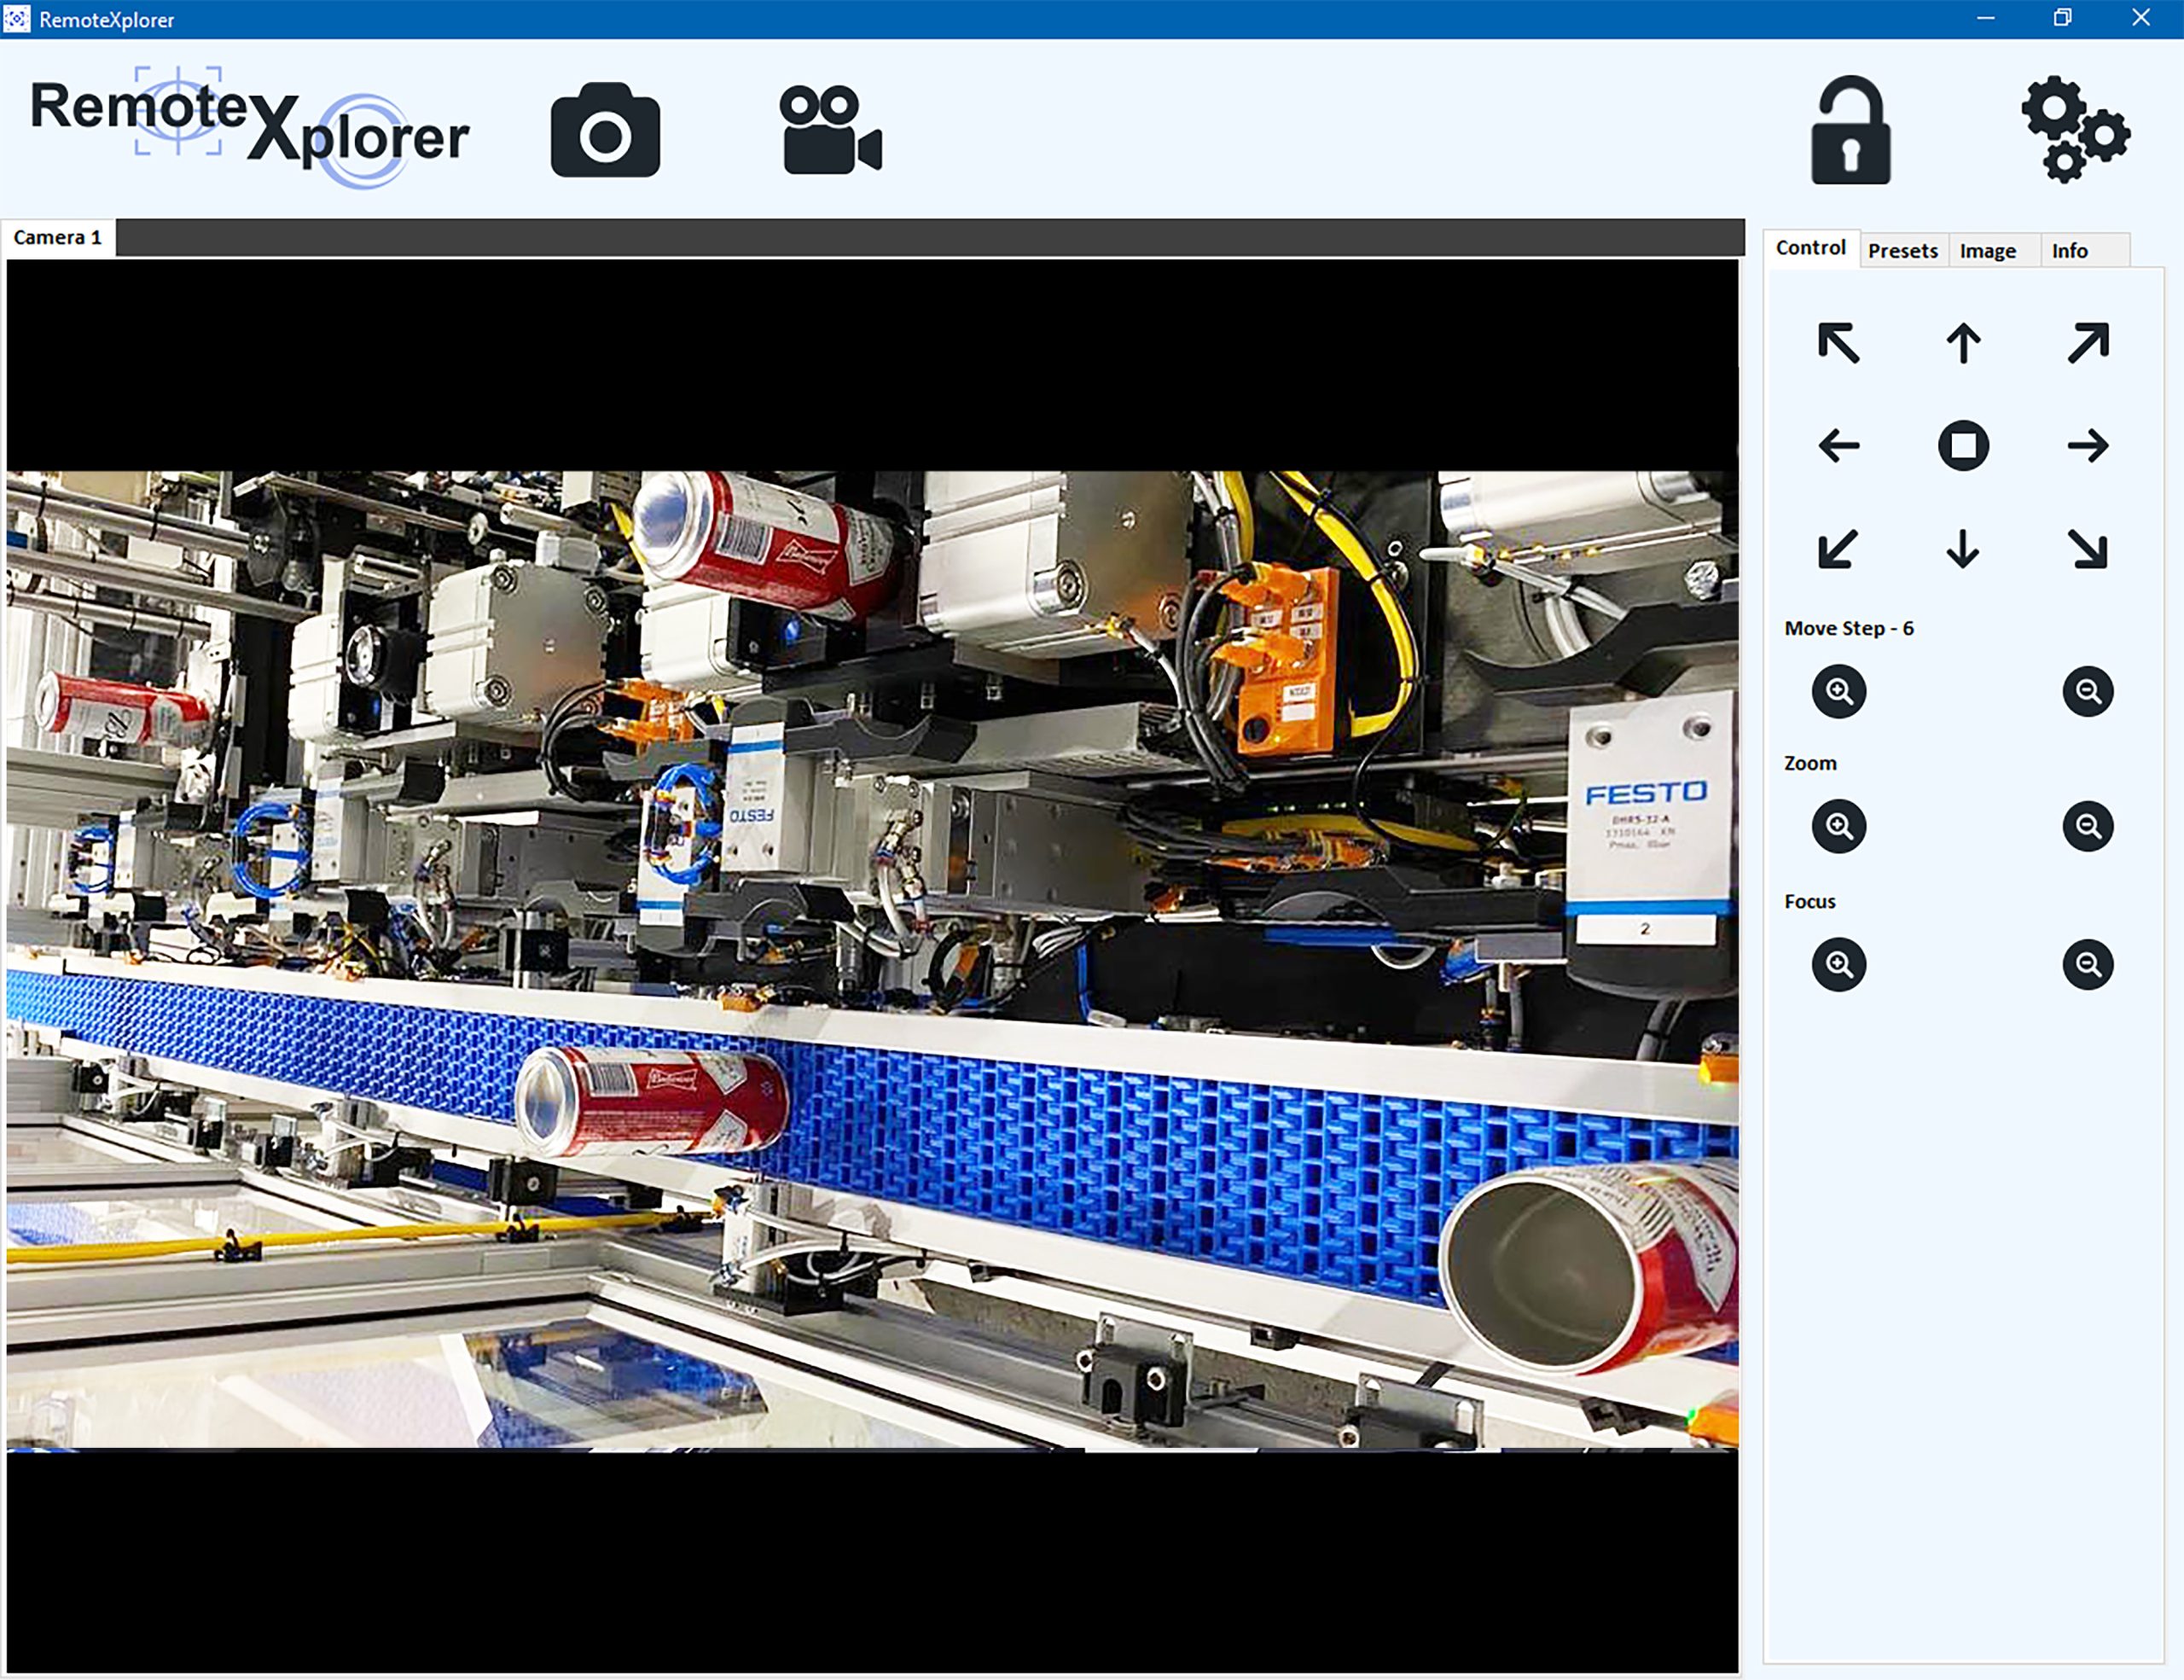
                          Remote support has been available for many years via Torus’ global helpdesk team, but only now can ‘eyes on’ support be offered via a new extension of Torus’ traditional GaugeXplorer software. RemoteXplorer, with the permission of customers, the gauges can now be monitored visually using RemoteXplorer’s newly developed pan and tilt camera system and software package.


                          Torus Beverage Can Gauging


                          • Pan and Tilt Camera System – Provides positional adjustment around the 340º field of view
                          • Remote Zoom and Focus – Up to 15 pre-set programmable positions ensuring all metrology aspects of each module are covered
                          • Video Recording and Image Capture Capability
                          • Multiple camera modules within larger gauging platforms can be added to provide visual coverage across the full gauging system
                          • Remote visual access to assess potential problems and solutions
                          • Offers enhanced levels of support
                          • Reduces reaction and response times
                          • Reduces potential downtime situations
                          • Reduces onsite service costs
                          • Completely secure remote access

                          Torus Recommends

                          Our Divisions

                          Through our three key divisions we deliver a range of measurement and inspection systems, metrology services and machine enclosure solutions, as well as our online store for aluminium profile components and workspace solutions.

                          How can we help you?

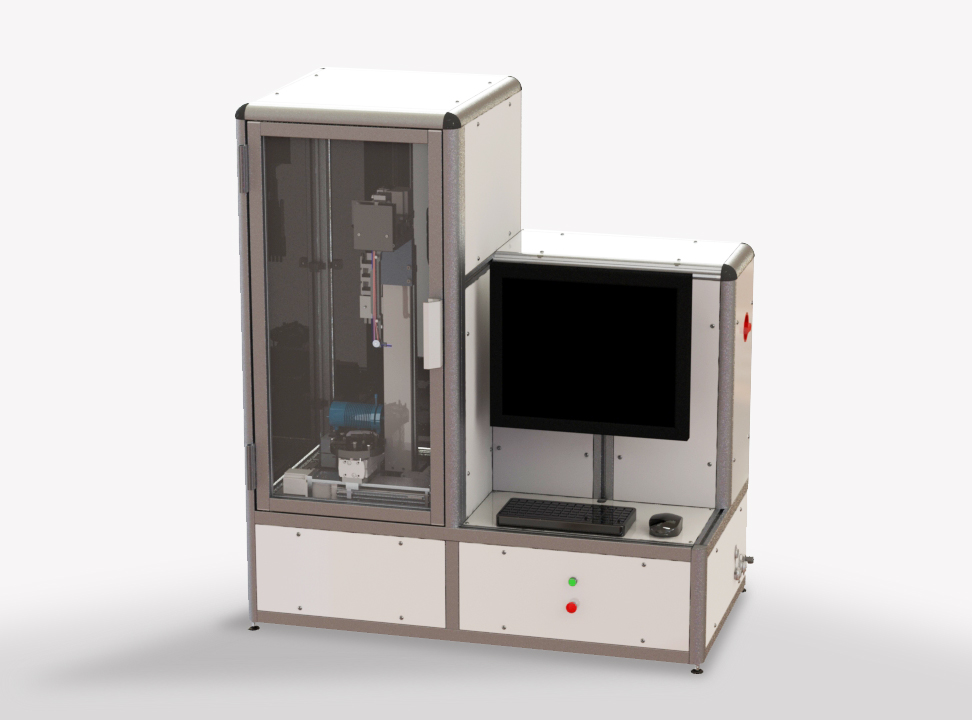
                            Z341 BENCH TOP BEVERAGE CAN COATING ANALYSER

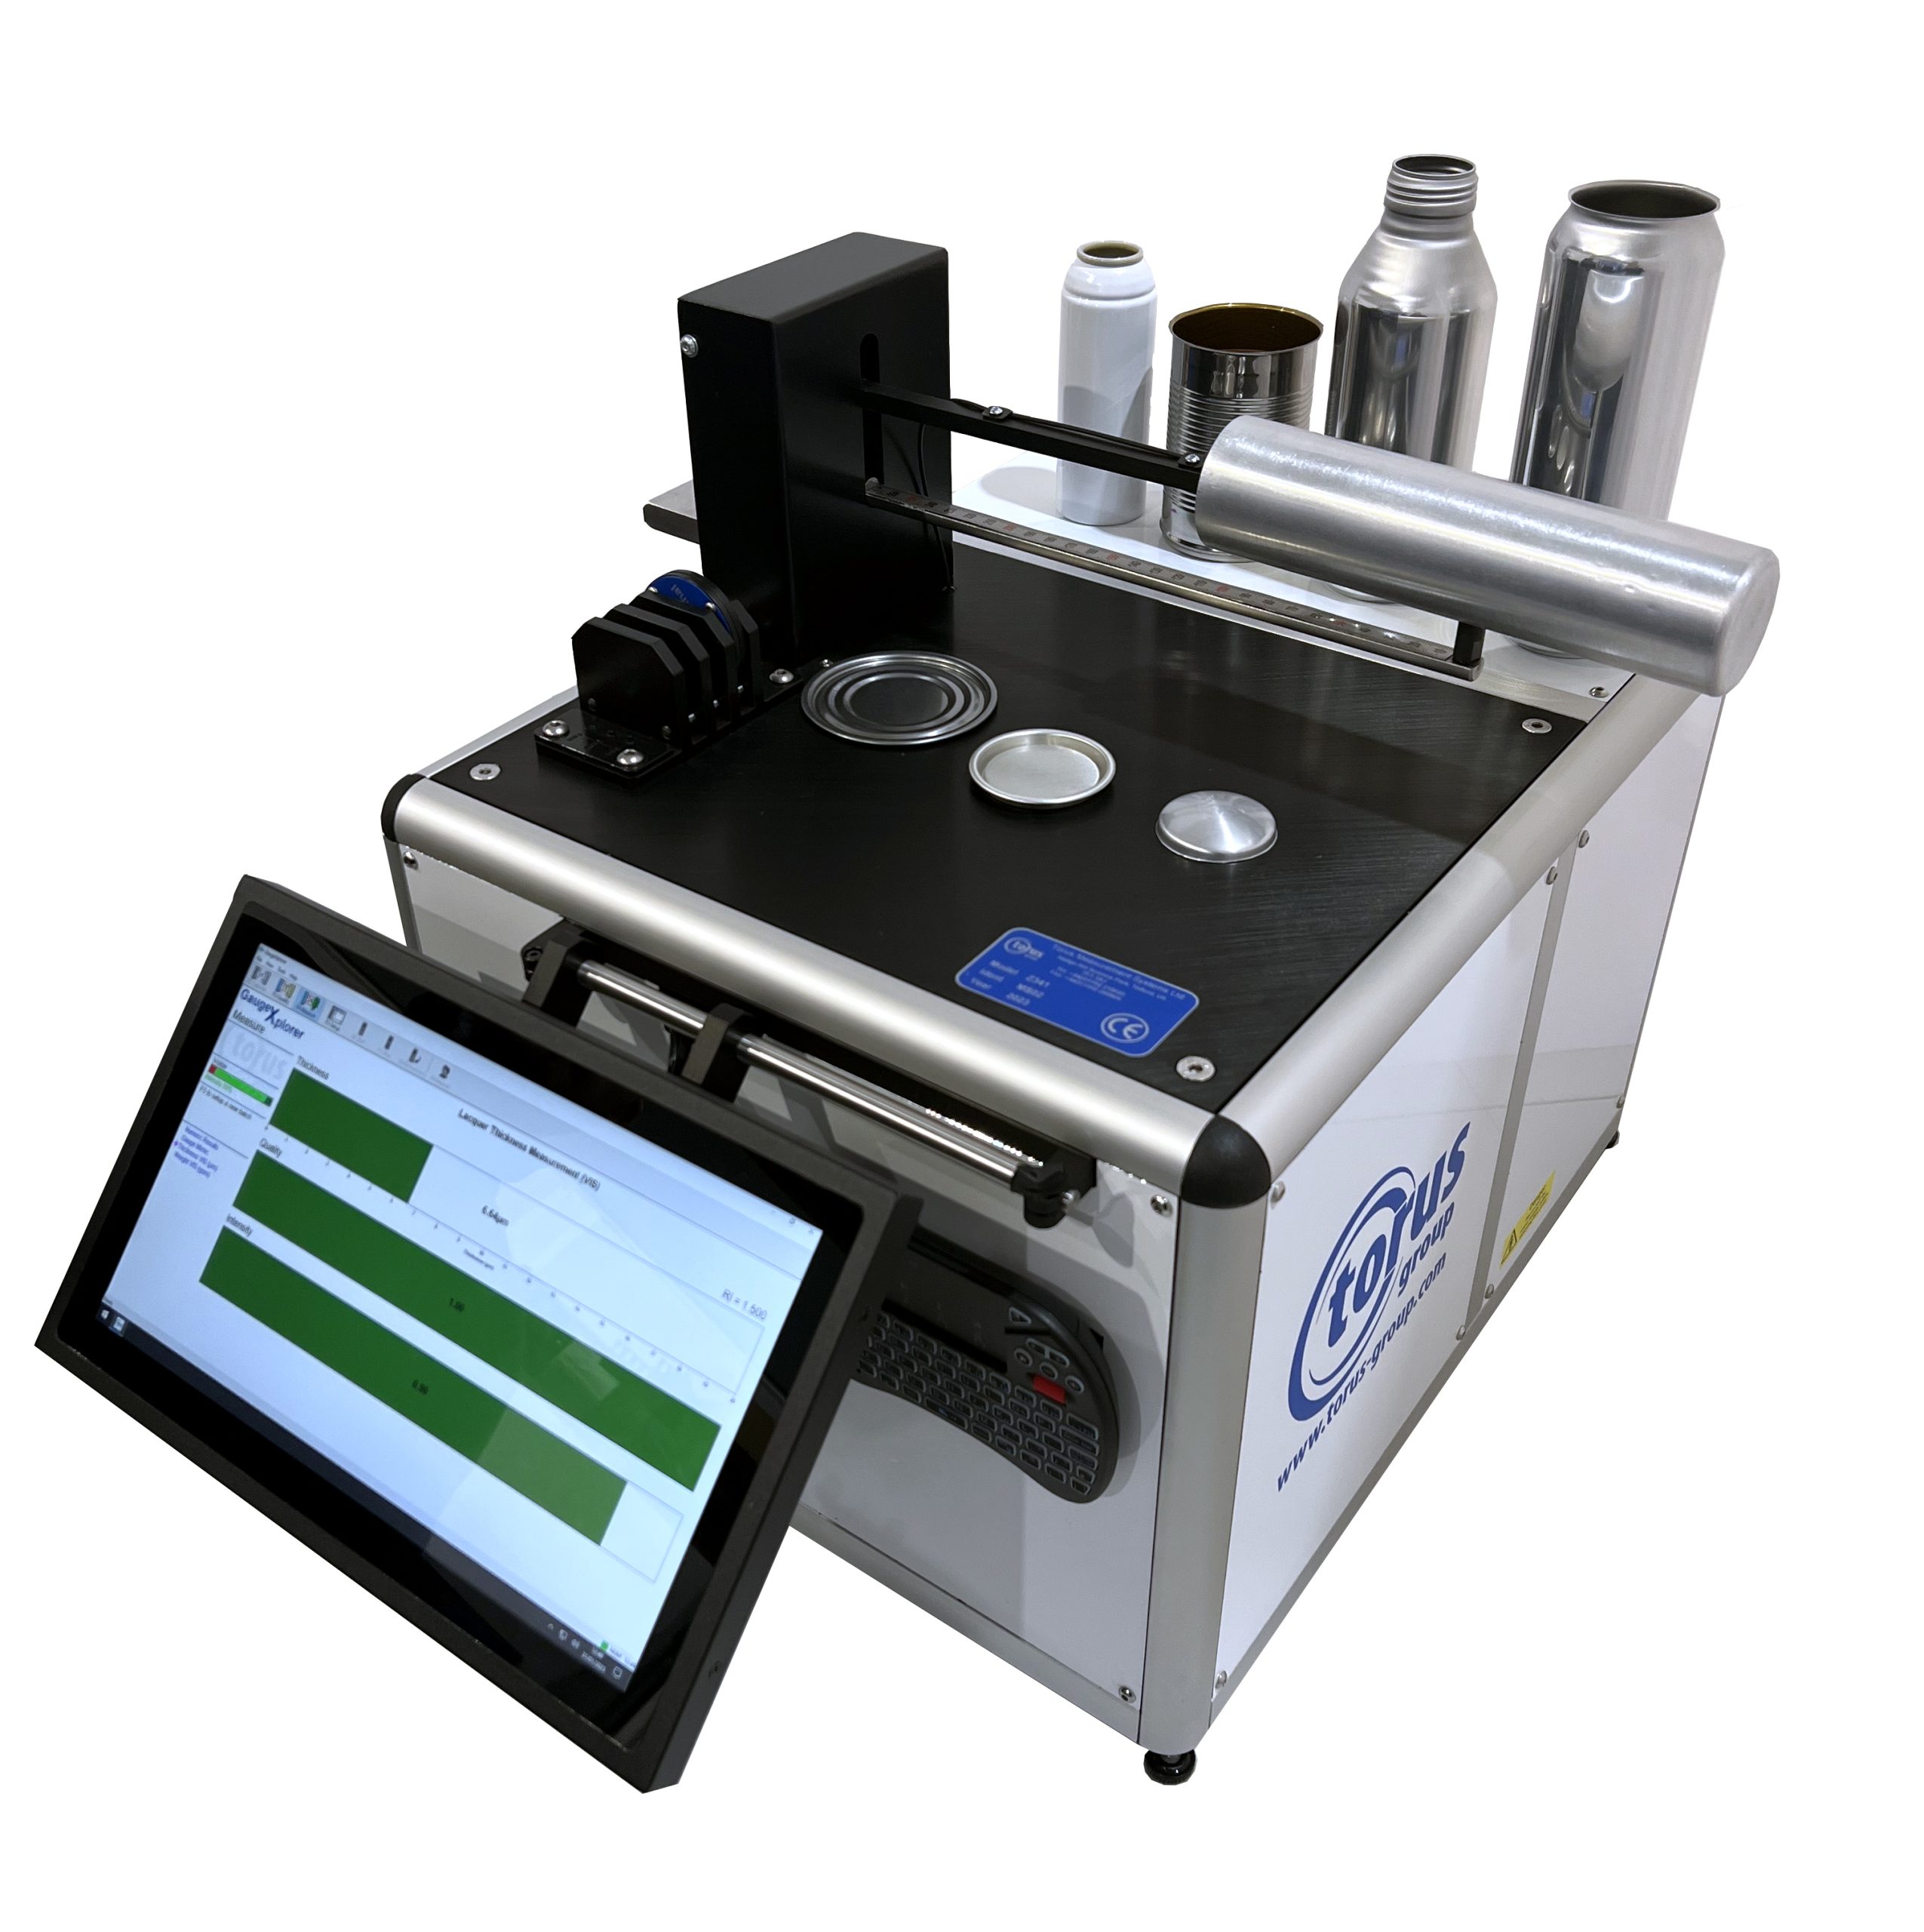
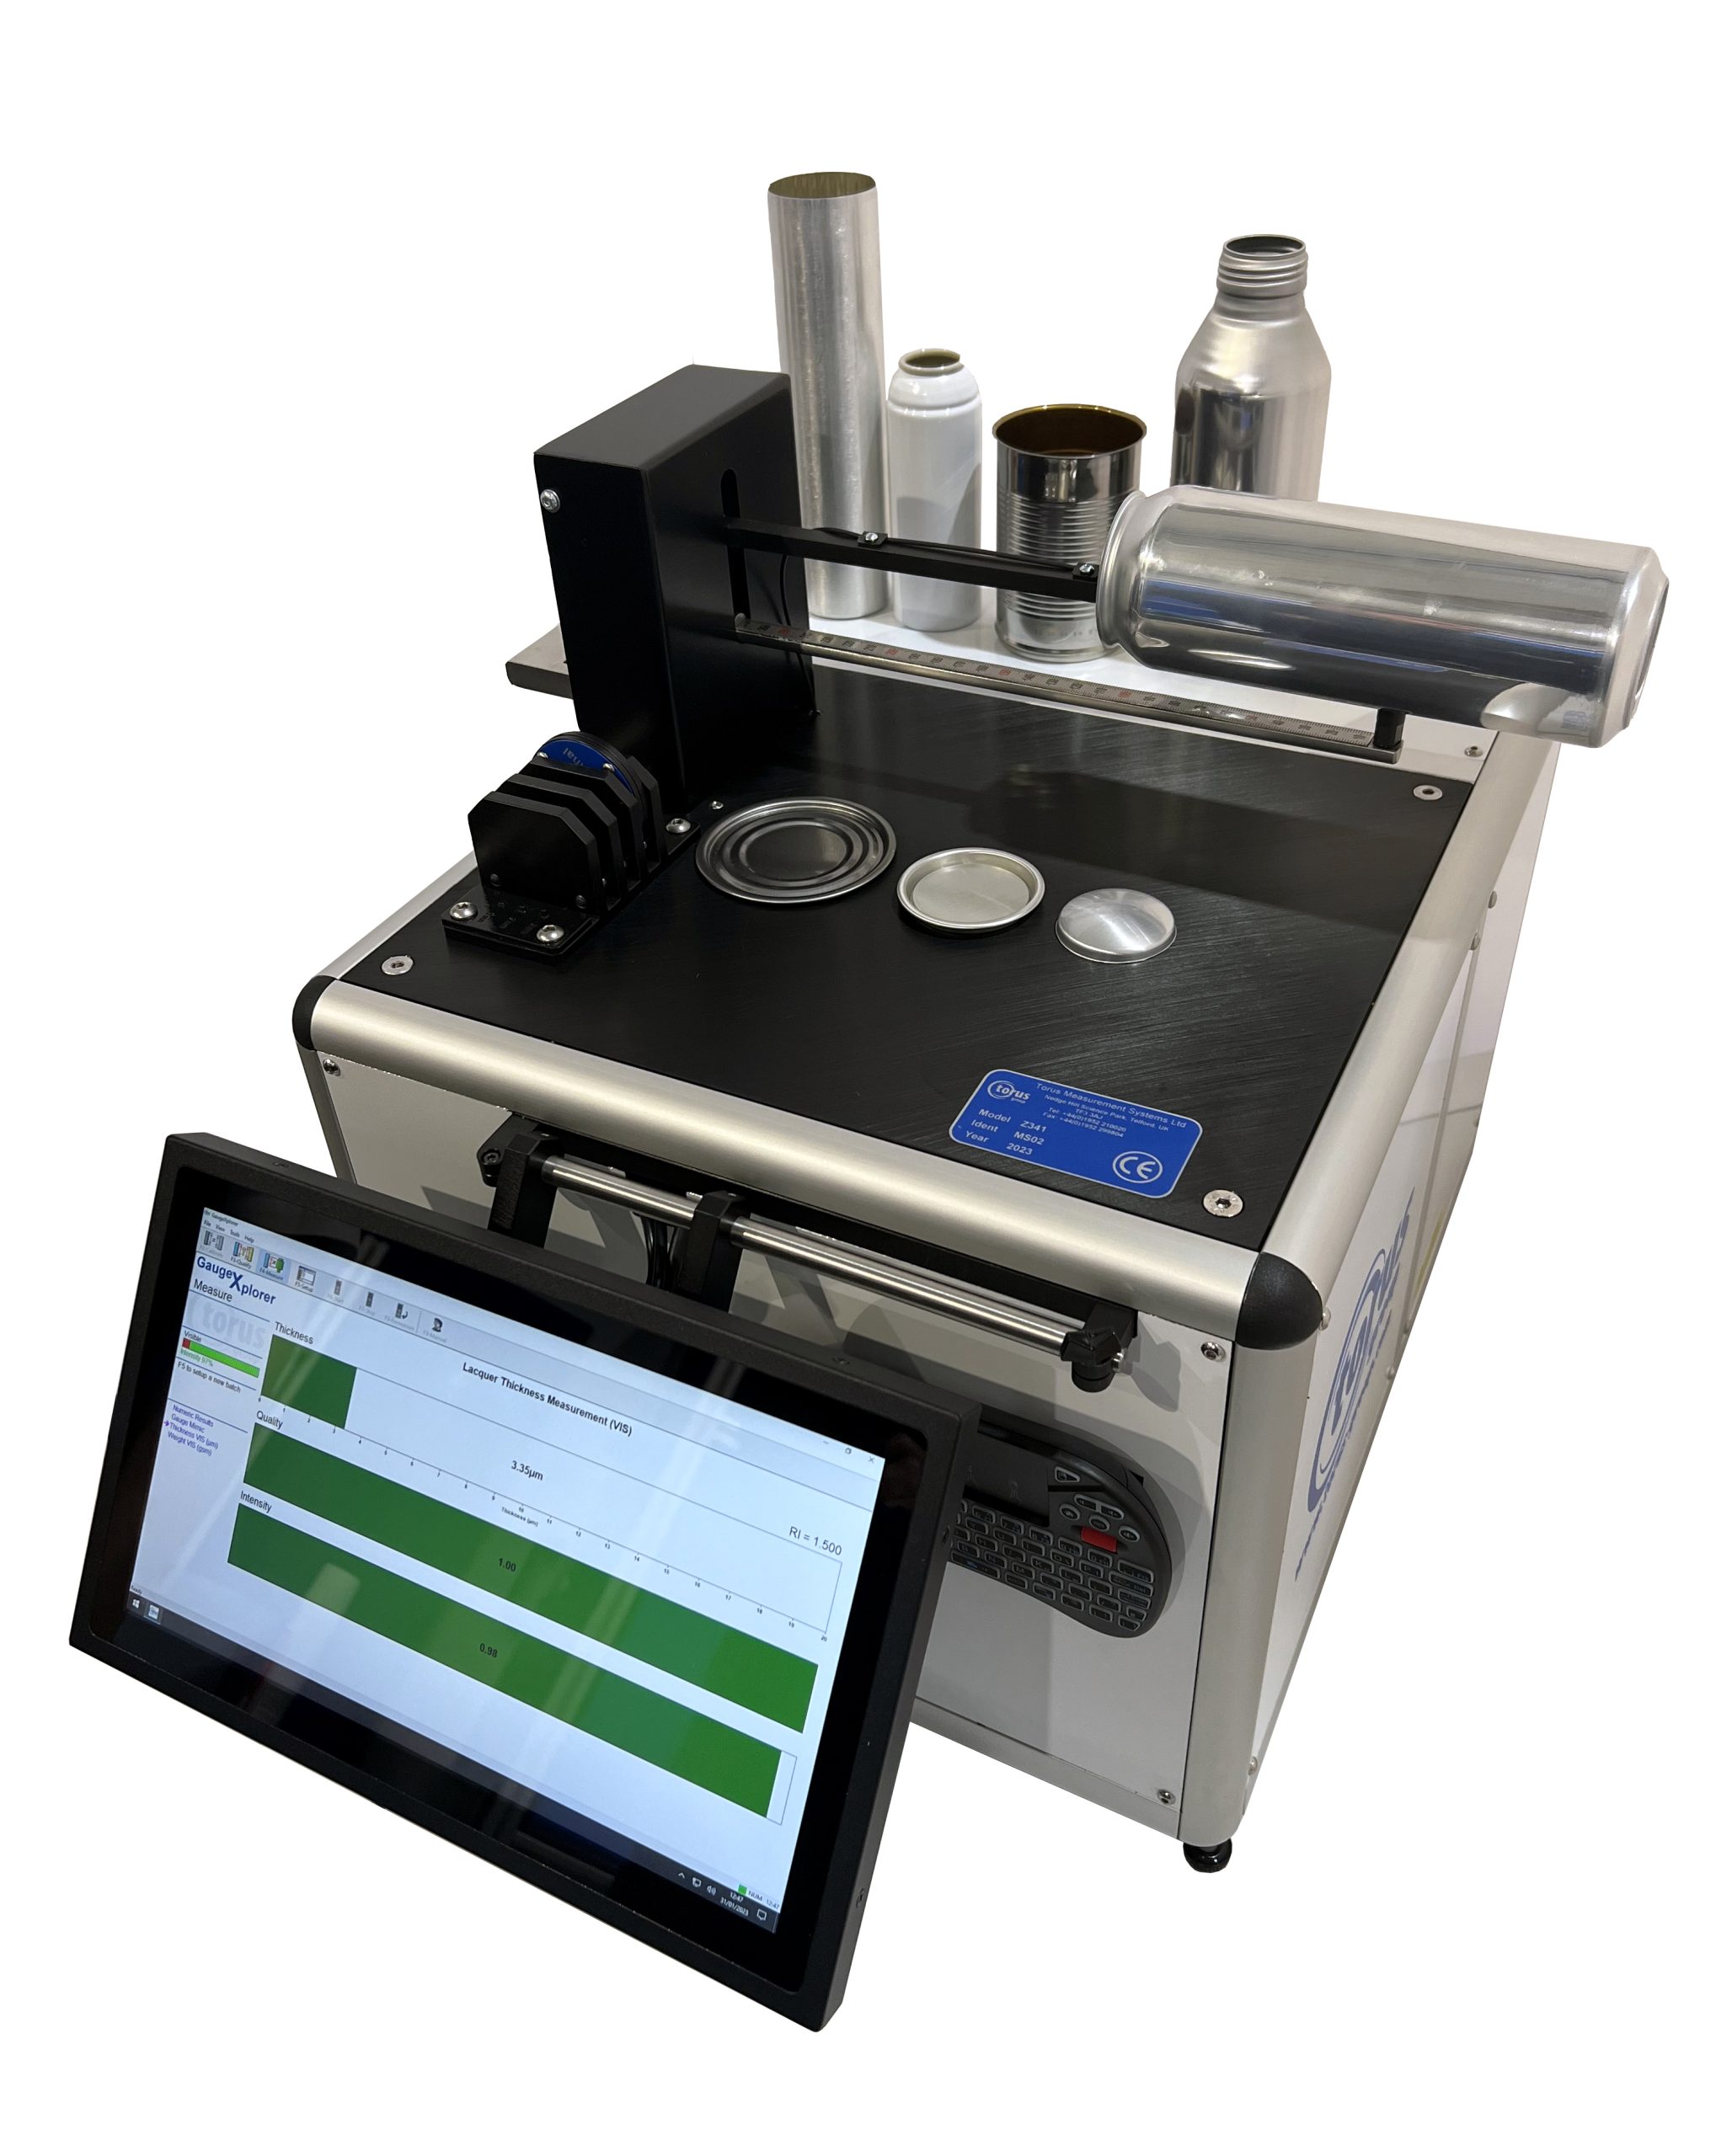
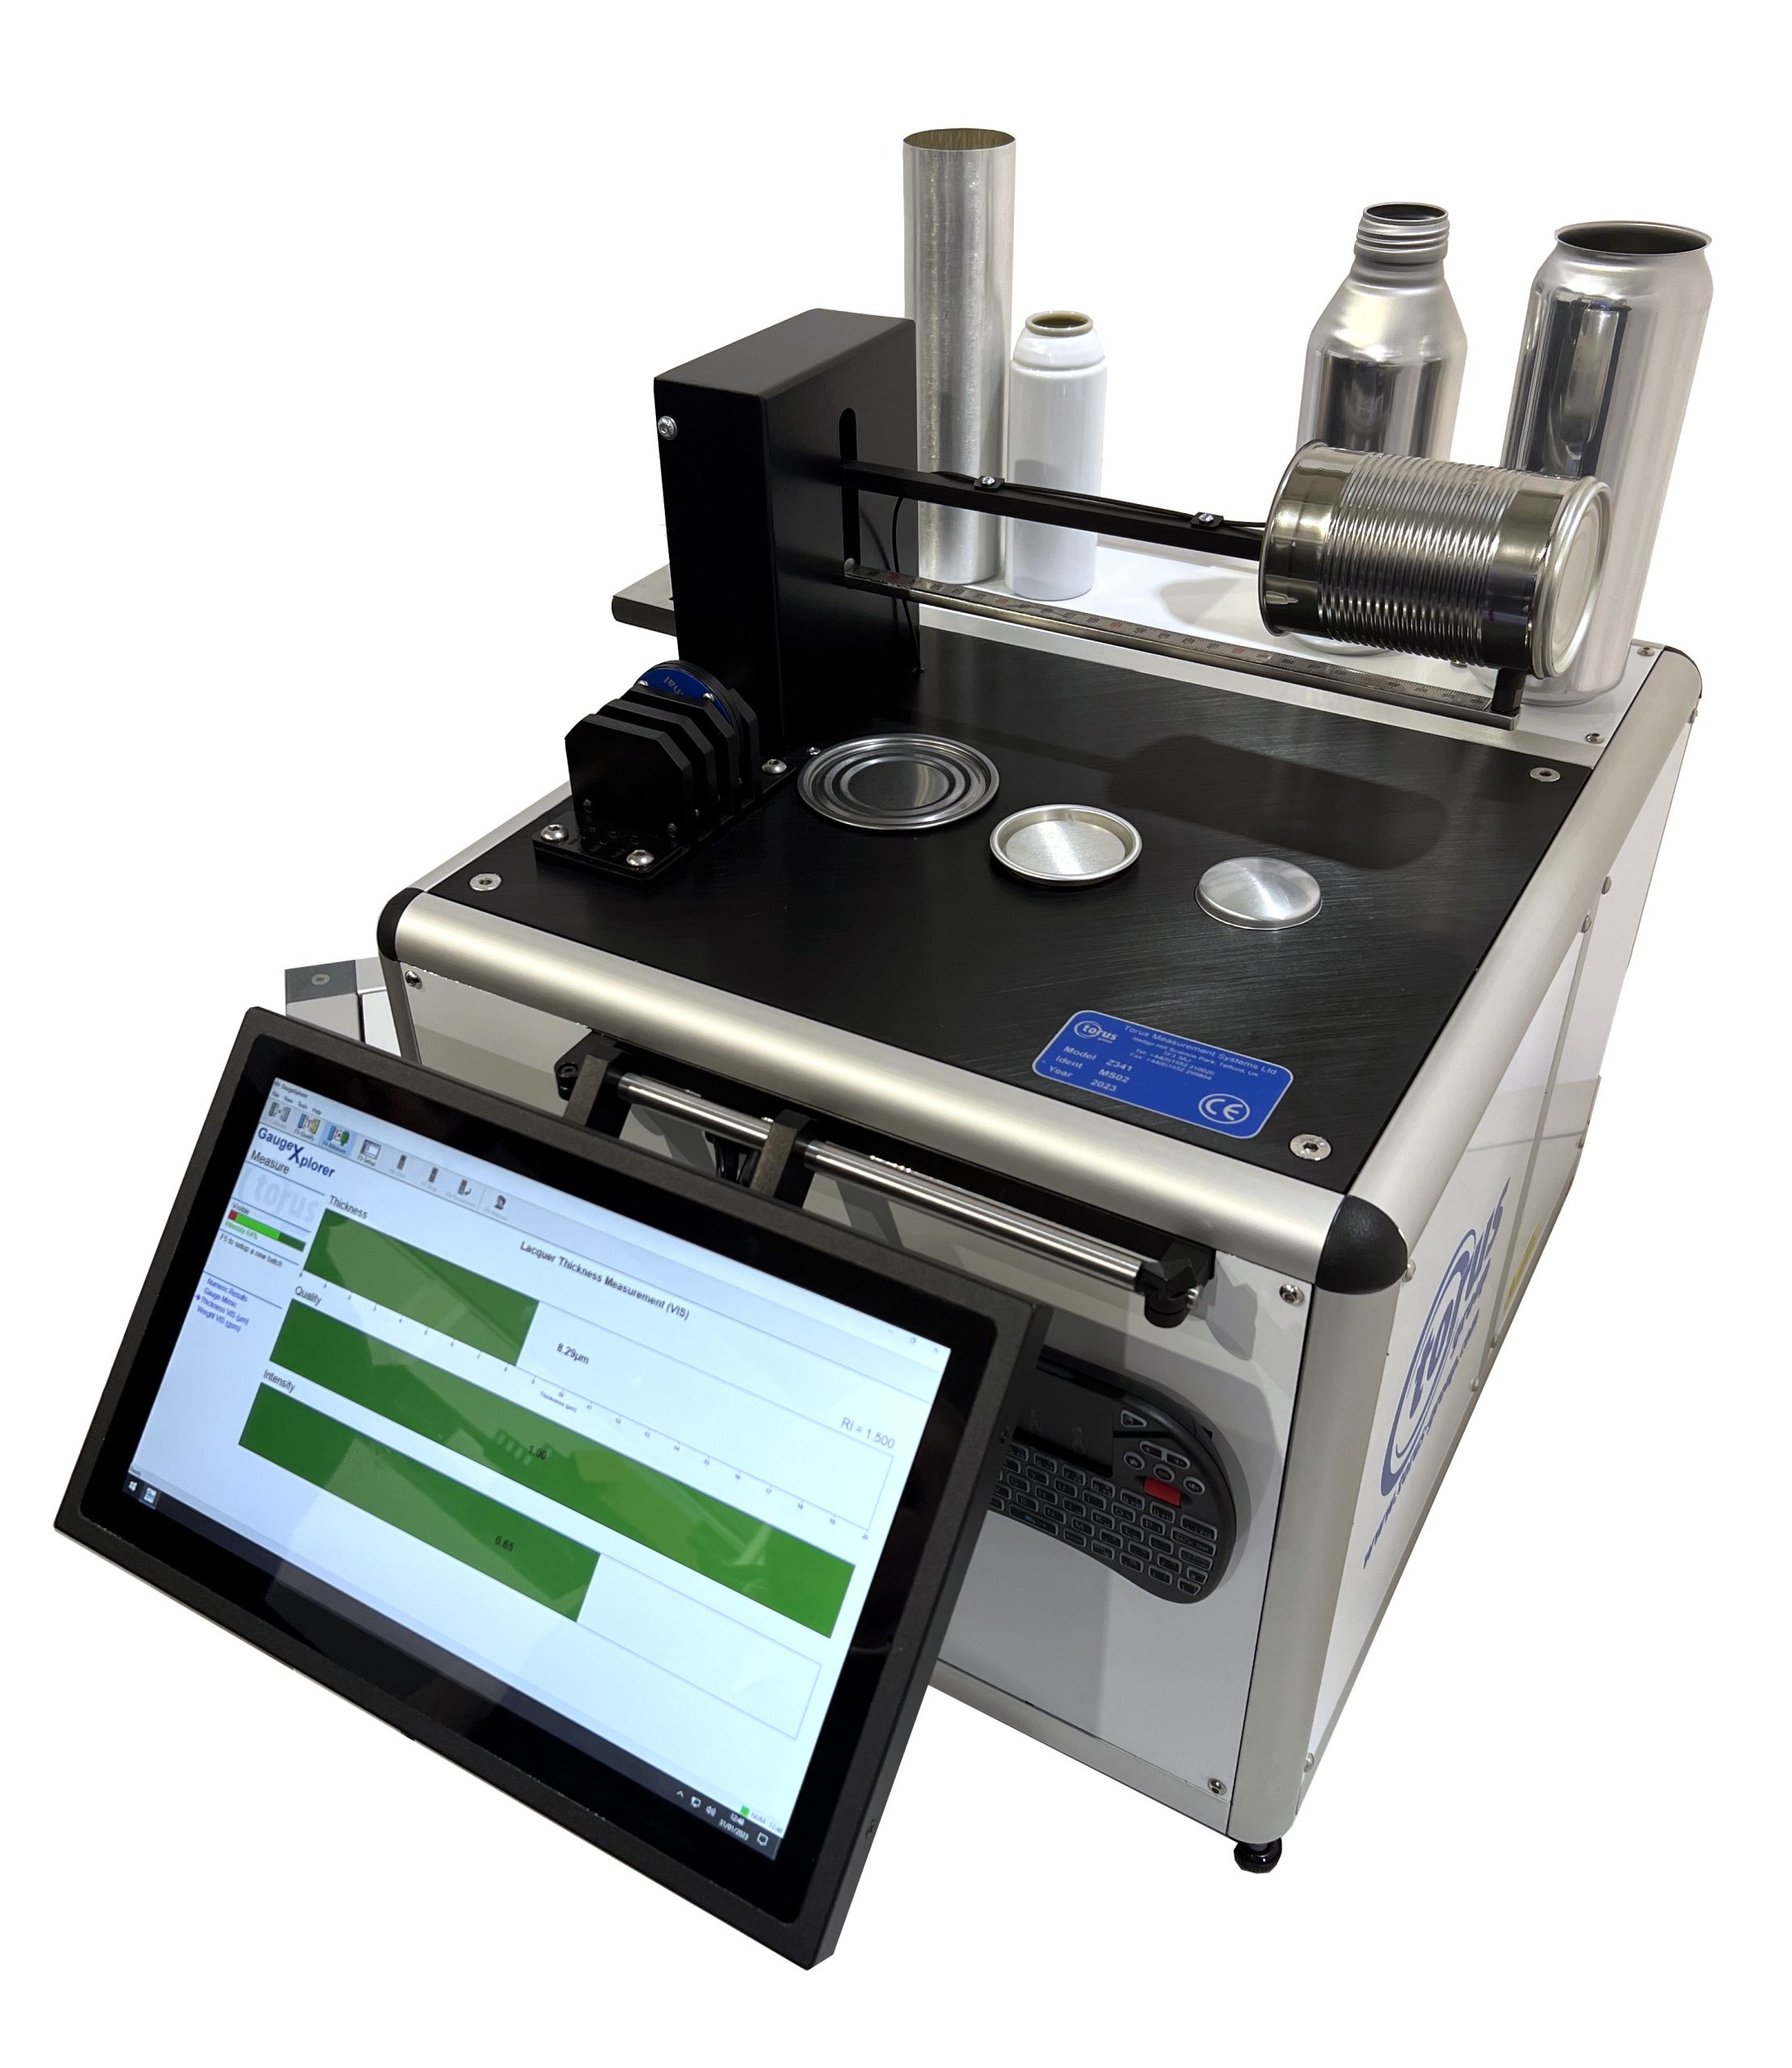
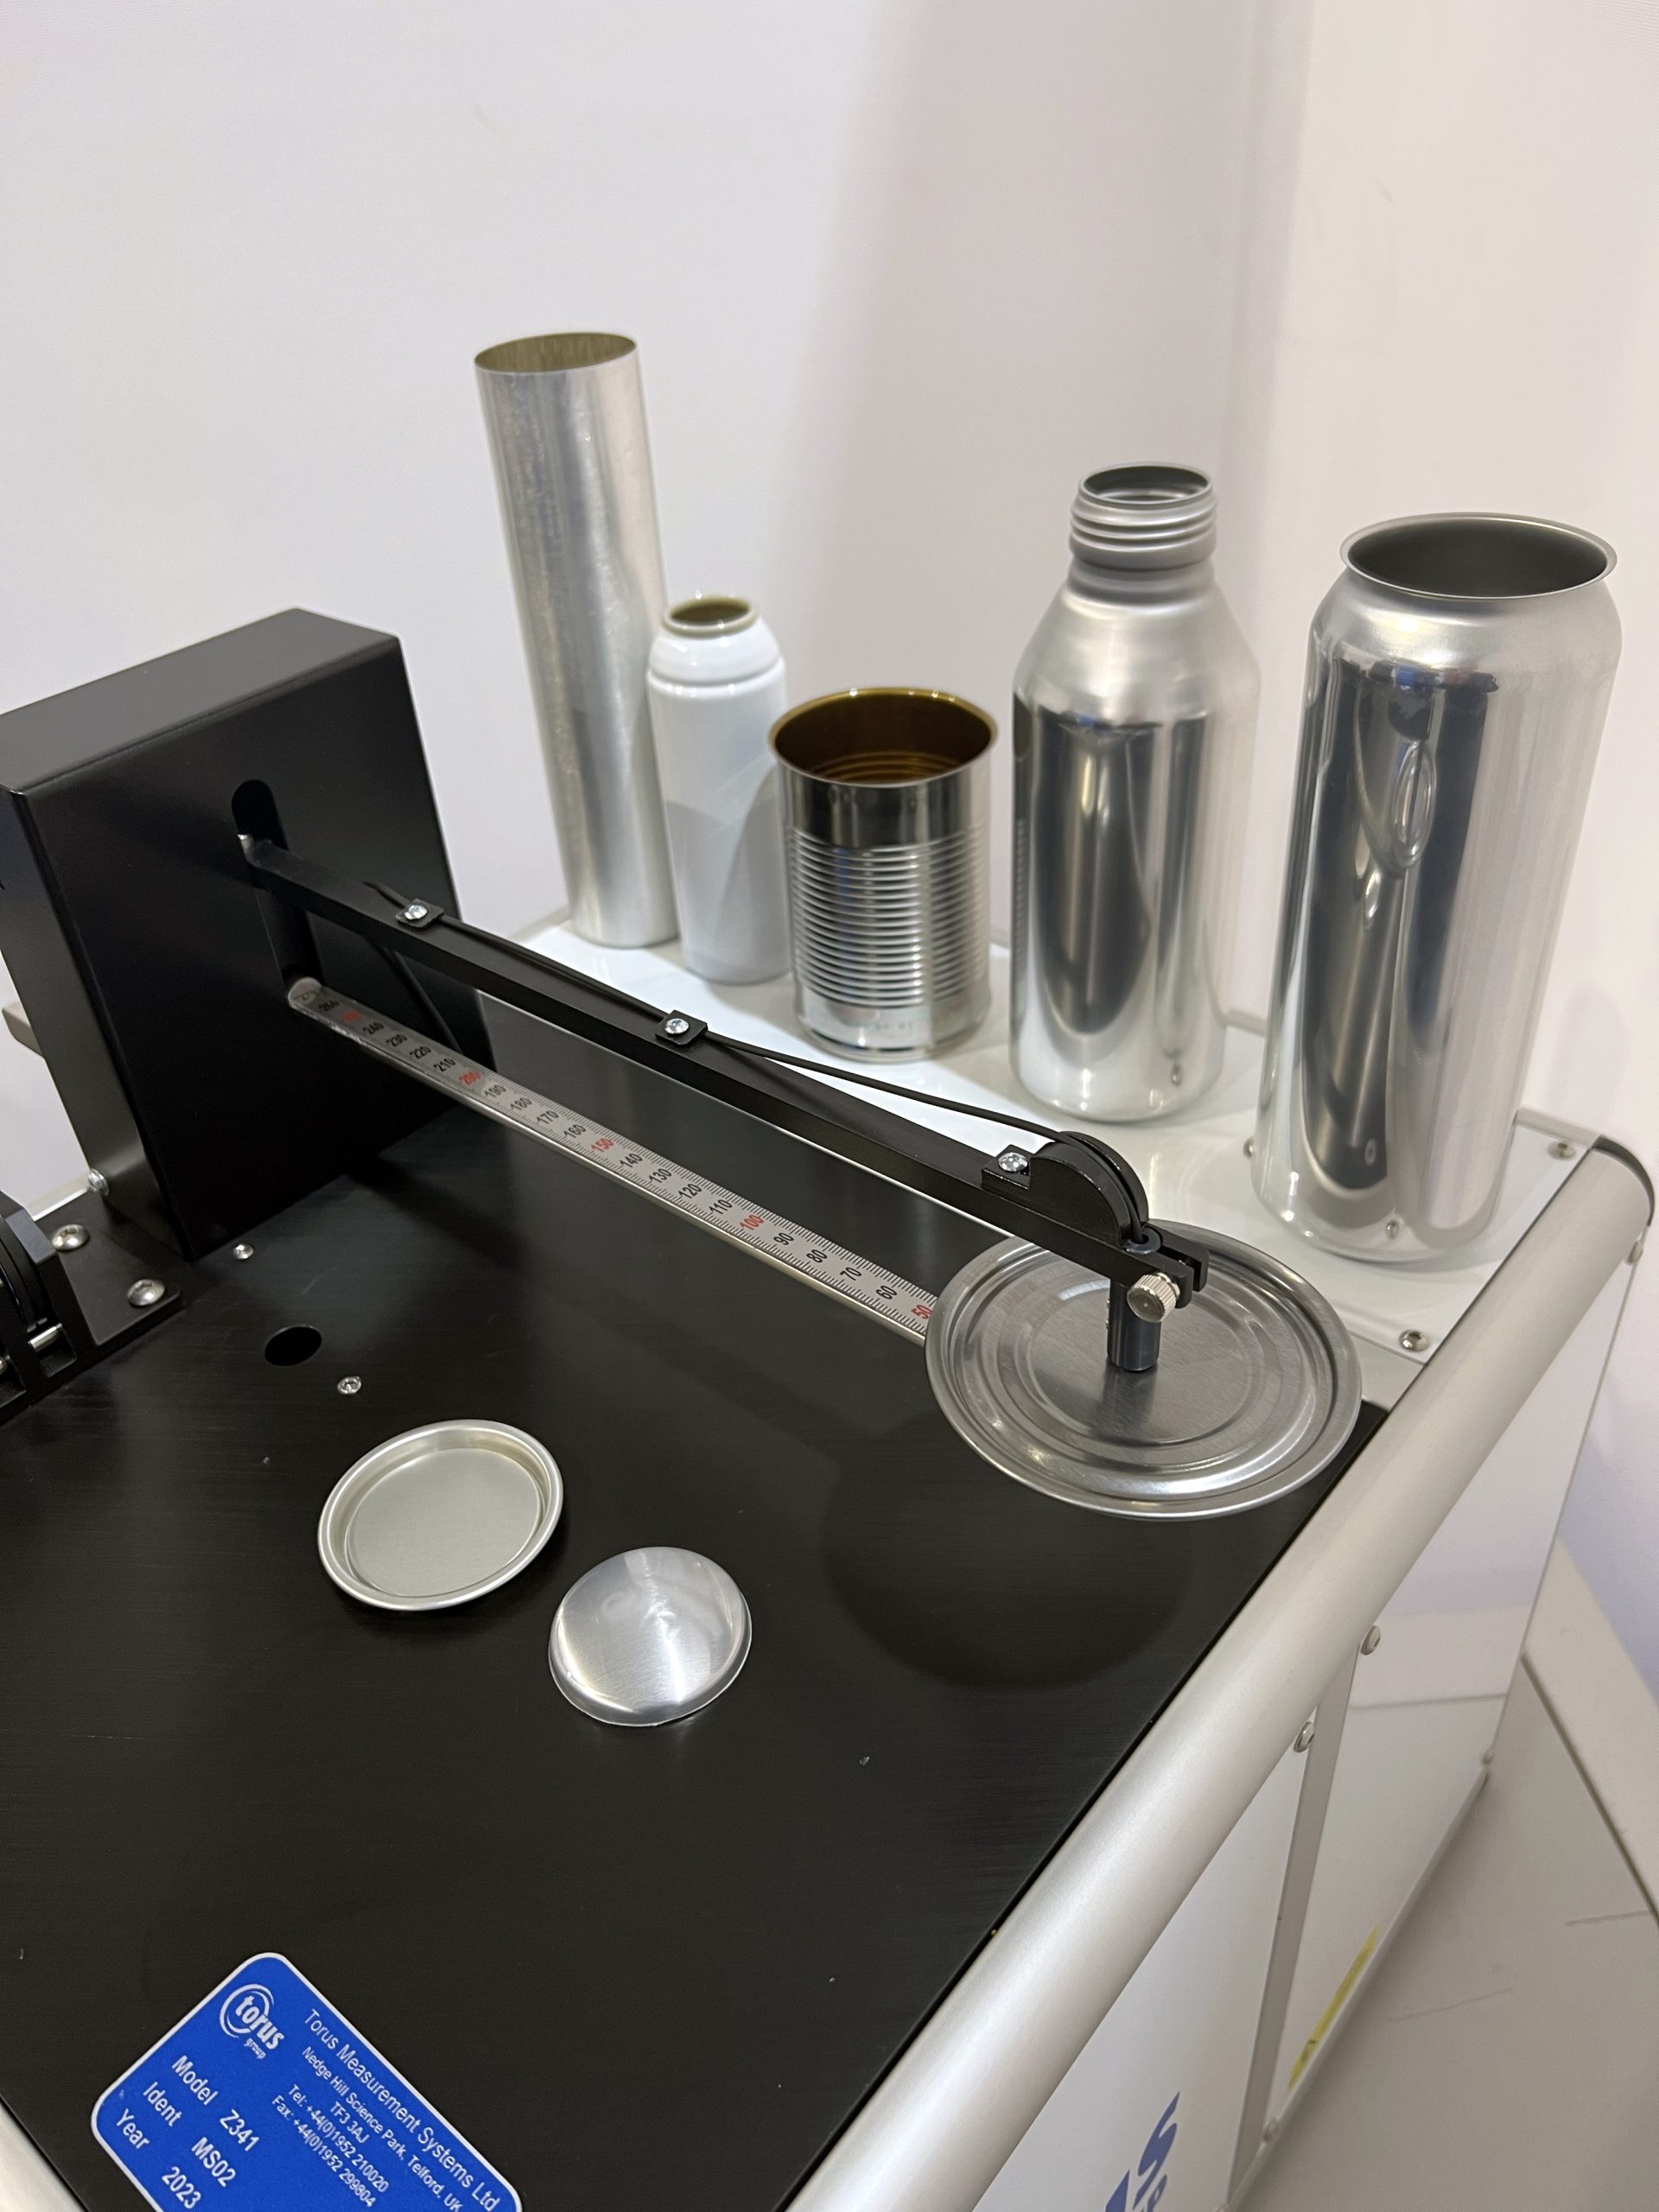
                            Z341 BENCH TOP BEVERAGE CAN COATING ANALYSER

                            The Z341 Manual Coating Analyser has been developed to give fast and accurate measurement of the internal lacquer, sprayed during today’s 2 piece can manufacturing process

                            Specifications

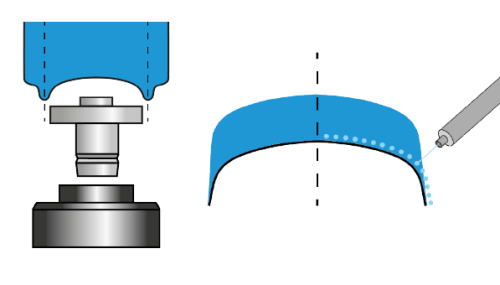
                            By cutting the can to give suitable access, the dome area of the can is able to be checked by the system.

                            No “lacquer panels” are required for calibration and measurement data can be exported via on board USB or LAN ports to your factory data acquisition systems where required.


                            Torus Beverage Can Gauging


                            Measurement Features

                            • Internal Lacquer | Accuracy: +/- 0.2 µm | Capability: 0.4 µm
                            • Over Varnish | Accuracy: +/- 0.2 µm | Capability: 0.4 µm


                            Technical Specification

                            • Body Diameter | Typical Range: <35 mm ∅


                            Gauge Features

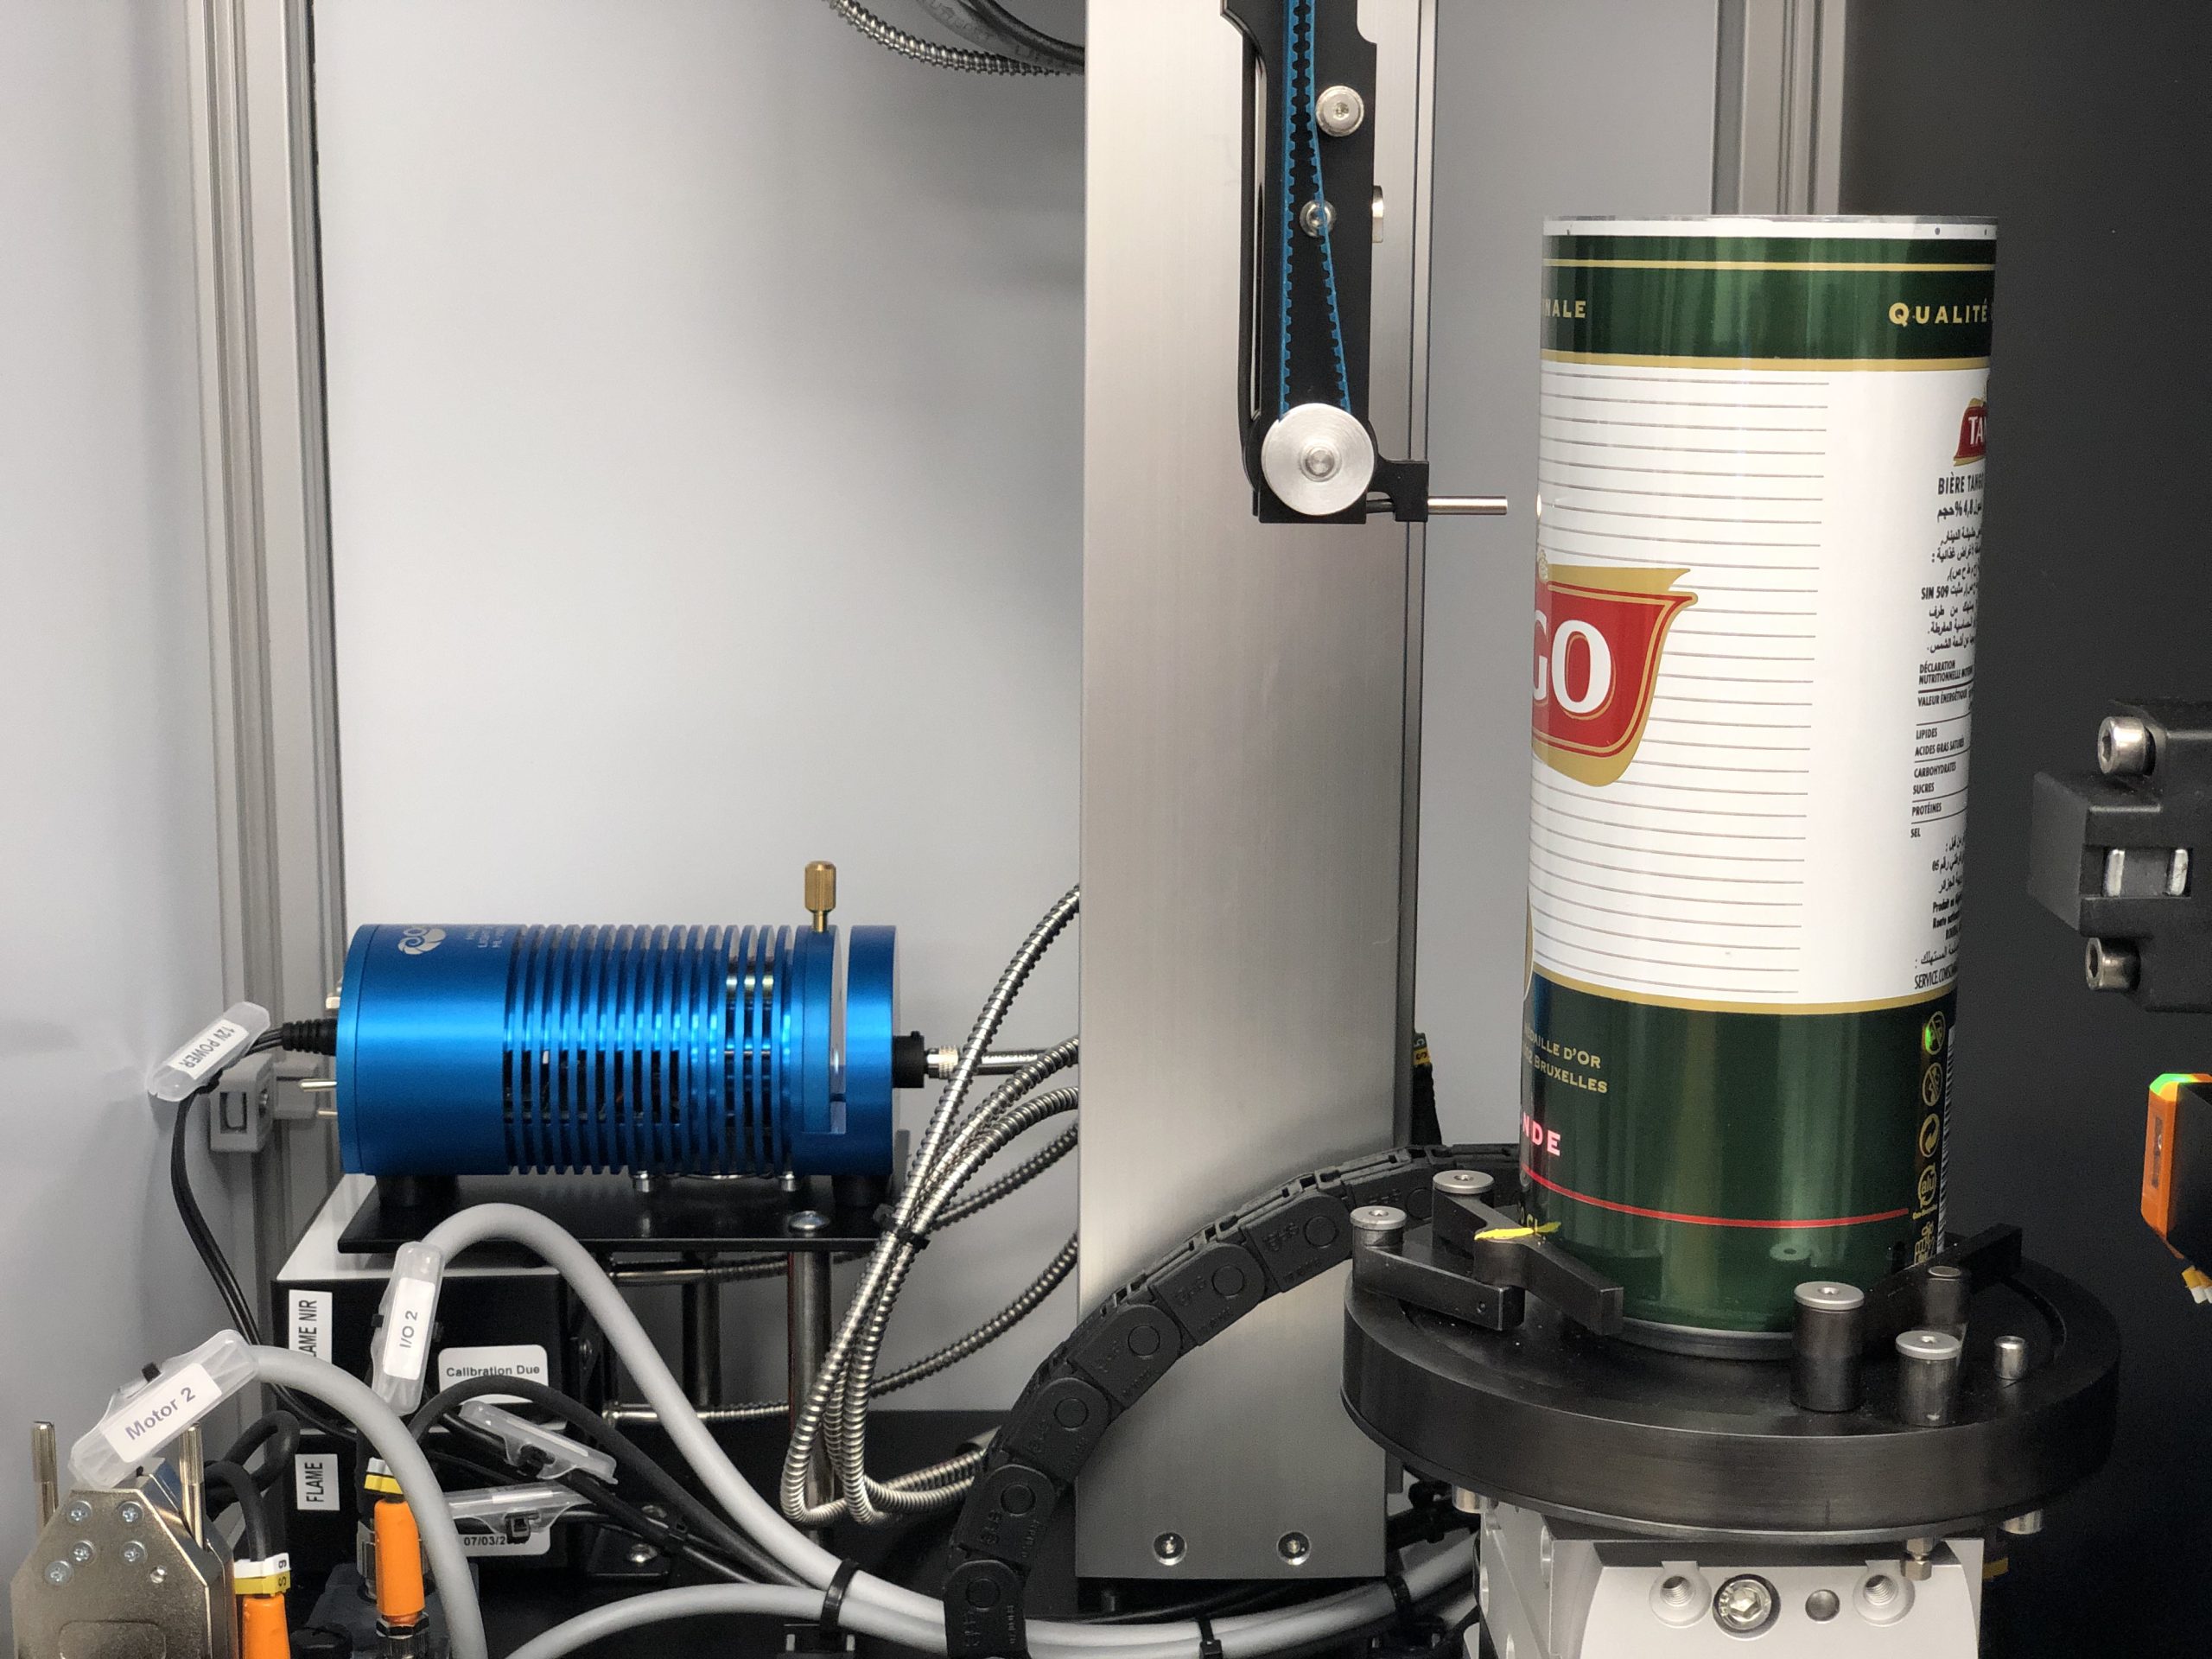
                            • Dual system equipped with two spectrometers
                            • Visible light and Near Infrared (NIR) light, enables the OV/over ink inspection
                            • Simple, manual positioning by the operator ensure side wall measurements are immediately displayed on the embedded mini touch screen PC
                            • Cans from (202) – (307) body diameter can be accommodated by the systems “scissor” action location fingers, operated at the push of a button
                            • “Non-contact” means no wear parts, and the use of a non-contact “white light spectroscopy” technique guarantees unprecedented performance

                            Torus Recommends

                            Our Divisions

                            Through our three key divisions we deliver a range of measurement and inspection systems, metrology services and machine enclosure solutions, as well as our online store for aluminium profile components and workspace solutions.

                            How can we help you?

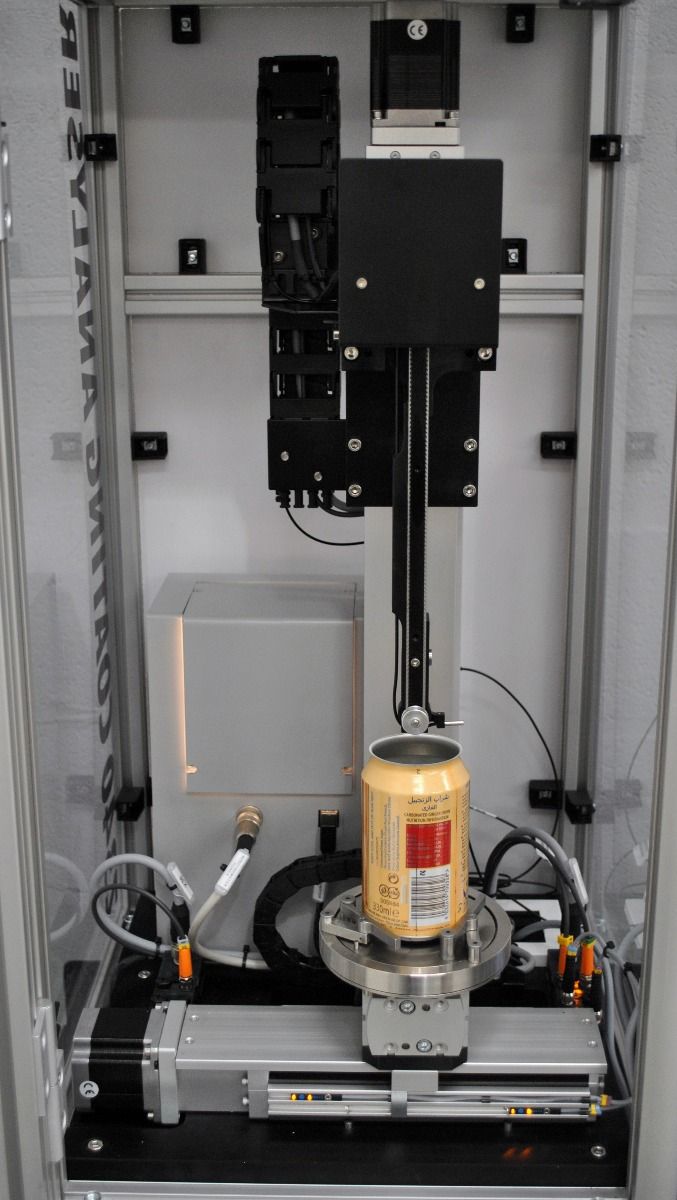
                              Z340 SEMI-AUTOMATIC BENCH TOP BEVERAGE CAN COATING ANALYSER

                              Z340 SEMI-AUTOMATIC BENCH TOP BEVERAGE CAN COATING ANALYSER

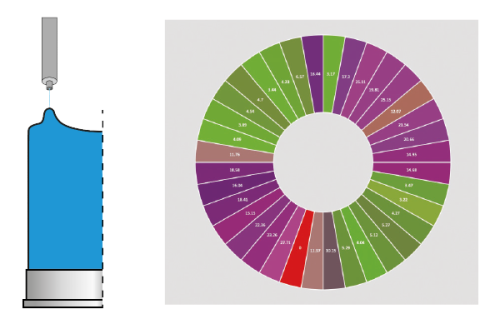
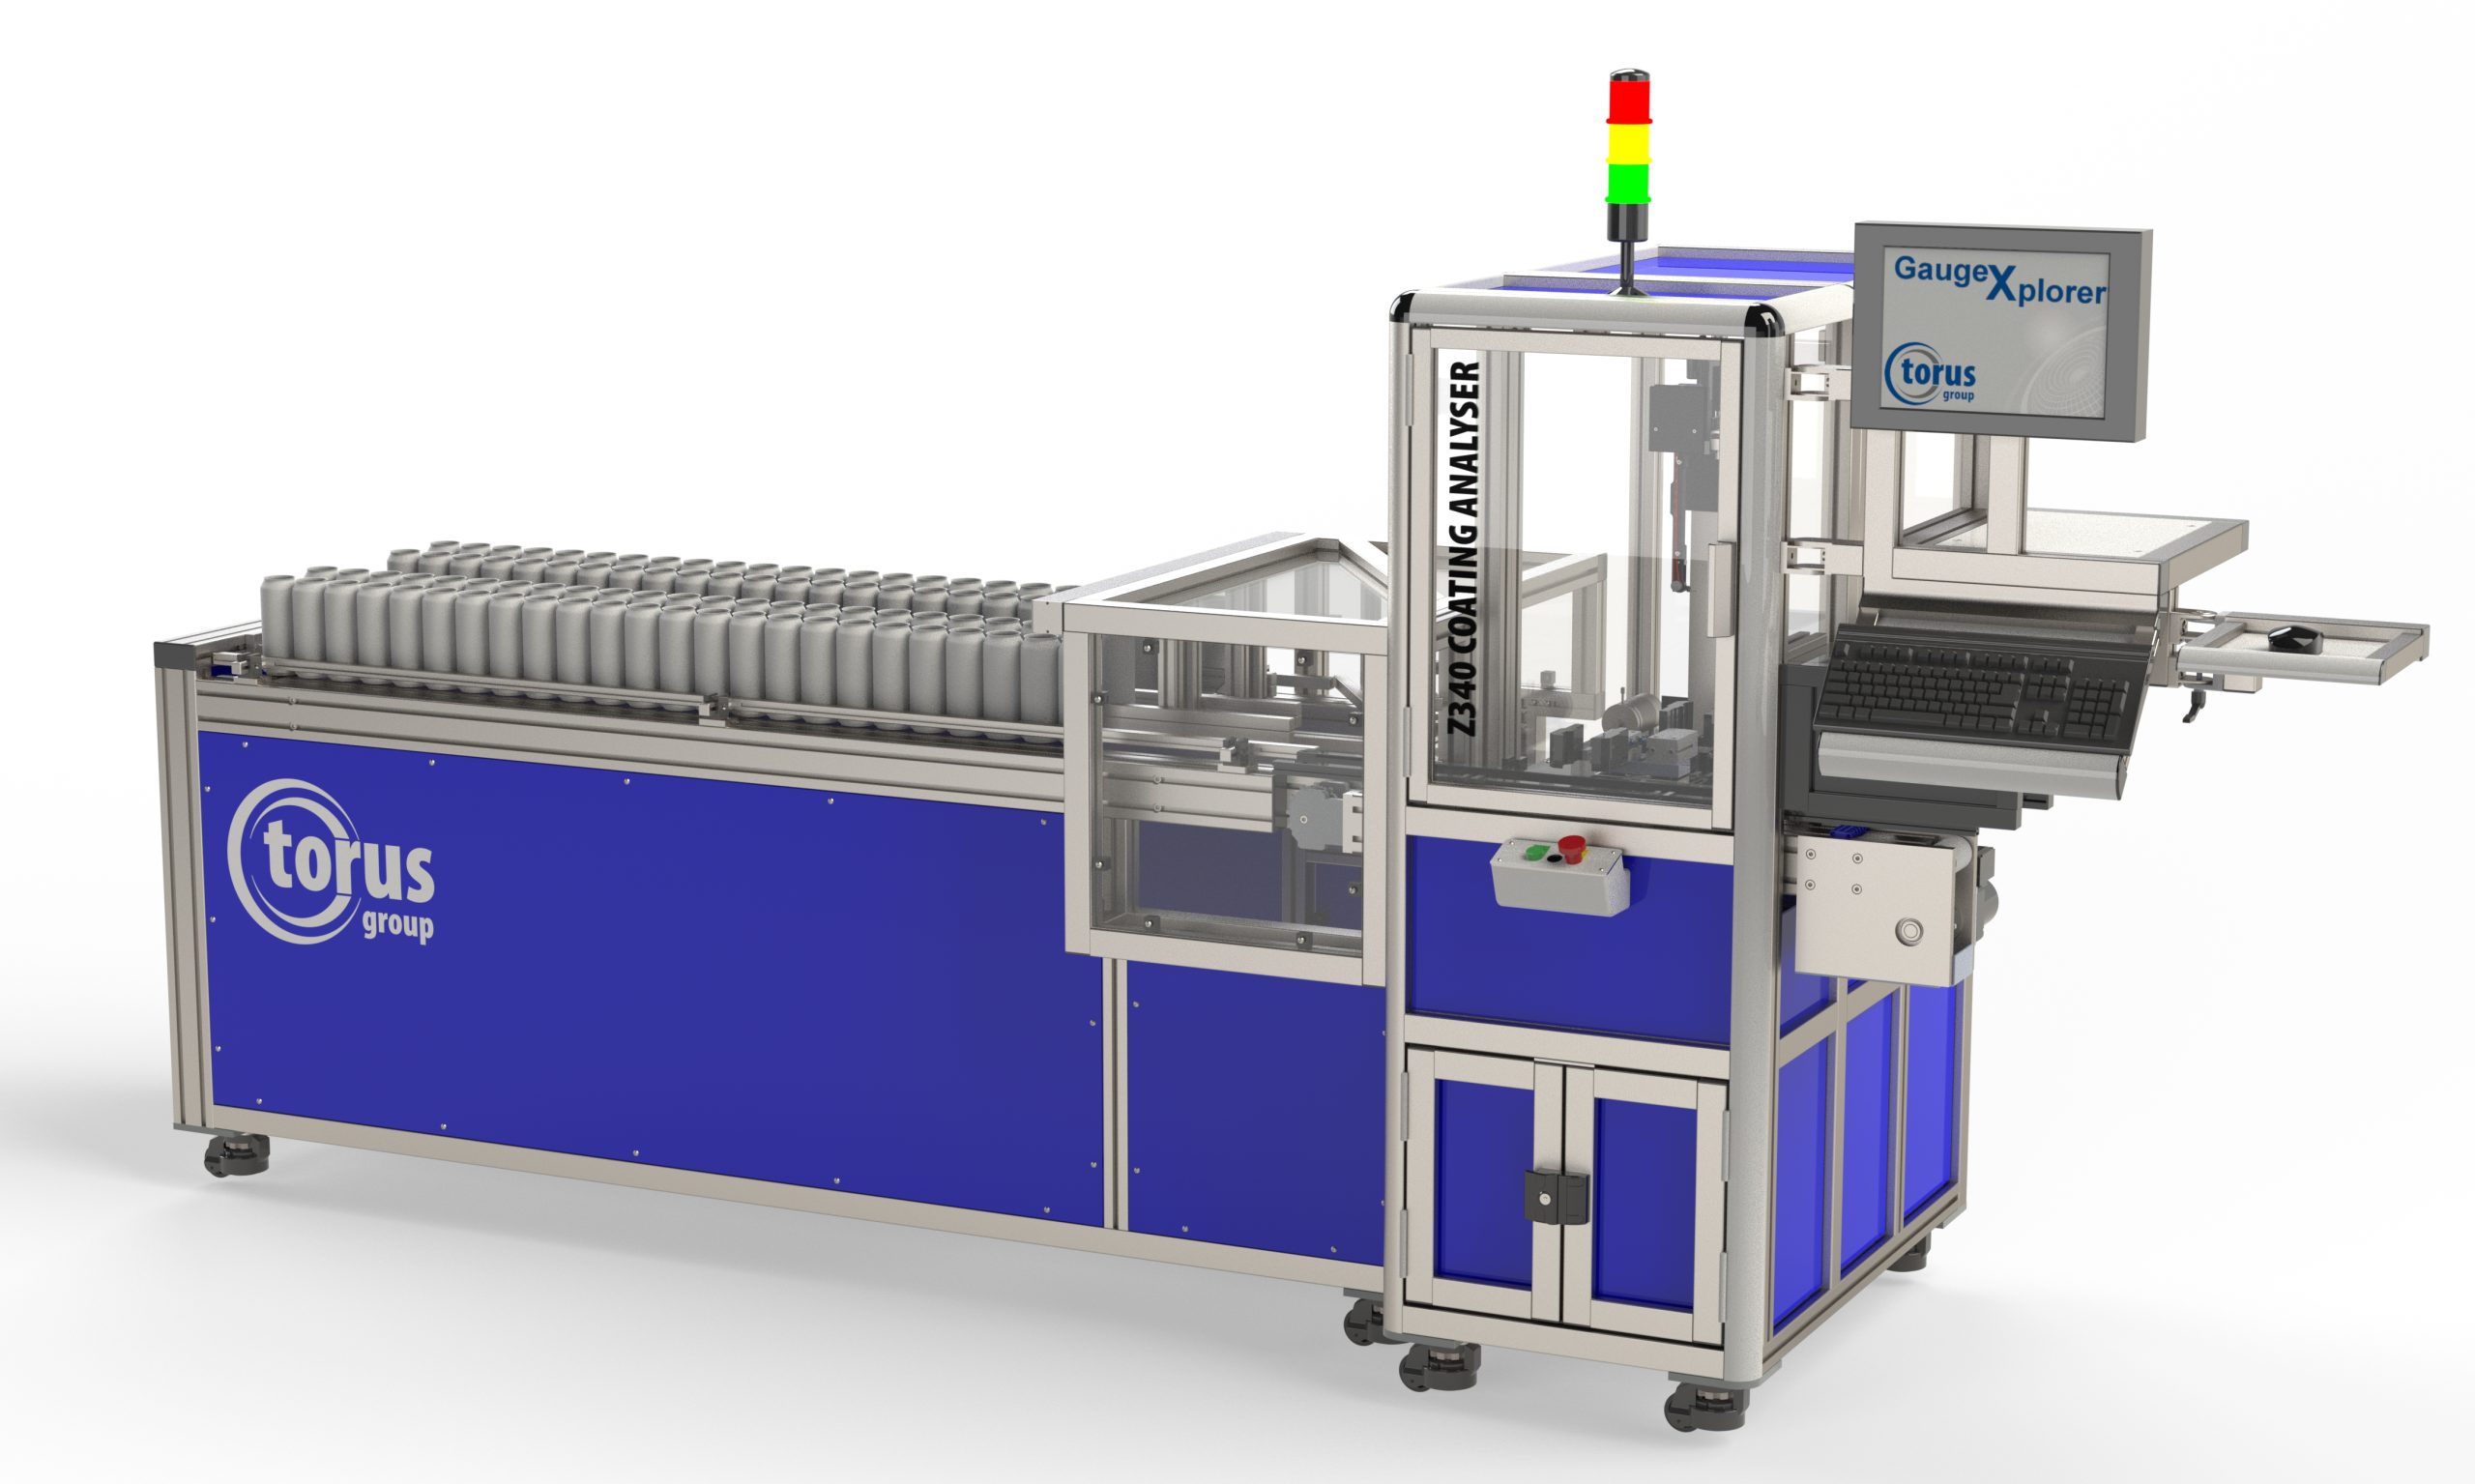
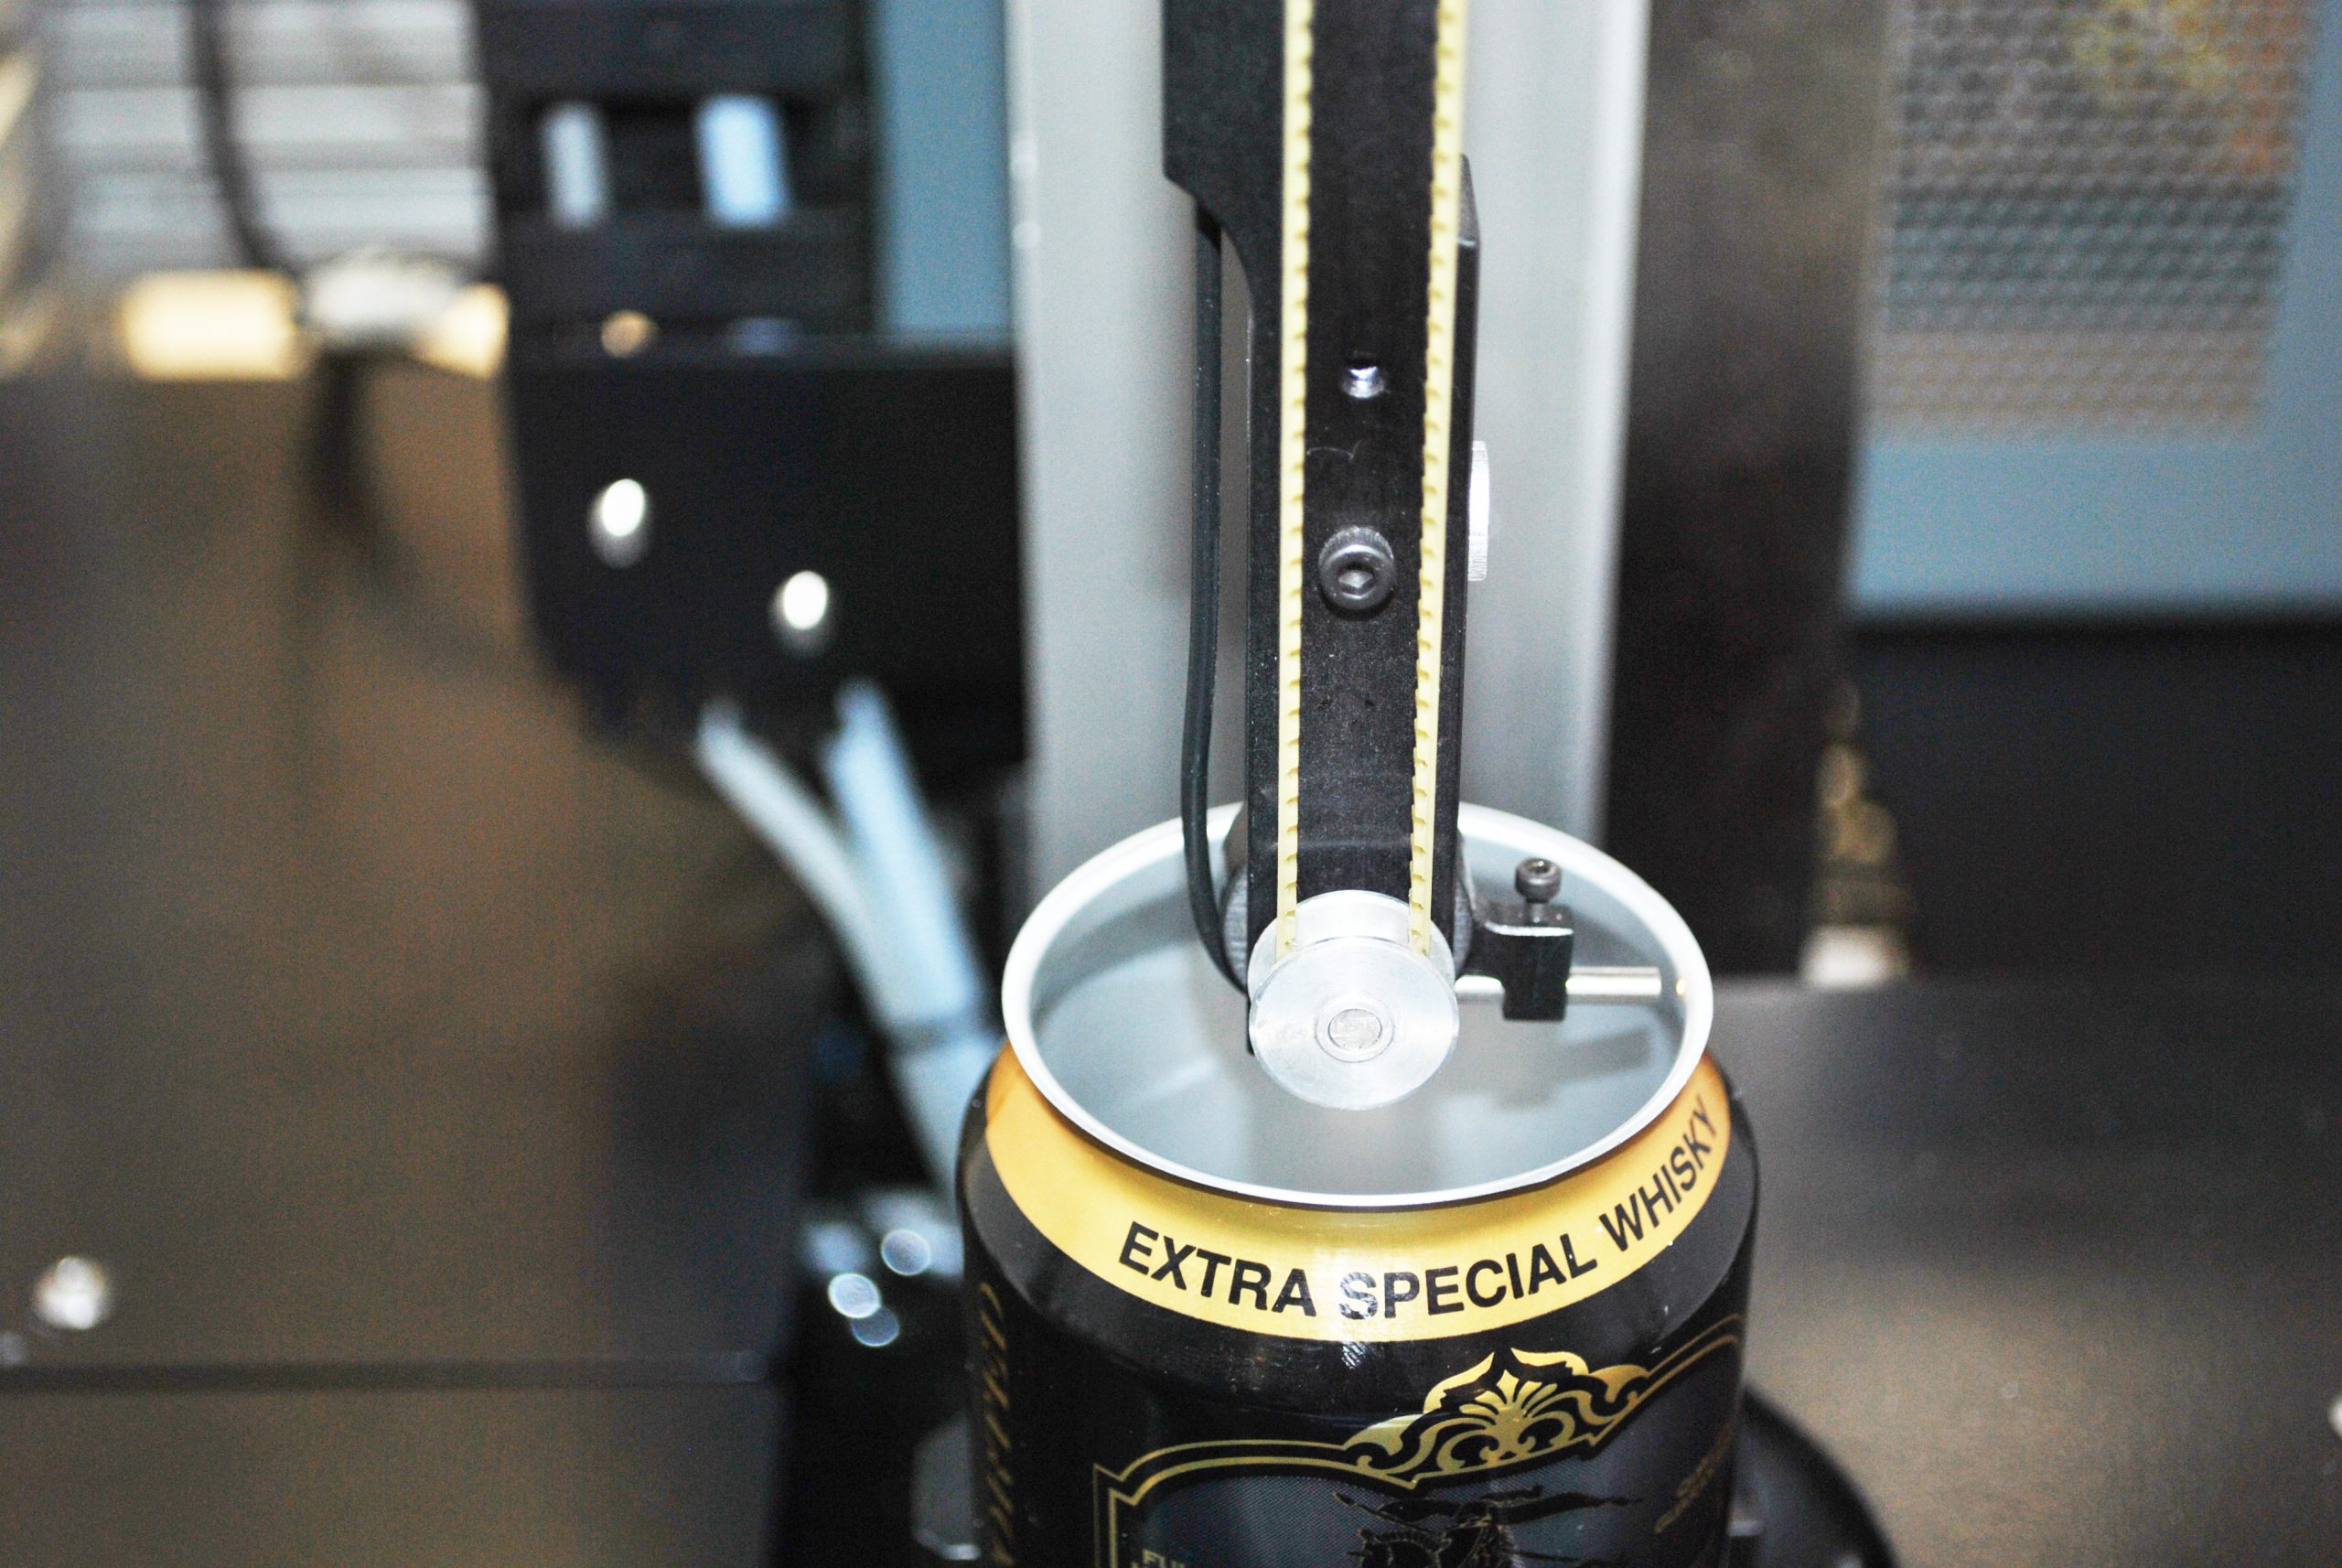
                              The Z340 Semi-Automatic Bench Top Coating Analyser has been developed to give detailed distribution analysis of the internal and external lacquer on a beverage can


                              Specifications

                              The system utilises state-of-the-art non-contact spectroscopy techniques and is suitable for both aluminium and steel can inspection.


                              Torus Beverage Can Gauging


                              Measurement Features

                              • Internal Lacquer | Accuracy: +/- 0.2 µm | Capability: 0.4 µm
                              • External Lacquer | Accuracy: +/- 0.2 µm | Capability: 0.4 µm
                              • Rim Coat Lacquer | Accuracy: +/- 0.4 µm | Capability: 0.8 µm


                              Technical Specification

                              • Beverage Can Materials | Aluminium
                              • Can Stages | Trimmed, Finished, Reformed
                              • Outer Body Diameter | Typical Range: Ø 202 – Ø 211
                              • Trimmed Can Height | Typical Range:  90.00 – 190.00
                              • Finished Can Height | Typical Range:  90.00 – 190.00


                              Gauge Features

                              • External Varnish Thickness / Weight / OV (Over Ink)
                              • Rim Coat Lacquer Thickness / Weight
                              • Reverse Wall Inspection
                              • Dual system equipped with two spectrometers – Visible Light and Near Infrared (NIR) light, enables the OV/over ink inspection
                              • Brand-new fibre set up creating a smaller spot size to optimise measurement of rim coat and reverse wall, both with dedicated tooling to enable precise location of measurement positions on both features
                              • Enables monitoring and control of the lacquer distribution
                              • Absolute, not inferred, lacquer thickness measurement
                              • High positional accuracy, ensuring true location of measurement points
                              • Multi-size capability so no need for change tooling
                              • Traceable measurements to NIST standards

                              Start with the standard  Z340 Semi-Automatic Bench Top Beverage Can Coating Analyser…

                              … add any of the below detailed optional modules at any time

                              2
                              3
                              1.  Reverse Wall Lacquer Distribution (Manual Loaded Tooling
                              2. Base Rim Coat (BRC) Lacquer Distribution

                              Torus Recommends

                              Our Divisions

                              Through our three key divisions we deliver a range of measurement and inspection systems, metrology services and machine enclosure solutions, as well as our online store for aluminium profile components and workspace solutions.

                              How can we help you?

                                Z340 AUTOMATIC BEVERAGE CAN COATING ANALYSER

                                Z340 AUTOMATIC BEVERAGE CAN COATING ANALYSER

                                The Z340 Automatic Coating Analyser has been developed to give detailed distribution analysis of the internal lacquer on a beverage can

                                Specifications

                                The proven contact measurement technology ensures accurate, reliable and traceable measurement 24/7.


                                Torus Beverage Can Gauging


                                Measurement Features

                                • Internal Lacquer | Accuracy: +/- 0.2 µm | Capability: 0.4 µm
                                • External Lacquer | Accuracy: +/- 0.2 µm | Capability: 0.4 µm
                                • Rim Coat Lacquer | Accuracy: +/- 0.4 µm | Capability: 0.8 µm


                                Technical Specification

                                • Beverage Can Materials | Aluminium
                                • Can Stages | Trimmed, Finished, Reformed
                                • Outer Body Diameter | Typical Range: Ø 202 – Ø 300
                                • Trimmed Can Height | Typical Range: 190.00 – 190.00
                                • Finished Can Height | Typical Range: 90.00 – 190.00


                                Gauge Features

                                • Internal Lacquer Thickness / Weight
                                • External Varnish Thickness / Weight / OV (Over Ink)
                                • Rim Coat Lacquer Thickness / Weight
                                • Reverse Wall Inspection
                                • Dual system equipped with two spectrometers – Visible Light and Near Infrared (NIR) Light, enables the OV / over ink inspection
                                • Brand-new fibre set up creating a smaller spot size to optimise measurement of rim coat and reverse wall, both with dedicated tooling to enable precise location of measuring positions on both features
                                • Enables monitoring and control of the lacquer distribution
                                • Absolute, not inferred, lacquer thickness measurement
                                • High positional accuracy, ensuring true location of measurement points
                                • Multi-size capability so no need for change tooling
                                • Traceable measurements to NIST standards

                                Customise your Gauge

                                Our modular gauge setups are unique and allow you to customise your gauge as and when you require, giving you the flexibility to ensure you have a total quality solution.

                                1. Start with the standard Z340 Automatic Beverage Can Coating Analyser…
                                2. … add any of the below optional modules at any time.
                                1.  Multi Lane Input Conveyor
                                2. Vision Module
                                3. Reverse Wall Lacquer Distribution (Manual Loaded Tooling)
                                4. Base Rim Coat (BRC) Lacquer Distribution

                                Torus Recommends

                                Our Divisions

                                Through our three key divisions we deliver a range of measurement and inspection systems, metrology services and machine enclosure solutions, as well as our online store for aluminium profile components and workspace solutions.

                                How can we help you?

                                  Z314 SEMI-AUTOMATIC WALL THICKNESS ANALYSER

                                  Z314 SEMI-AUTOMATIC WALL THICKNESS ANALYSER

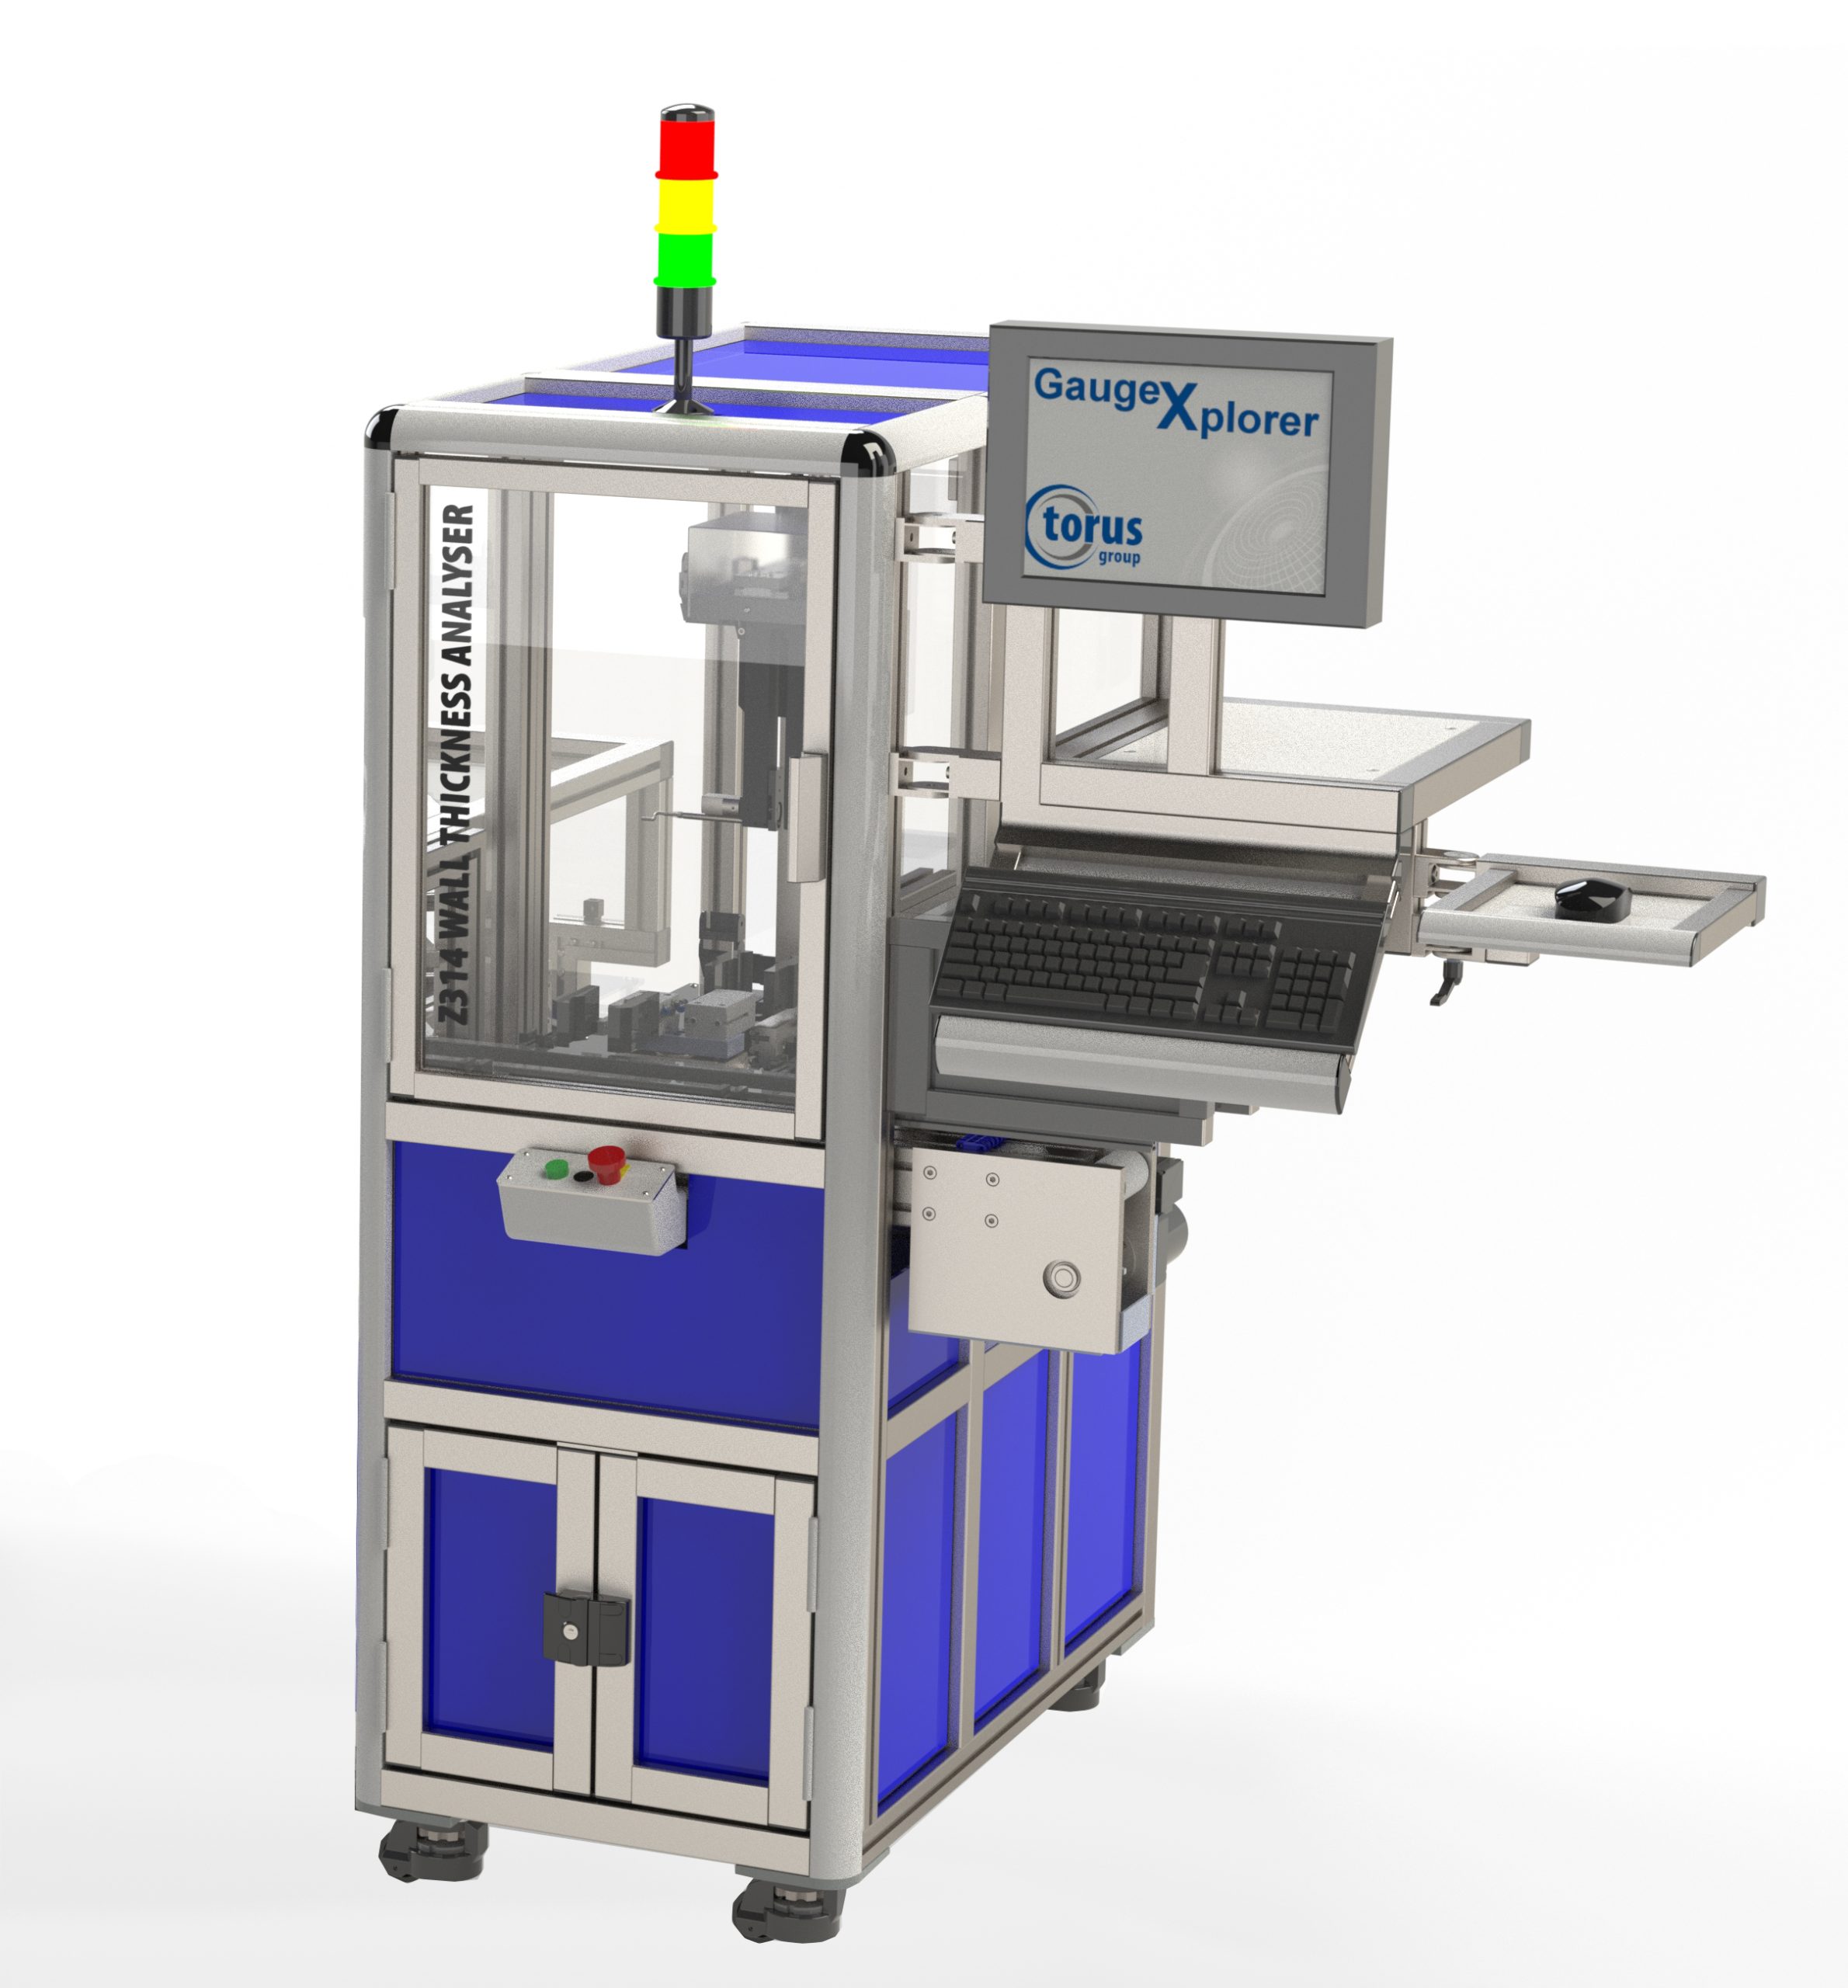
                                  The Z314 Semi-Automatic Wall Thickness Analyser defines the standard for dimensional inspection

                                  Specifications

                                  The Z314 measures cups and straight walled cans’ wall thickness. Utilising a single point wall thickness transducer based on industry standard Torus Z301 Front End Gauge.

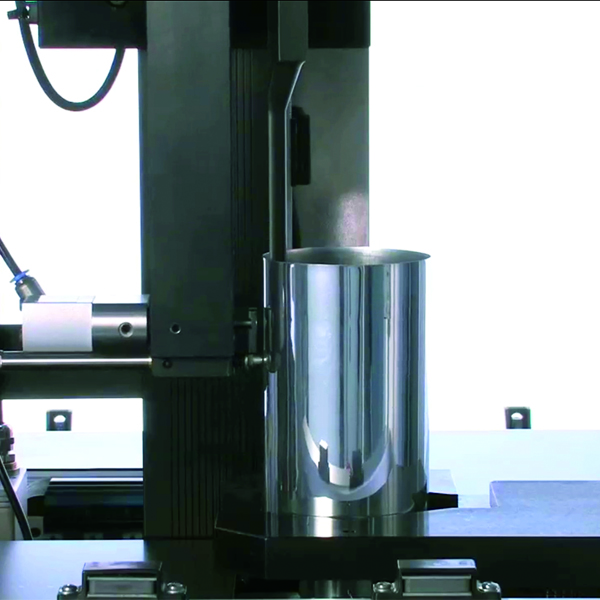
                                  The Z314 Wall Thickness Analyser ensures accurate wall thickness inspection of cups, straight walled cans or 2pc bottle cans with no need for tooling changeover.


                                  Torus Beverage Can Gauging


                                  Measurement Features

                                  • Wall Thickness | Can accuracy: +/- 0.001 mm | Cup Accuracy: +\- 0.002 mm
                                  • Mid Wall Thickness | Can accuracy: +/- 0.001 mm | Cup Accuracy: +\- 0.002 mm
                                  • Average/Range/Max/Min | Can accuracy: +/- 0.001 mm | Cup Accuracy: +\- 0.002 mm


                                  Technical Specification

                                  • Can Body Diameter Range | Typical Range: 45 mm – 100 mm Ø
                                  • Cup Range | Typical Range: Up to 115 mm Ø
                                  • Measuring Envelope Diameter | Typical Range: 12 mm – 100 mm Ø
                                  • Vertical Height Capability (Automatic) | Typical Range: 16 mm – 220 mm
                                  • Wall Thickness | Typical Range: 0 mm – 0.5 mm
                                  • Direct correlation with industry standard Torus Z301 Front End Gauge
                                  • Our GaugeXplorer software uses sophisticated motion control, which allows tooling to be adjusted quickly, removing the need for extensive changeover tooling
                                  • A single high-accuracy measuring transducer with sub-micron resolution is used to collect the measurement data processing by the GaugeXplorer software at the appropriate position
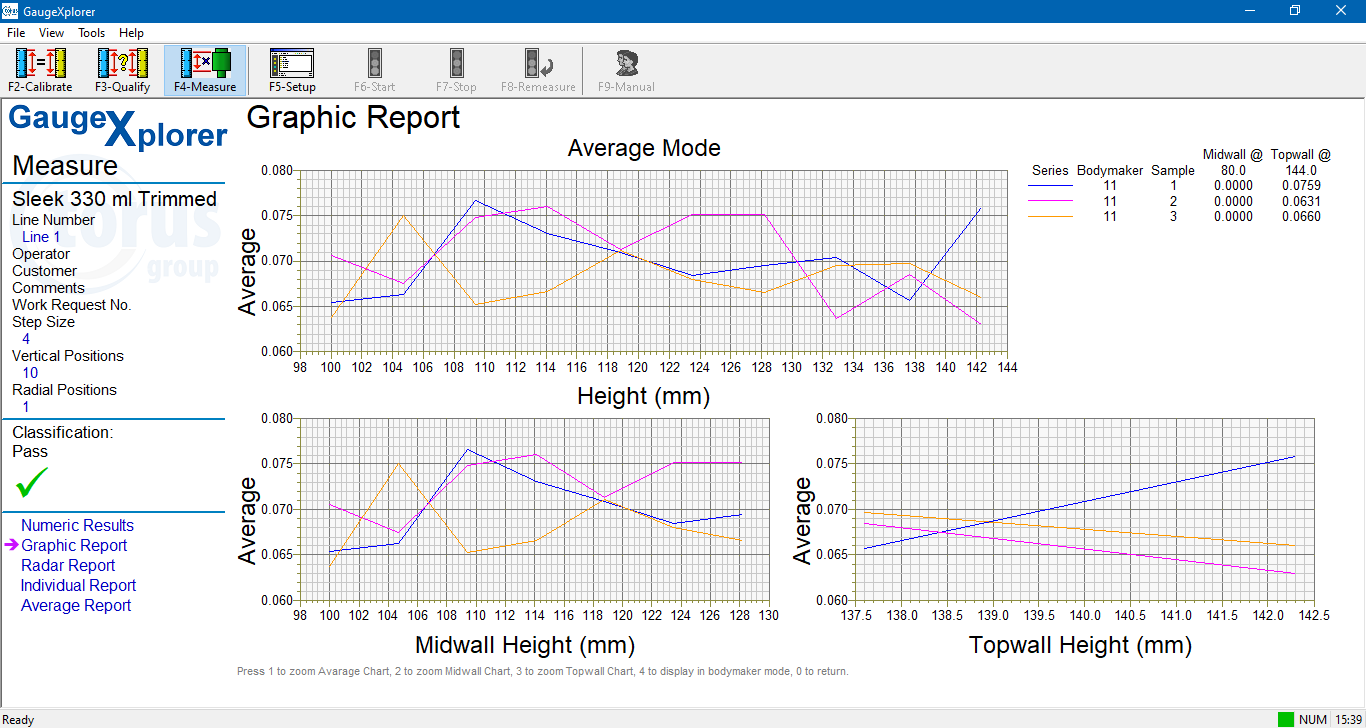
                                  • On-screen graphical displays of the wall profile, clearly show thick and thin wall areas and transition steps produced by the Punch Tool and Ironing Ring

                                  Torus Recommends

                                  Our Divisions

                                  Through our three key divisions we deliver a range of measurement and inspection systems, metrology services and machine enclosure solutions, as well as our online store for aluminium profile components and workspace solutions.

                                  How can we help you?

                                    Z313 AUTOMATIC BEVERAGE CAN ENAMEL RATING GAUGE

                                    Z313 AUTOMATIC BEVERAGE CAN ENAMEL RATING GAUGE

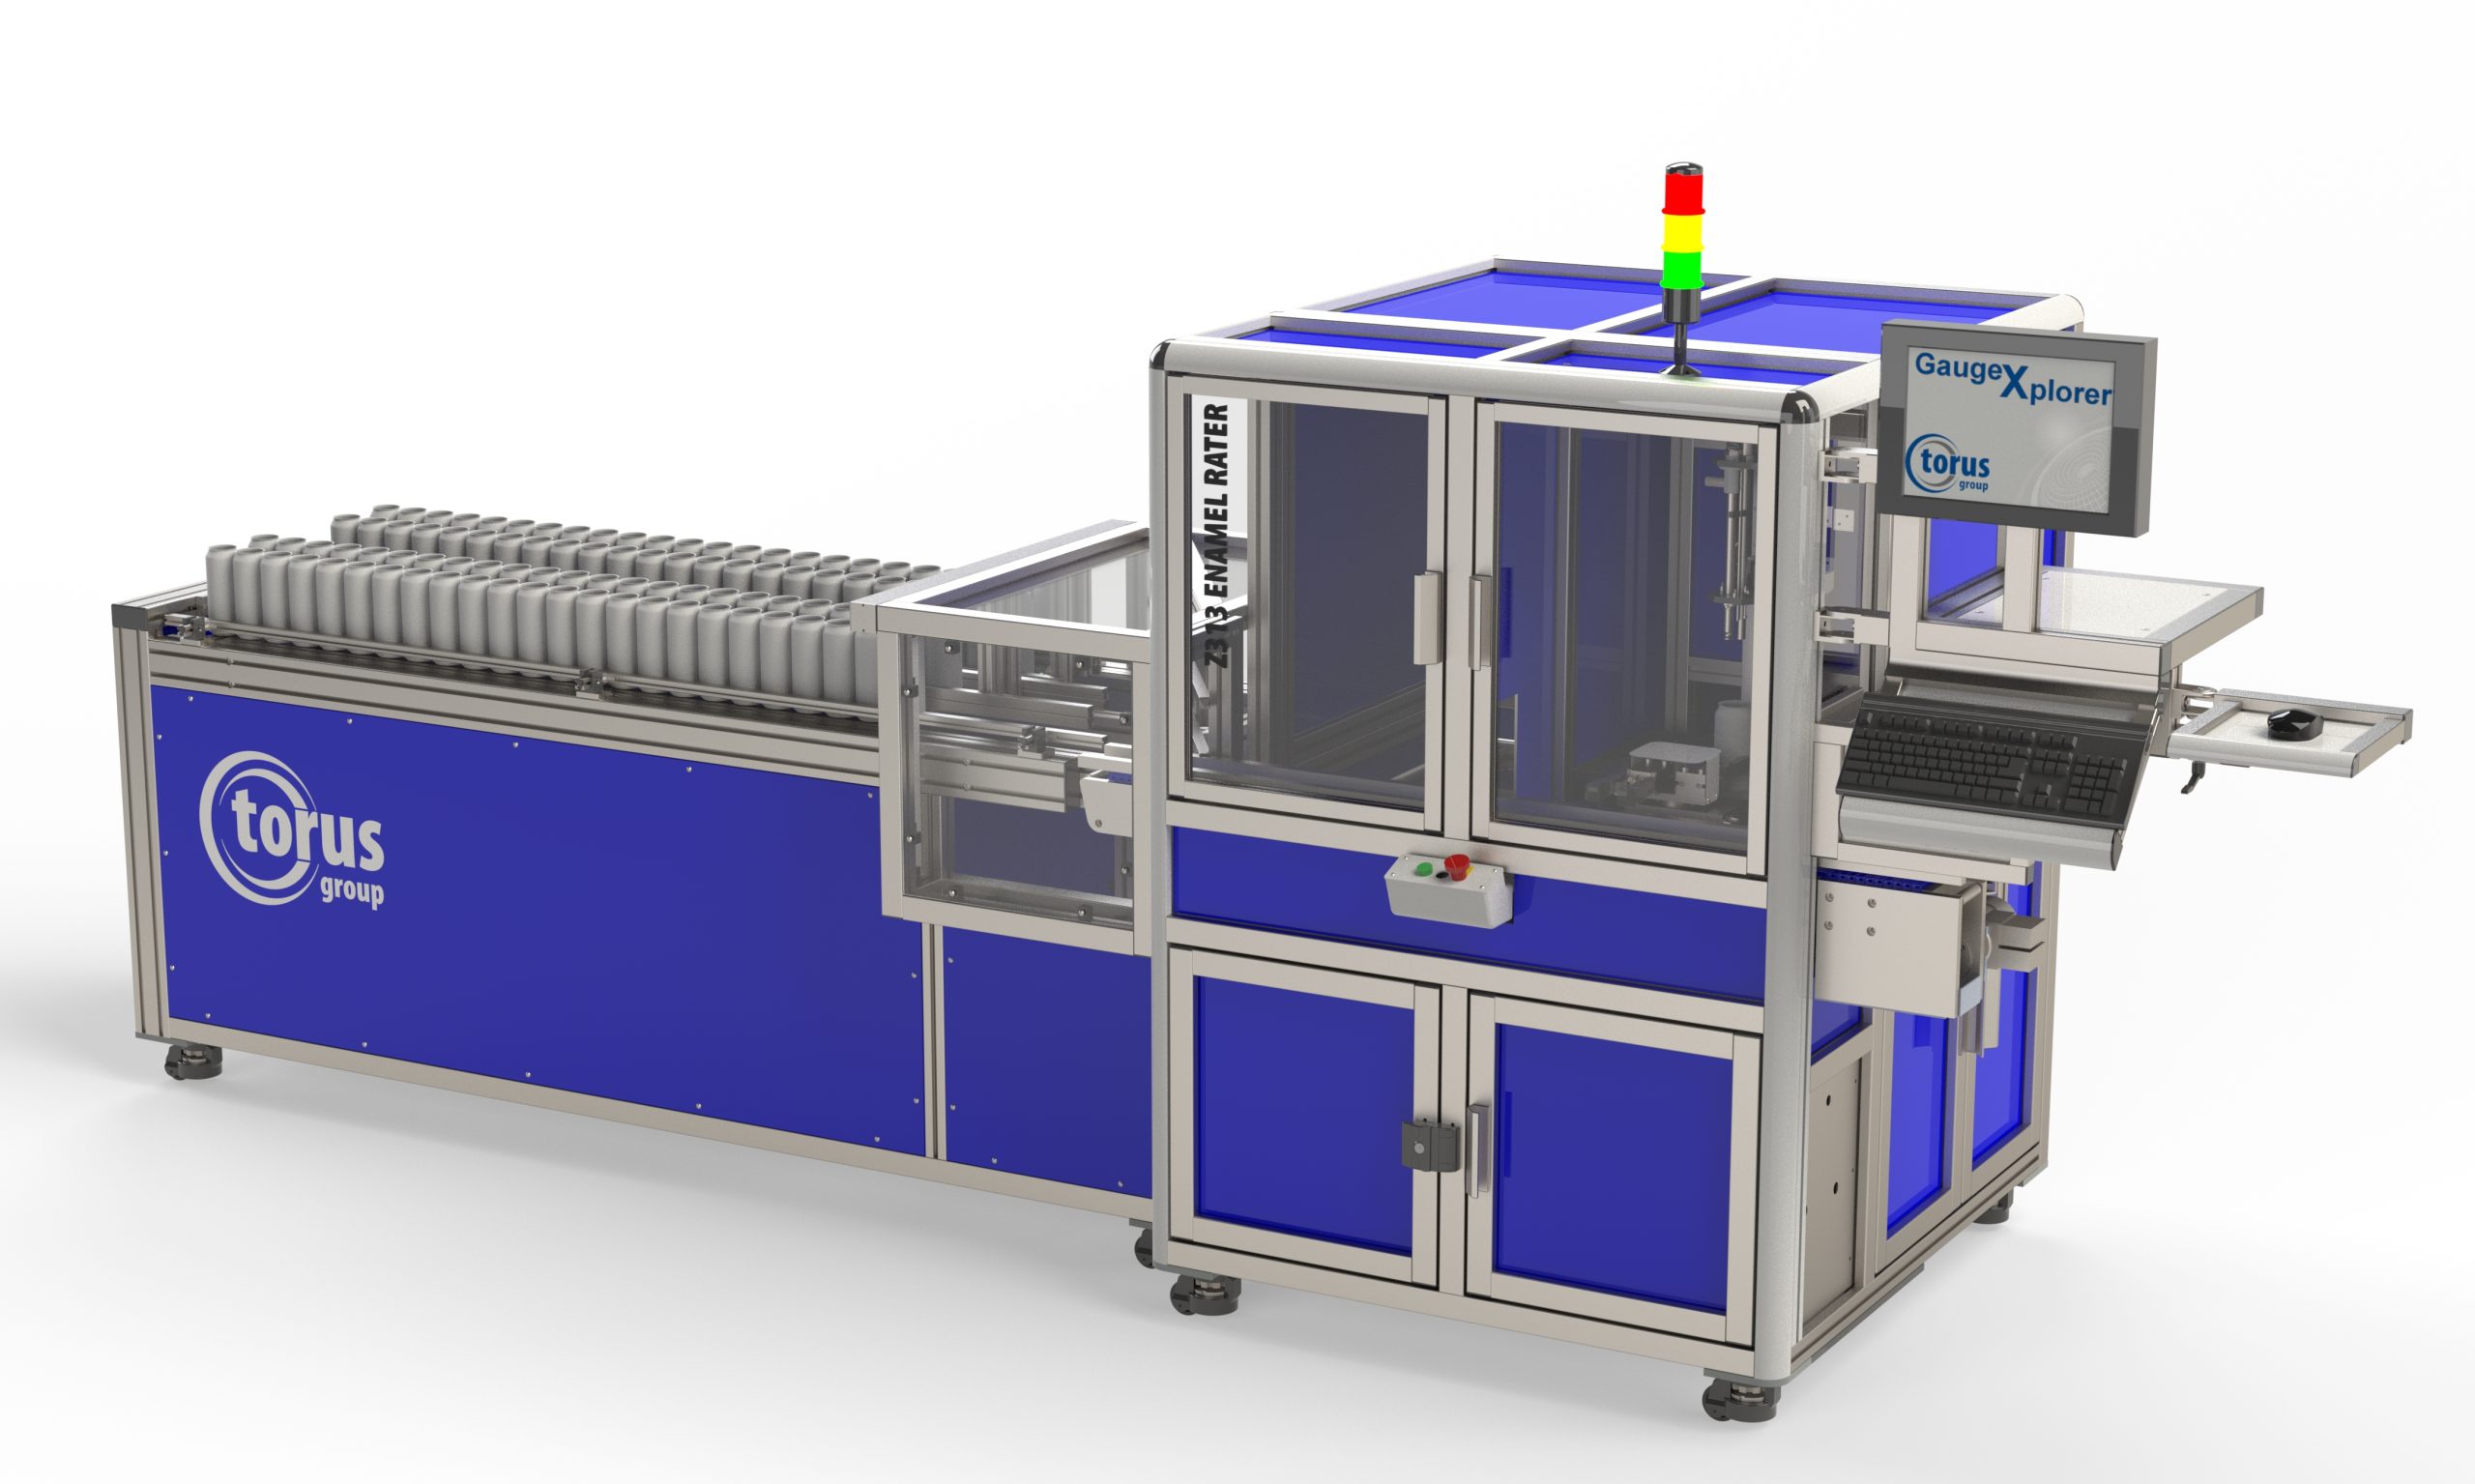
                                    The Z313 Series Enamel Rater can be specified for conveyor loaded (automatic) or fully line fed (in-line) operation

                                    Specifications

                                    The Z313 Enamel Rater measures the lacquer integrity of metal cans, with a typical throughput speed of 3 cans per minute.

                                    The system can be specified with Torus’ optional LSM/ISG Recognition Camera Module, ensuring SPC data output is “tagged” with the relevant traceability for effective remedial actions.


                                    Torus Beverage Can Gauging


                                    Measurement Features

                                    Standard

                                    • Enamel Rating (mA) 0 – 100 mA | Accuracy: +/- 01 mA | R&R: 0.2 mA
                                    • Enamel Rating (mA) 100 mA + | Accuracy: +/- 0.5 mA | R&R: +\- 1.0 mA
                                    • Ink Spray Gun Colour | Typical Read Rate: >95%


                                    Measurement Features

                                    Hi-Res (typically for plants running steel cans)

                                    • Enamel Rating (mA) 0 – 100 mA | Accuracy: +/- 0.02 mA | R&R: 0.02 mA
                                    • Enamel Rating (mA) 100 mA + | Accuracy: +/- 0.1 mA | R&R: 0.2 mA


                                    Technical Specification

                                    • Can Materials | Aluminium (Hi-Res for steel)
                                    • Can Stages | Finished, Straight Walled
                                    • Can Finished Height Range | Typical Range: 90 – 205 mm
                                    • Internal Neck Diameter | Typical Range: Ø 50.00 – Ø 67.00
                                    • Ø 202 – Ø 300 body size capability and NO change parts
                                    • Conveyor loaded or in-line operation
                                    • Optional ‘internal spray gun’ recognition camera module
                                    • ‘Posi-Fill’ system for complete fill speed and level control
                                    • 3 cans per minute throughput
                                    • High-accuracy ‘rating’ system
                                    • In-cycle conductivity monitoring giving customers confidence in their mA results

                                    Our modular gauge setups are unique and allow you to customise your gauge as and when you require, giving you the flexibility to ensure you have a total quality solution.

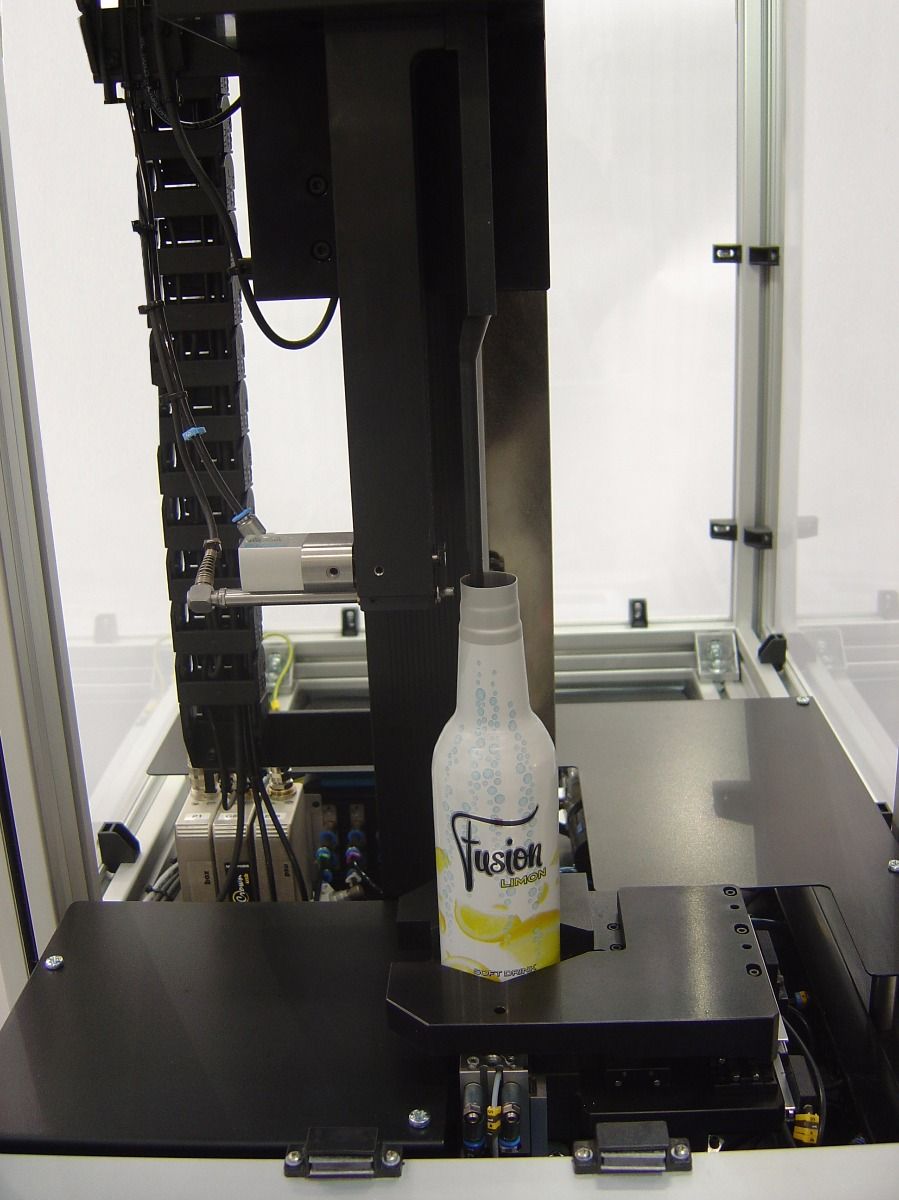
                                    1. Start with the standard Z313 Enamel Rating (Metal Exposure) Gauge (5)…
                                    2. … add any of the below optional modules at any time.
                                    1.  Multi Lane Input Conveyor
                                    2. Vision Module
                                    3. Lacquer Distribution Module (Visible/NIR)
                                    4. Blank station for future upgrades
                                    5. Enamel Rating Module

                                    Torus Recommends

                                    Our Divisions

                                    Through our three key divisions we deliver a range of measurement and inspection systems, metrology services and machine enclosure solutions, as well as our online store for aluminium profile components and workspace solutions.

                                    How can we help you?

                                      Z312 VISION MODULE

                                      Z312 VISION MODULE

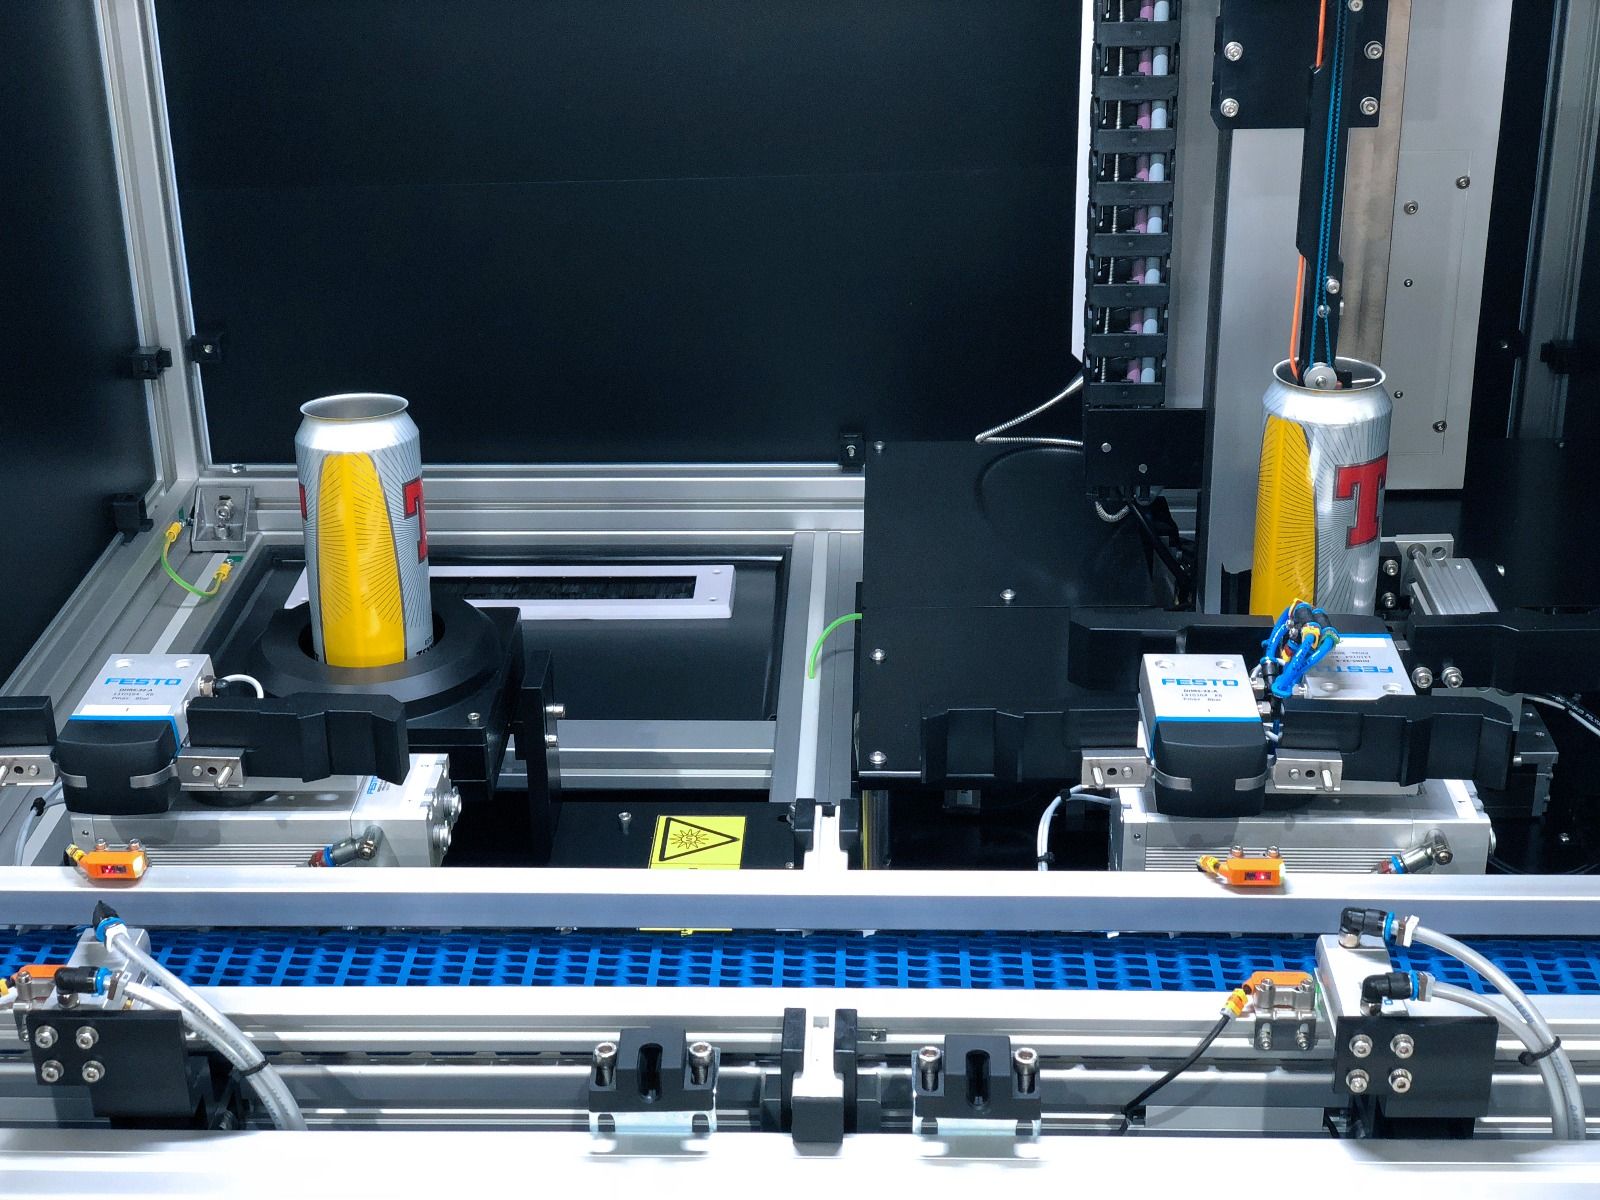
                                      The Z312 Vision Module tests for all industry standard ISG recognition, including UV/BRC presence in one system.

                                      Specifications

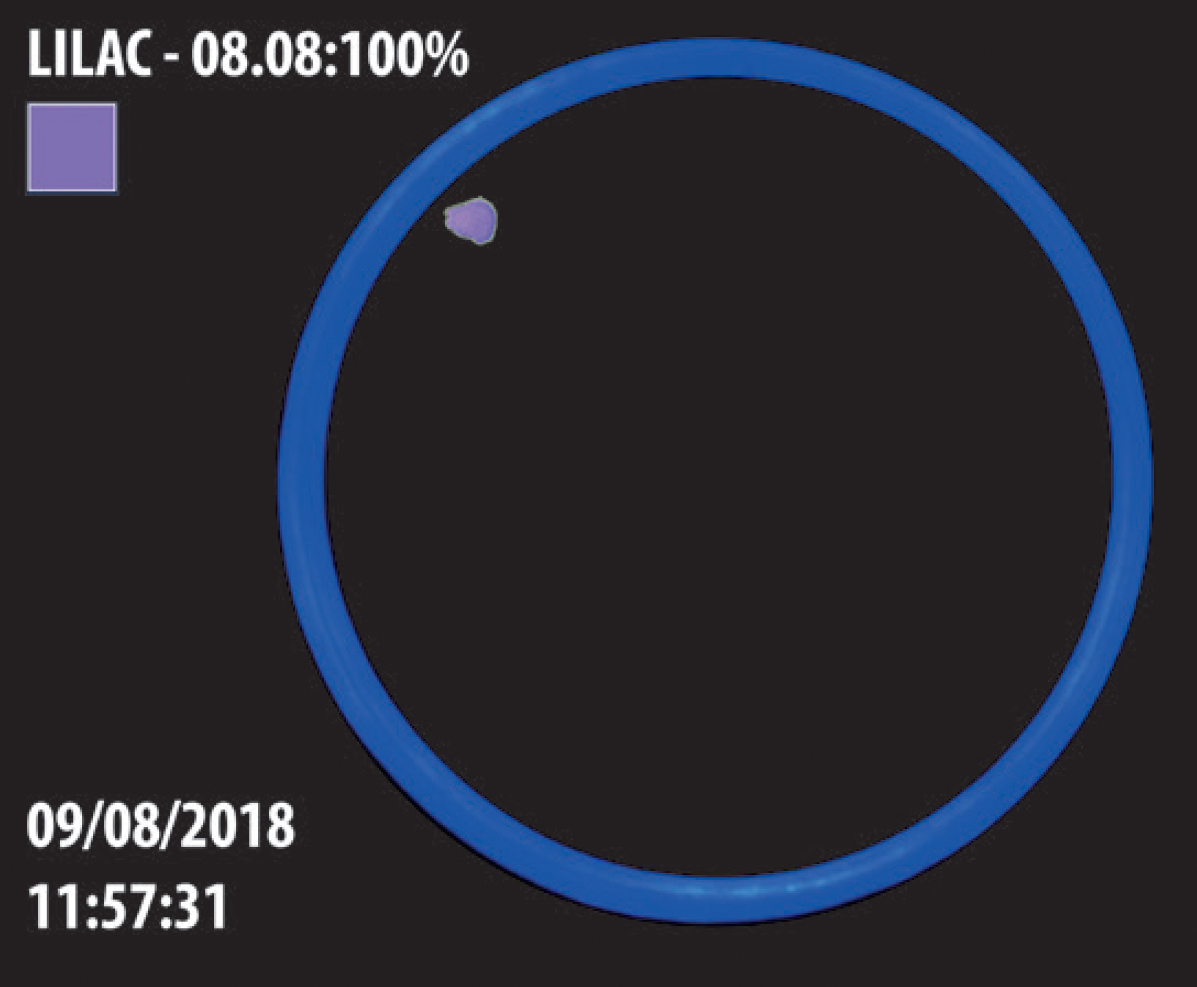
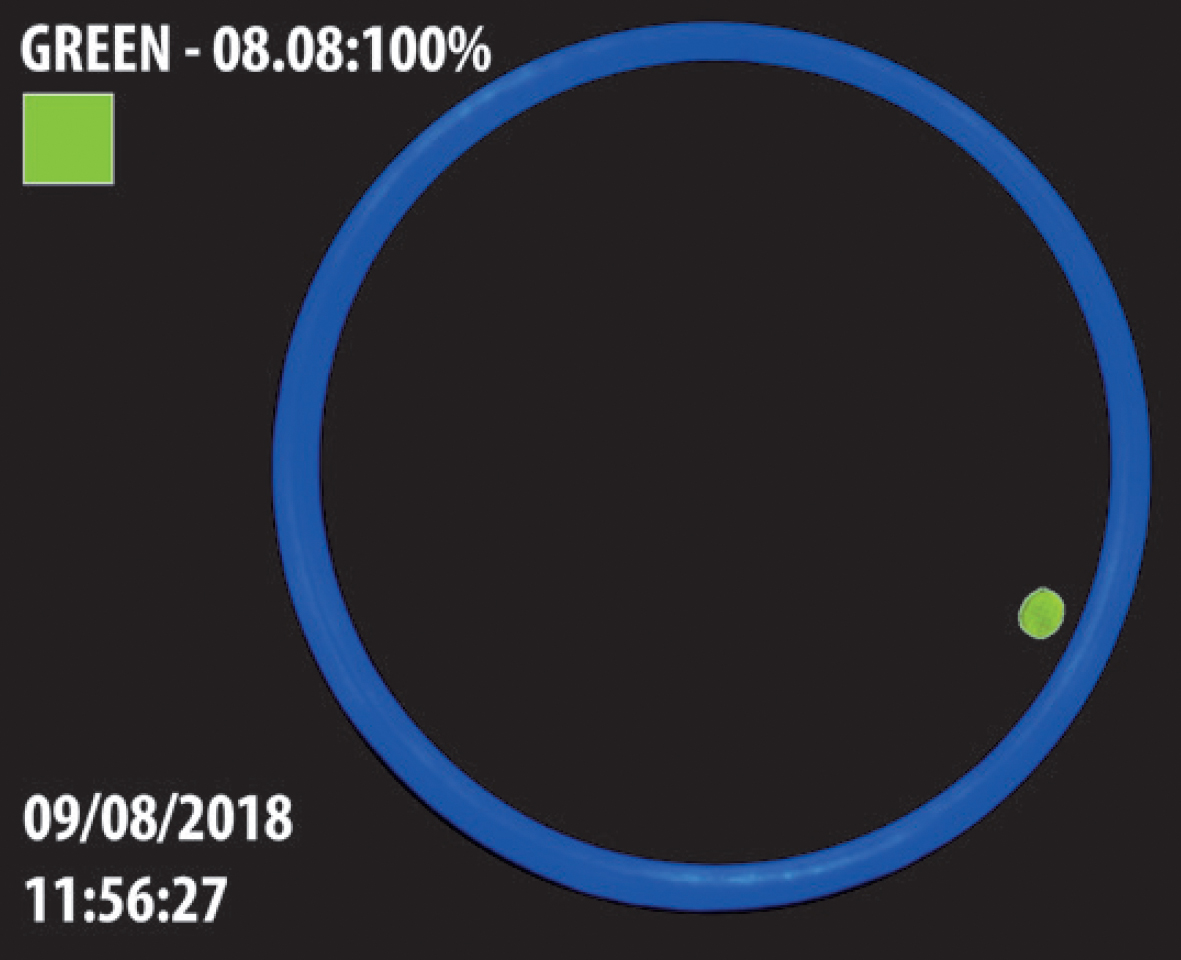
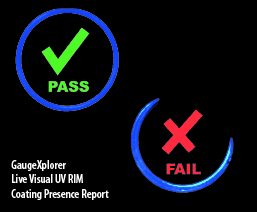
                                      The Z312 Vision Module quickly identifies the application of UV base rim coat presence, indicating in split seconds a percentage coverage based on parameters set within Torus’ GaugeXplorer software. The live report instantly denotes if the rim coat has either been under applied or damaged.


                                      Designed with flexibility in mind the Z312 module can be integrated into any new or existing Torus gauge, or alternatively supplied as a standalone system. The flexible module boasts multi size capability with no change parts allowing the system to be located anywhere on the shop floor.


                                      Torus Beverage Can Gauging


                                      Gauge Features

                                      UV Base Rim Coat Presence (BRC)


                                      • Visible Spray Dot

                                      • UV Spray Dot

                                      • 2 & 5 Digit Dot Matrix Character Code (Visible/UV)
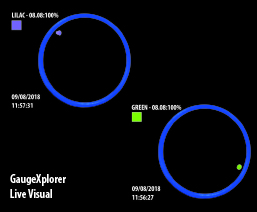
                                      UV Ink Dot & Character Recognition – Key Features:

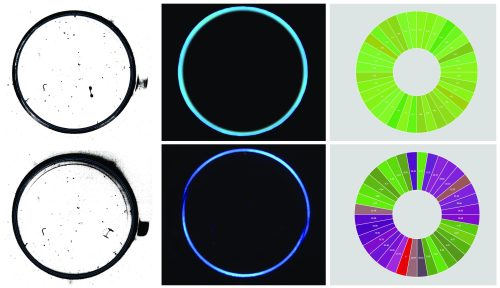
                                      UV Base Rim Coat (BRC) – Key Features:

                                      The Z312 works together with and complements Torus’ Z340 Coating Analyser to provide Base Rim Coat Distribution Analysis, aimed to show operators how the BRC is distributed and thus showing up any potential areas to save resource.
                                      NEW
                                      • Helps eliminate hazards from the manual abrasive copper sulphate checks typically carried out to measure rim coat
                                      • Significantly reduces labour time
                                      • Increases operator productivity
                                      • Overcomes human error
                                      • Improved can mobility with can production and filling lines running at 2000+ per minute
                                      • Reducing HFI (Hold for Inspection) customer complaints

                                      Torus Recommends

                                      Our Divisions

                                      Through our three key divisions we deliver a range of measurement and inspection systems, metrology services and machine enclosure solutions, as well as our online store for aluminium profile components and workspace solutions.

                                      How can we help you?

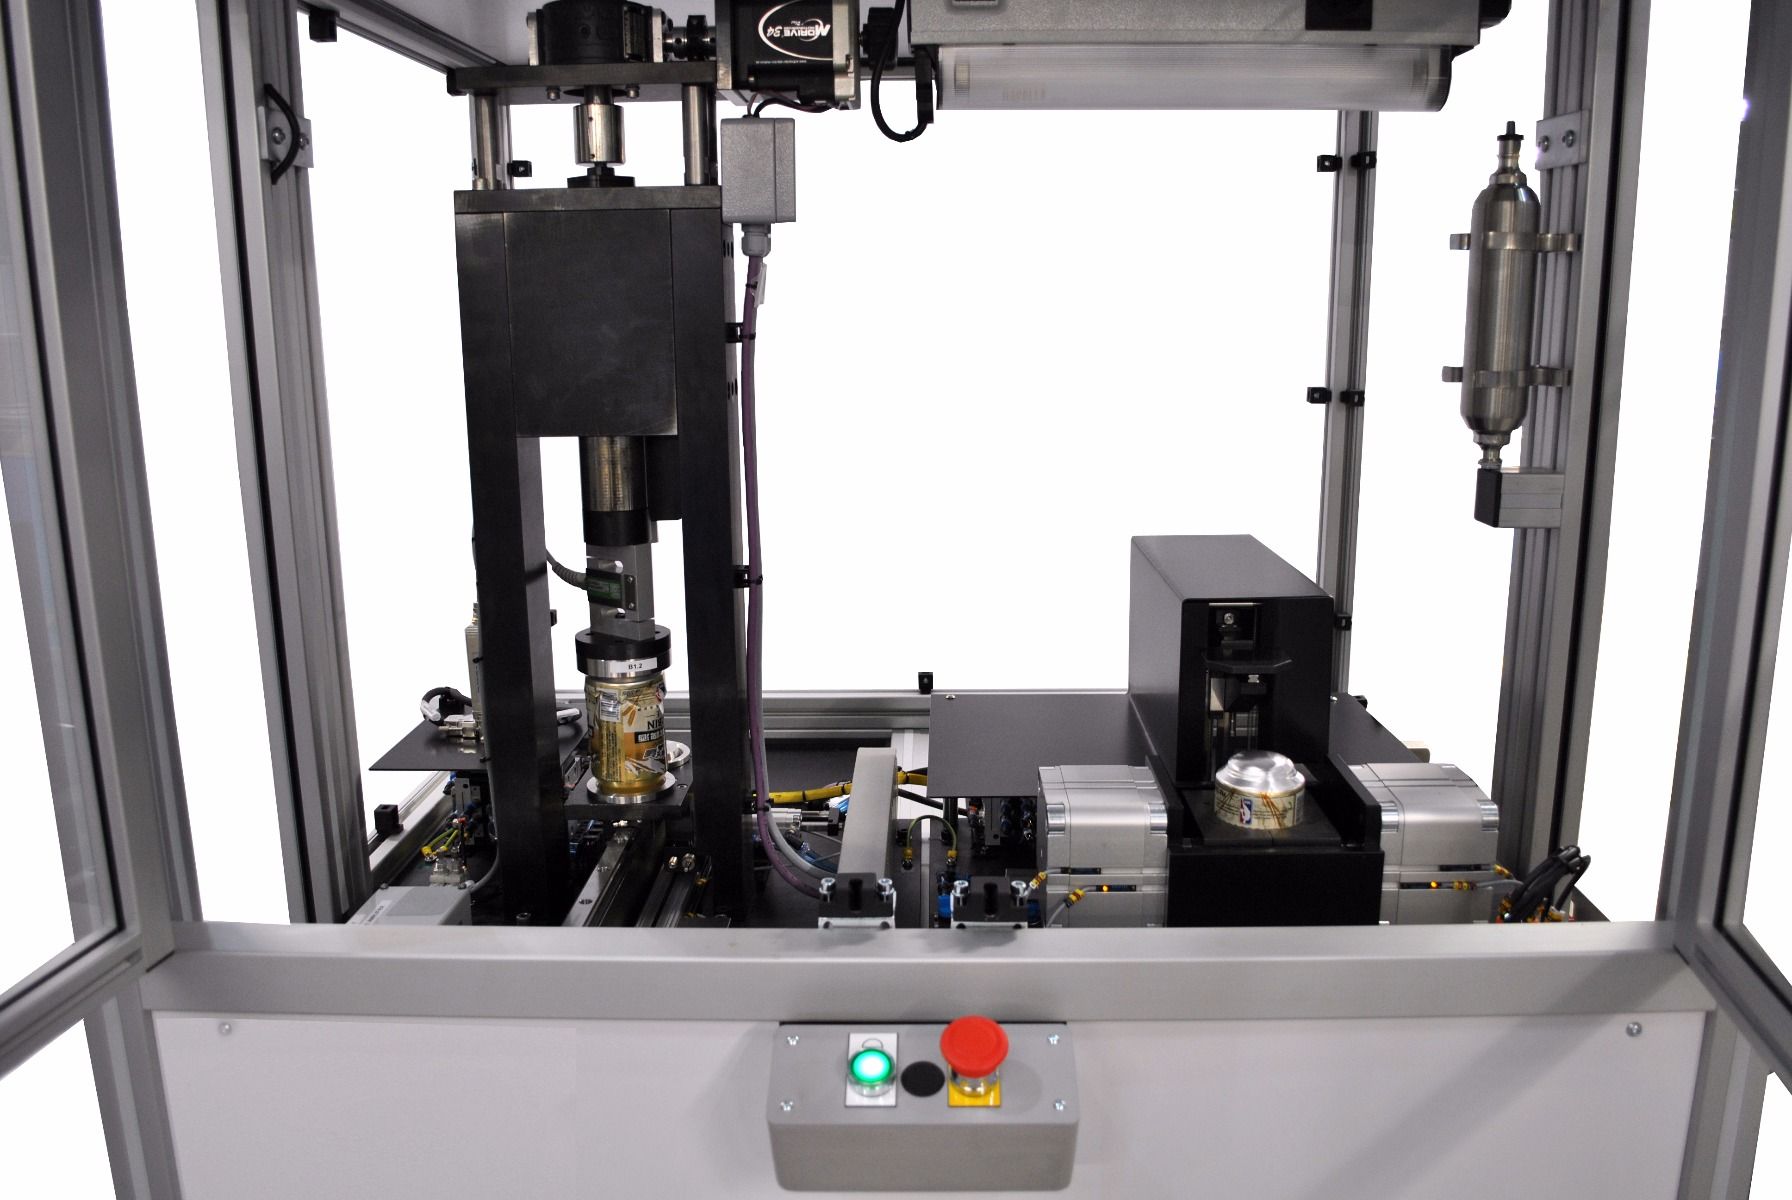
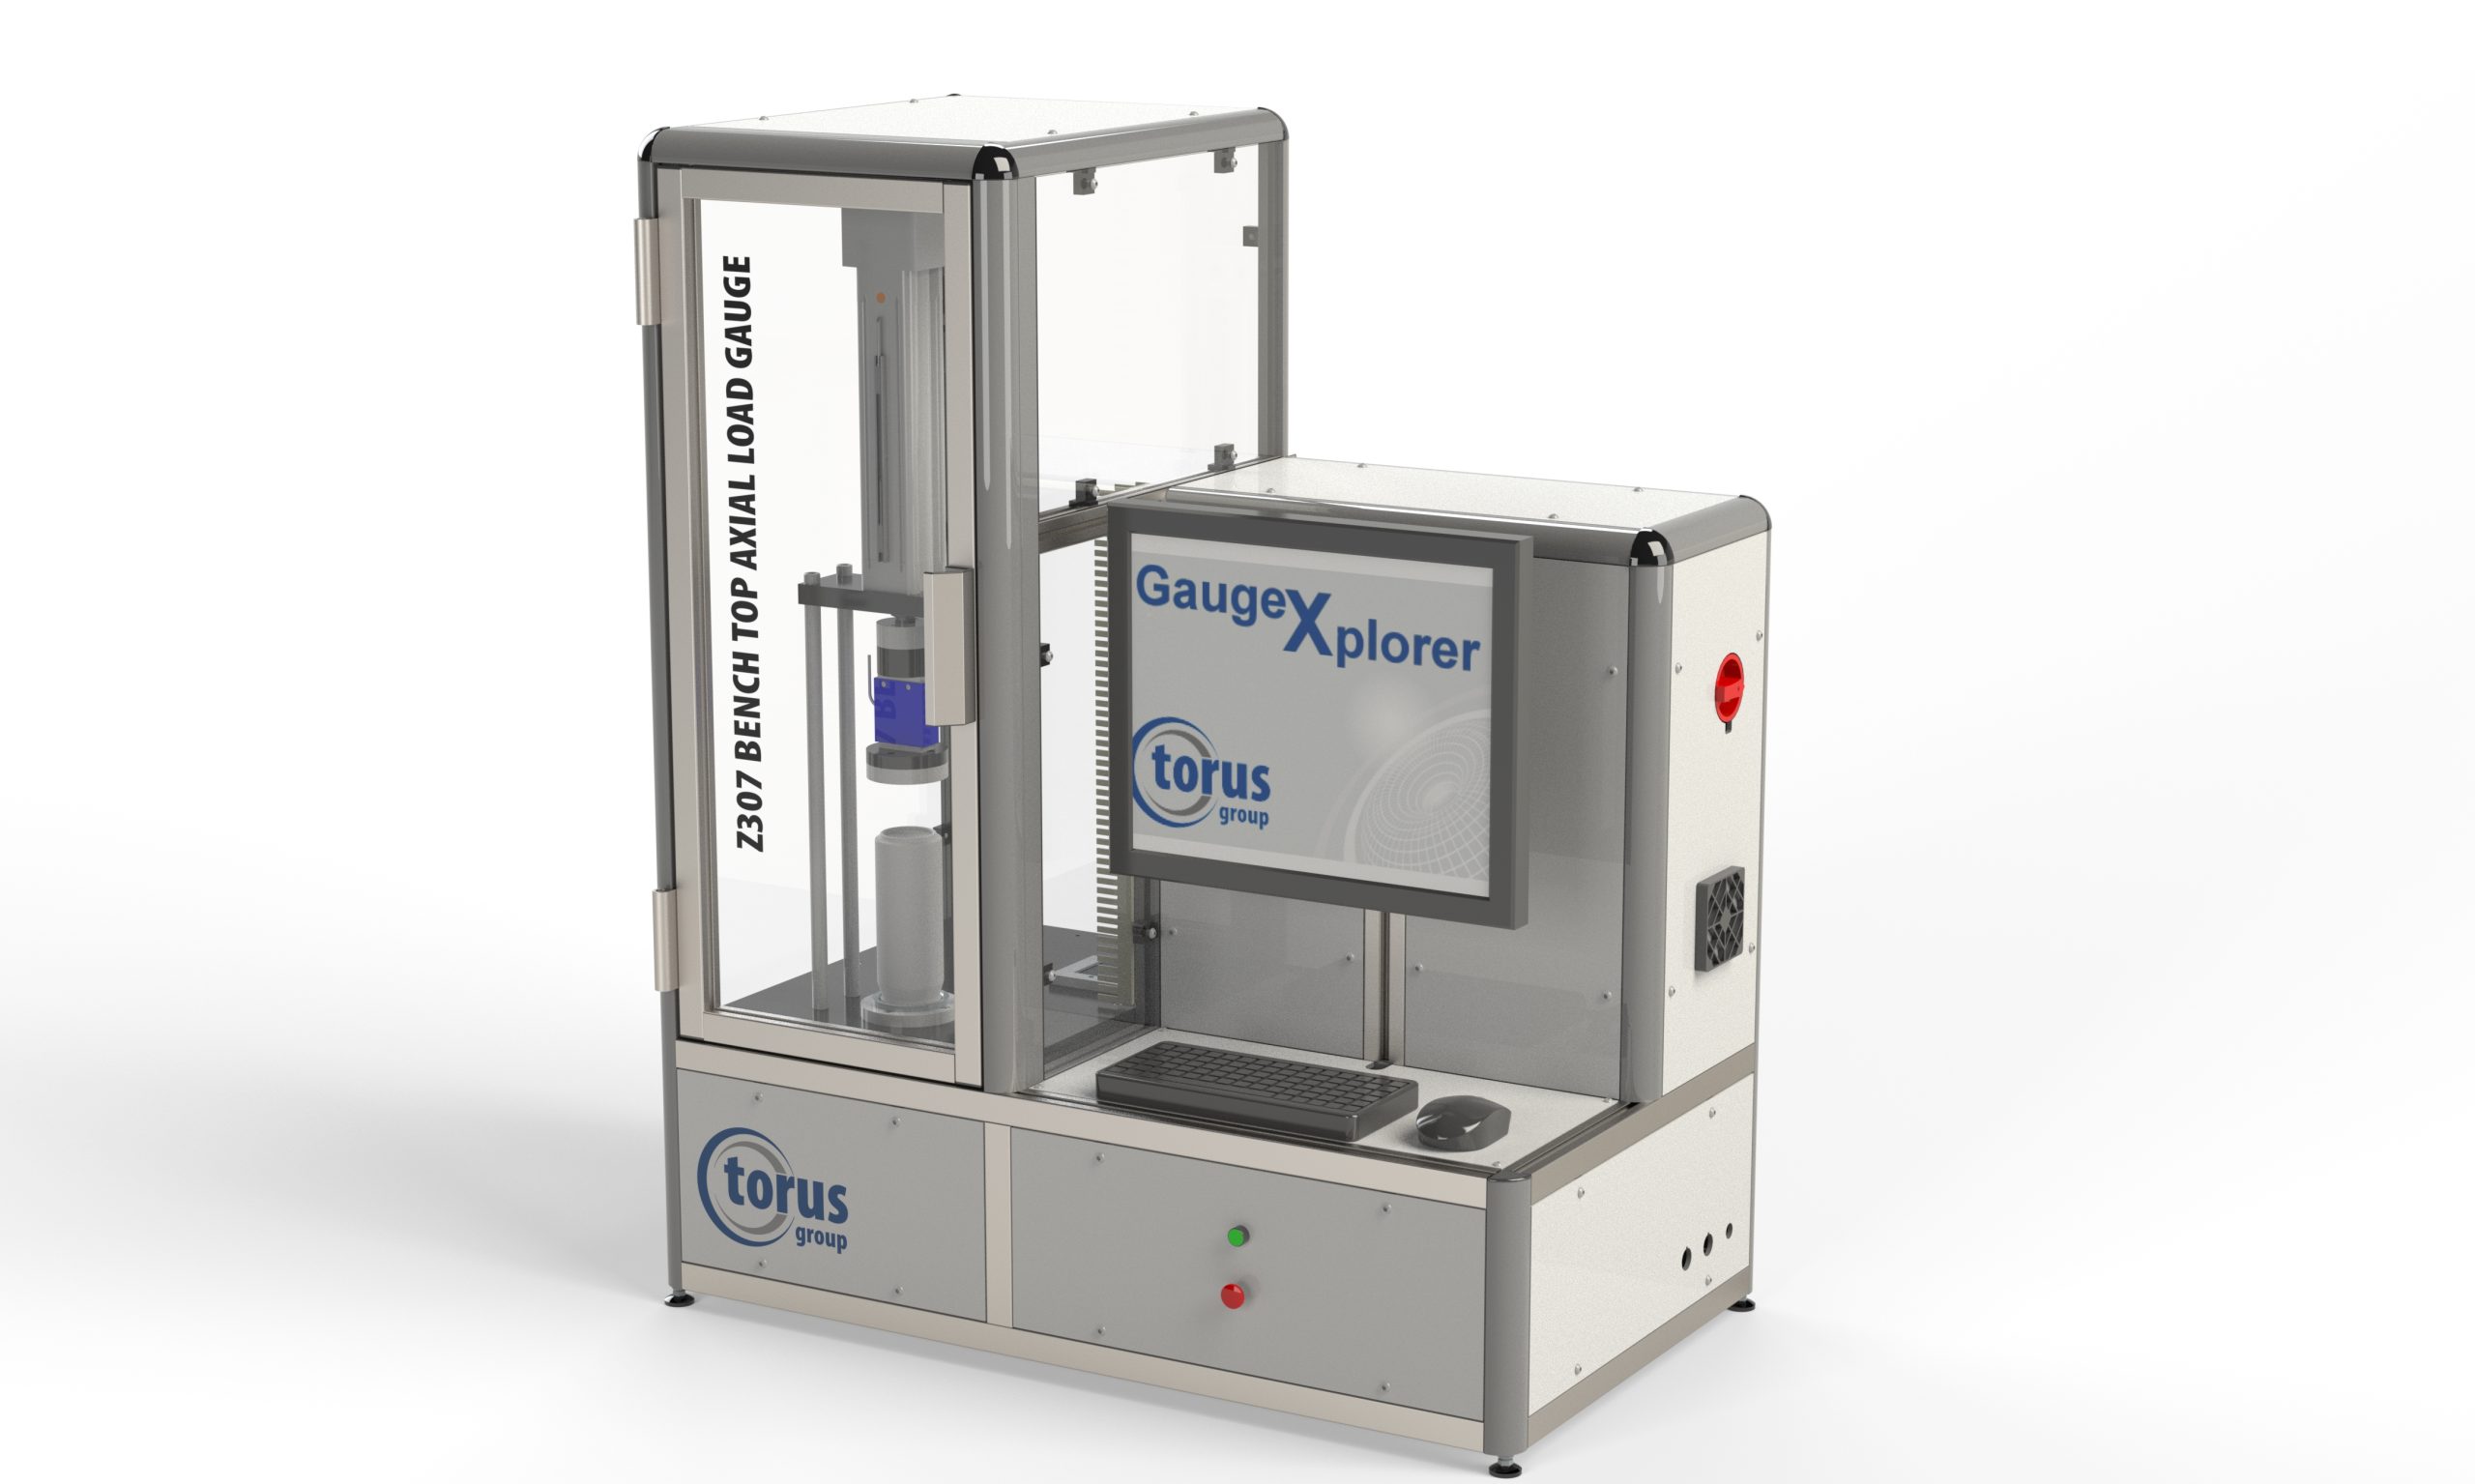
                                        Z307 SEMI-AUTOMATIC BENCH TOP BEVERAGE CAN AXIAL LOAD GAUGE

                                        Z307 SEMI-AUTOMATIC BENCH TOP BEVERAGE CAN AXIAL LOAD GAUGE

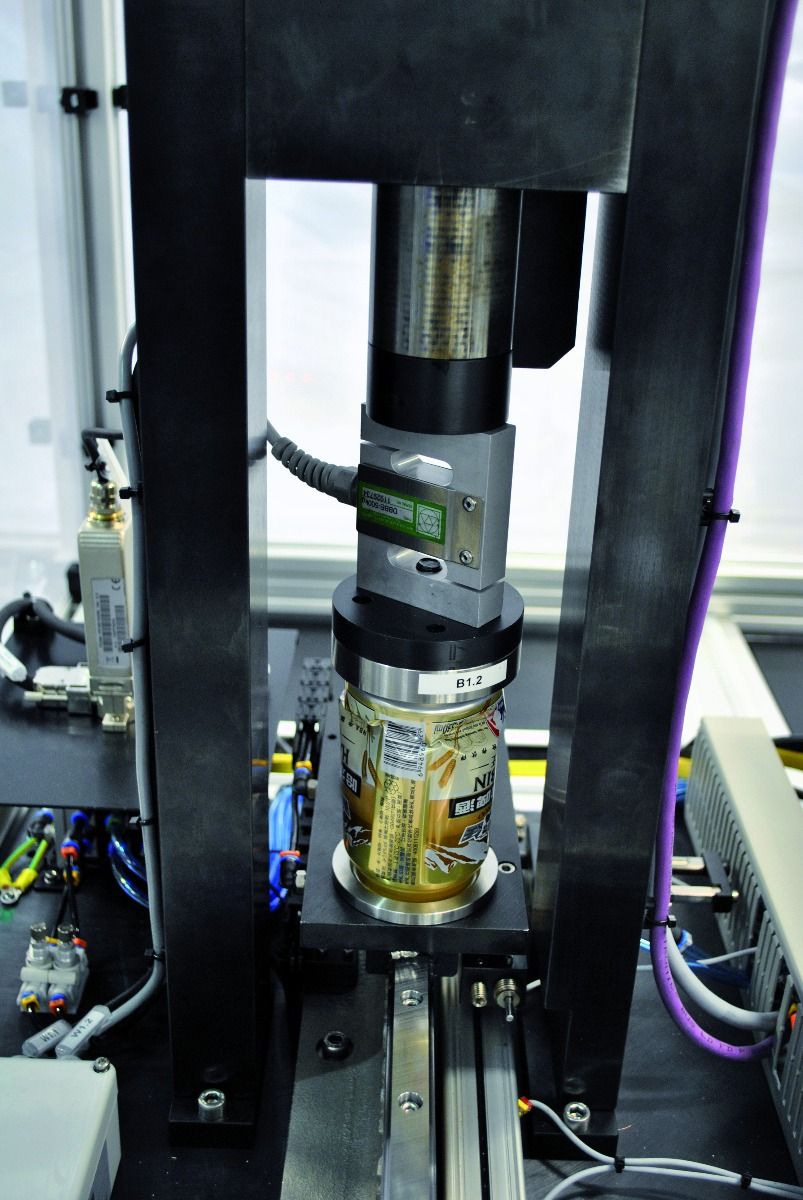
                                        The Z307 Axial Load Gauge determines the maximum axial load force which can be applied prior to container failure, within a short cycle time.

                                        Specifications

                                        The proven contact measurement technology ensures accurate, reliable and traceable measurement 24/7.


                                        Torus Beverage Can Gauging


                                        Measurement Features
                                        Axial Load – The maximum force at which the container fails/collapses | Accuracy: +/- 10 N


                                        Technical Specification

                                        • Can Materials | Aluminium
                                        • Can Stages | Finished, Straight Walled
                                        • Can Finished Height Range | Typical Range: 87 – 190 mm
                                        • Can Outer Body Diameter | Typical Range: Ø 202 – Ø 307
                                        • Internal Neck Diameter | Typical Range: Ø 200 – Ø 209
                                        • Axial Load | Typical Range: ≤ 2000 N


                                        Gauge Features

                                        • Industry standard location patterns for component neck support
                                        • Selectable crush speed
                                        • Factory set patterns to ensure parallelism between gauge tooling faces
                                        • Available for both straight walled and finished beverage cans
                                        • Multi-size capability with quick change tooling
                                        • Short cycle times due to the latest high-performance stepper motors (selectable crush speed)
                                        • Customer-specific data outputs (kgs, lbf, newtons)
                                        • High-accuracy axial load cell technology
                                        • Available for trimmed and finished food and beverage cans

                                        Torus Recommends

                                        Our Divisions

                                        Through our three key divisions we deliver a range of measurement and inspection systems, metrology services and machine enclosure solutions, as well as our online store for aluminium profile components and workspace solutions.

                                        How can we help you?